This post may contain affiliate links. A small commission may be earned if you make a purchase through my links. Thank you for supporting my blog!
For years—ten, to be exact—I toyed with the idea of starting a blog and creating content online. I’ve always loved social media and connecting with others, but I always had an excuse for why I shouldn’t start:
- “It’s too late to the game.”
- “I don’t have enough time.”
- “I wouldn’t be consistent.”
And a few times, I did start… only to quit far too soon.
If there’s one thing I’ve learned already in my blogging journey, it’s this: consistency is key, and success takes time.
Update – One Year Later: When I first wrote this post, I was brand new to blogging. Now, one year in, I’ve grown my blog to thousands of monthly readers, partnered with brands for sponsored posts, and earn consistent ad revenue and affiliate income. If you’re wondering whether it’s worth starting — it is! I’m proof you can turn a tiny idea into something profitable in just 12 months.
The Turning Point
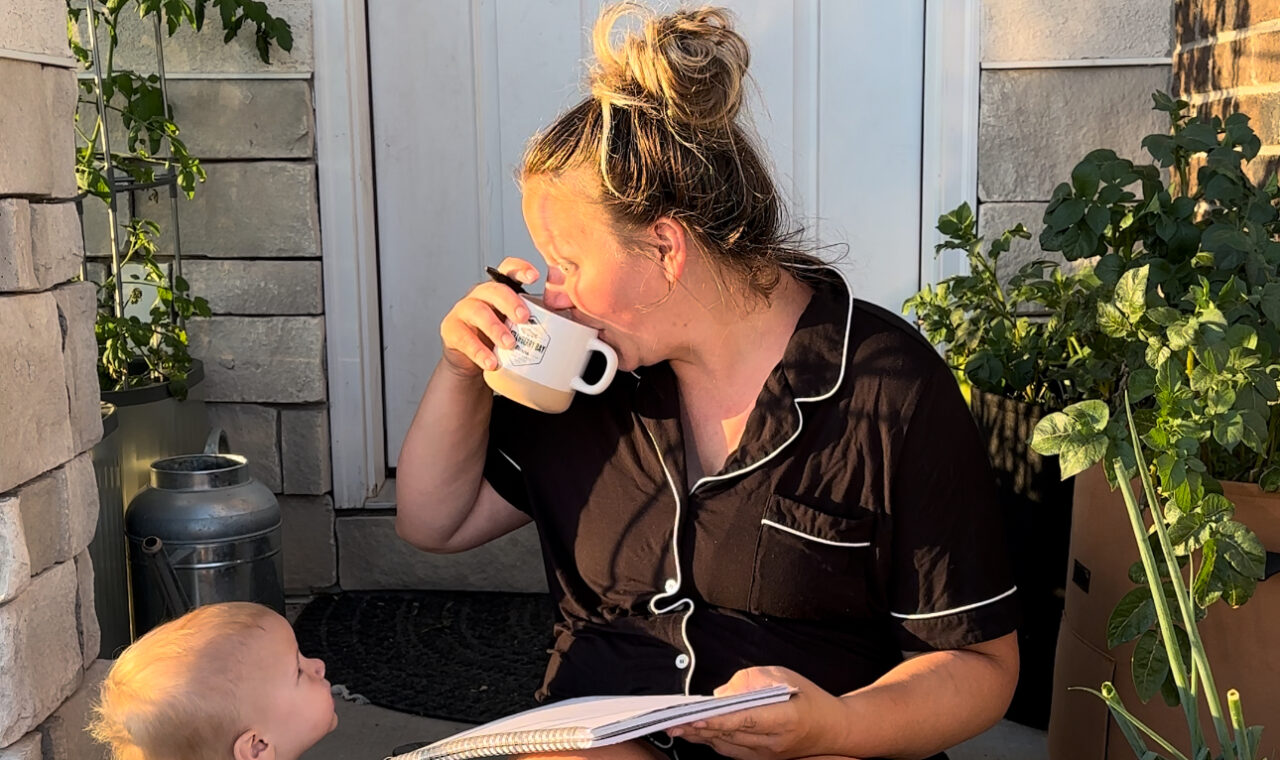
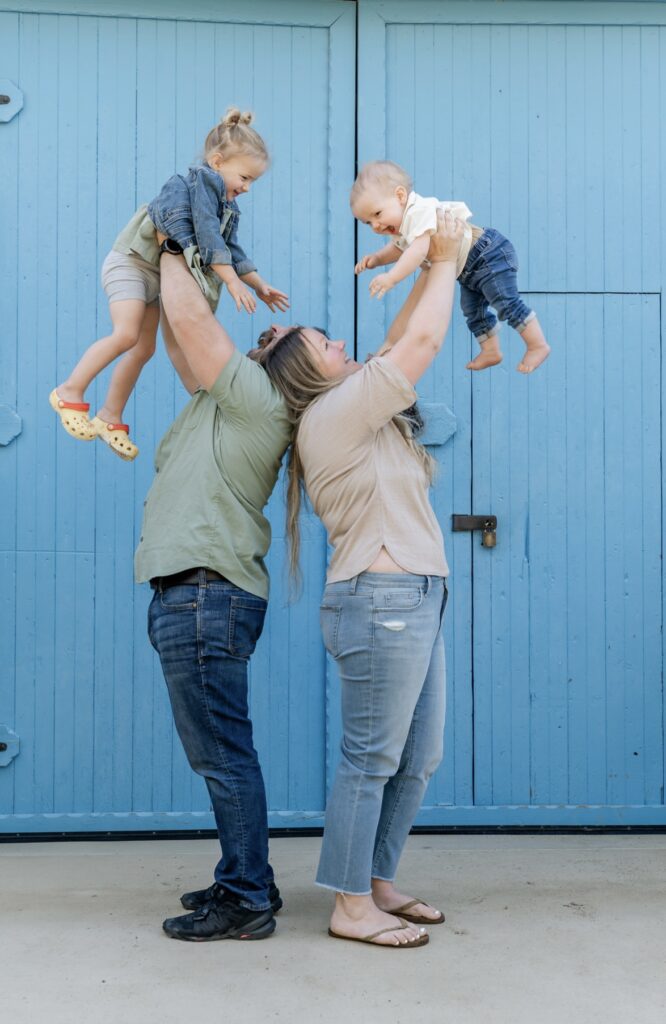
After having my second baby in 2023, I knew I wanted to stay home with my kids and I knew I needed to find a way to help support our family while doing that. I had watched so many people build income streams from blogging and social media, and I decided it was time to really give it a go.
In August 2023, I committed to being consistent on Instagram for 3 months before deciding my next step. At the time, I had around 2,000 followers. Three months later, I’d grown my following, found my rhythm, and even started reaching out to brands.
By February 2024, with just 5,000 followers, I landed my first paid brand collaboration. By April, I hit the big 10k milestone and had discovered my passion for creating and sharing toddler activities—something that perfectly blended my love for teaching and creativity.
That’s when I realized Instagram wasn’t the best place to keep all of my activity ideas organized and accessible… so the blog was born.
3 Ways I’m Monetizing My Blog
Even though I’m only a few months in, here are the three income streams I’m focusing on right now:
- Ad Revenue – When you have enough traffic, ad networks will pay you to place ads on your site. Each view counts toward your revenue goal.
- Affiliate Links – If you’re not sure where to start, I actually have a whole post on how to create an affiliate link even without a following that walks you through it step-by-step. I personally use Amazon Associates, LTK, and Mavely to link to my favorite products.
- Brand Deals/Sponsored Posts – Similar to Instagram collaborations, but hosted on your blog.
How to Start a Blog (Step-by-Step)
This is the exact process I followed—plus what I’d tell a friend who wanted to do the same thing.
1. Define Your “Why”
Are you doing this for fun or as a business? Knowing your goal will guide every decision.
2. Pick Your Niche
Your niche can evolve over time, but having a focus helps. Mine is toddler activities, with some DIYs, recipes, and motherhood content sprinkled in.
3. Choose a Name & Domain
Make sure the name is available as both a domain and on social media platforms. You’ll want to be sure the domain is available too. You can check it easily on somewhere like domain.com.
Pro tip: write it out and say it out loud to avoid any unintentional awkwardness.
Don’t worry about purchasing it at this point, you will do that with your host!
4. Choose a Hosting Site
I use Bluehost (around $108 for the year, domain included). It’s beginner-friendly, integrates easily with WordPress, and allows ad placement.
5. Find & Install a Theme
I bought mine from Creative Market for $40. A theme gives your blog a polished look without having to code it yourself.
6. Create a Logo
I used Canva Pro for mine, but the free version works too.
7. Add Legal Pages
You’ll need a Disclaimer, Privacy Policy, and Terms of Service, especially if you plan to collect emails or run ads.
Disclaimer You’ll want to have a disclaimer legal page on your site to protect you. Basically you are saying that these are all your honest thoughts and/or experiences, but if someone gets a different result that’s not your fault.
You can build a free disclaimer page here!
Privacy PolicyIf you plan to collect any personal information such as emails for a newsletter, you’ll want to have a privacy policy posted. This will just state what you’re doing with the emails.
You can build a free privacy policy here!
Terms of ServiceThis is basically just a legal page that say you are not responsible for what people do with your content.
You can build a free Terms of Service document here.
You’ll want to have each of these displayed in a menu on your blog site. Mine are in the footer.
8. Set Up Social Media Handles
Even if you don’t plan to post right away, claim your usernames on Pinterest, Instagram, and TikTok.
💡 Instagram Tip: If you share reels that feature products, check out my post on how to automatically send links from reels via DM on Instagram. It’s a huge time saver and a great way to share affiliate products without manually answering every DM.
9. Organize Your Categories
Decide on your main topics and subcategories. For example: Toddler Activities → Indoor, Outdoor, Holiday.
Noteworthy: Setting up everything in WordPress was the most challenging part of this process. I watched many youtube videos and read many how to’s on different aspects of it. If I can leave you with anything – do not give up at this stage. It gets so much easier (and MORE FUN) once you have the backend of your site all laid out.
**If you ever need words of encouragement at this stage feel free to DM me on Instagram, seriously. I am writing this whole blog because I want YOU to succeed!
10. Set Up Google Analytics
Track visitors, page views, and popular posts. This data will help you grow.
This will allow you to see all the stats of your page and is extra helpful once you want to place ads on your page. Even if you don’t want to place ads, this will allow you to see what pages are getting the most views and visitors (and then you can create more posts like that one or more pins like the ones that are sending people that way).
The google support page I used to set up my Analytics is here!
11. Get writing!
This is of course the fun part. You may even have some content written already.
Some pages I think are important to have before you launch – Main Landing Page (think of this as your directory to your blog), About Me, 3-5 posts (TOTAL) in your various categories. Your blog will not be completed before you launch. It will 100% still be a work in progress and that’s okay.
Just and FYI: I launched with just 8 posts!
12. Create Pinterest Pins for Each Post
DO NOT SKIP THIS STEP.
People aren’t going to magically show up on your blog. You need to drive the traffic there and one of the best ways to do that is with Pinterest (that might even be where you found my blog!).
For each blog I create at least 4 pins (with varying titles and descriptions) to post on Pinterest. Personally, I use the scheduler provided on Pinterest and have pins uploading daily. Just like all the other platforms, consistency is key on Pinterest.
Pro Tip: Pinterest takes 4-6 weeks for Pins to see traction. That means being ahead of holiday seasons and consistent for that long before you see results.
Launching Your Blog
When I launched in August 2024, I had just 8 blog posts. You don’t need dozens of posts to get started, launch with what you have and keep writing.
My goal is currently 2–4 new posts per week, plus consistent Pinterest pinning (2–4 pins per post). Pinterest is now my biggest traffic driver.
The Hardest Part
For me, it was the backend setup, figuring out WordPress, menus, and categories. I watched a lot of YouTube tutorials and took it one step at a time. The good news? You only have to do it once.
After that, it’s all about creating content and driving traffic.
One Year Later: How It’s Going
When I hit “publish” on my first post, I had no idea what the next year would hold. Here’s a snapshot of what’s happened:
- Earned thousands from ad revenue, affiliate links, and sponsored posts.
- Worked with brands I truly love through paid collaborations.
- Grew my audience across Instagram, Pinterest, and email.
If you’re still in the “thinking about it” stage, take this as your sign to start. Your blog a year from now could be your proudest accomplishment.
Final Advice
- The blogging space is not too saturated. There’s room for you.
- Don’t expect full results with half effort. Go all in.
- Stay consistent, even when growth feels slow.
If you’re thinking about starting… stop waiting. Bet on yourself. You’ve got this.
xx, Ciara

Pingback: My Blogging Journey - 3 Month Update! - Ciara Deanne on October 24, 2024
1 COMMENT