This post may contain affiliate links. A small commission may be earned if you make a purchase through my links. Thank you for supporting my blog!
A Simple Holiday Activity That Buys You Time
It’s Christmas time, which means holiday fun is in full swing, but let’s be honest, sometimes the fun can feel a little overwhelming. Between wrapping presents, making holiday magic, and keeping up with everyday mom duties, your to-do list can get long fast.
That’s where this DIY Christmas puzzle activity comes in. Not only is it easy to prep with supplies you likely already have on hand, but it also keeps kids entertained long enough for you to sneak away and hide presents, wrap gifts, or just sit down with your coffee for five minutes of peace. And yes mama, you definitely deserve that.
Supplies You’ll Need
The best part about this project is that it’s low-cost and uses items you probably already have around the house. Here’s what to grab:
- A few sturdy empty cardboard boxes
- Q-tips (you’ll be cutting them in half)
- Regular markers or Kwik Stix Paint Pens (my personal favorite. They’re vibrant, quick-drying, and mess-free)
- A screwdriver (to punch holes)
- Paint + small containers for mixing with water
Tip: I love storing our painted Q-tips in these clear zipper pencil cases. They’re perfect for keeping everything organized and letting little ones see what’s inside.
Why I Recommend Kwik Stix
Regular markers work just fine, but Kwik Stix Paint Pens take this project up a notch. The colors pop beautifully on cardboard and dry in seconds, which is exactly what I need when my toddlers are ready to play right away.
We also use them on the Target Colorable Christmas House, which was hands-down one of our favorite holiday crafts last year. My kids were 3 and 1 at the time, and they spent hours coloring, decorating, and even eating snacks inside their little Christmas cottage. This year they’ll be 2 and 4, and I can’t wait to see the imaginative play that comes out of it. And after the few weeks of play, you get to throw it away!
How to Make the DIY Christmas Puzzle
Here’s a step-by-step guide to creating your puzzles:
- Choose your box – Pick a sturdy cardboard box so the puzzle can be reused multiple times.
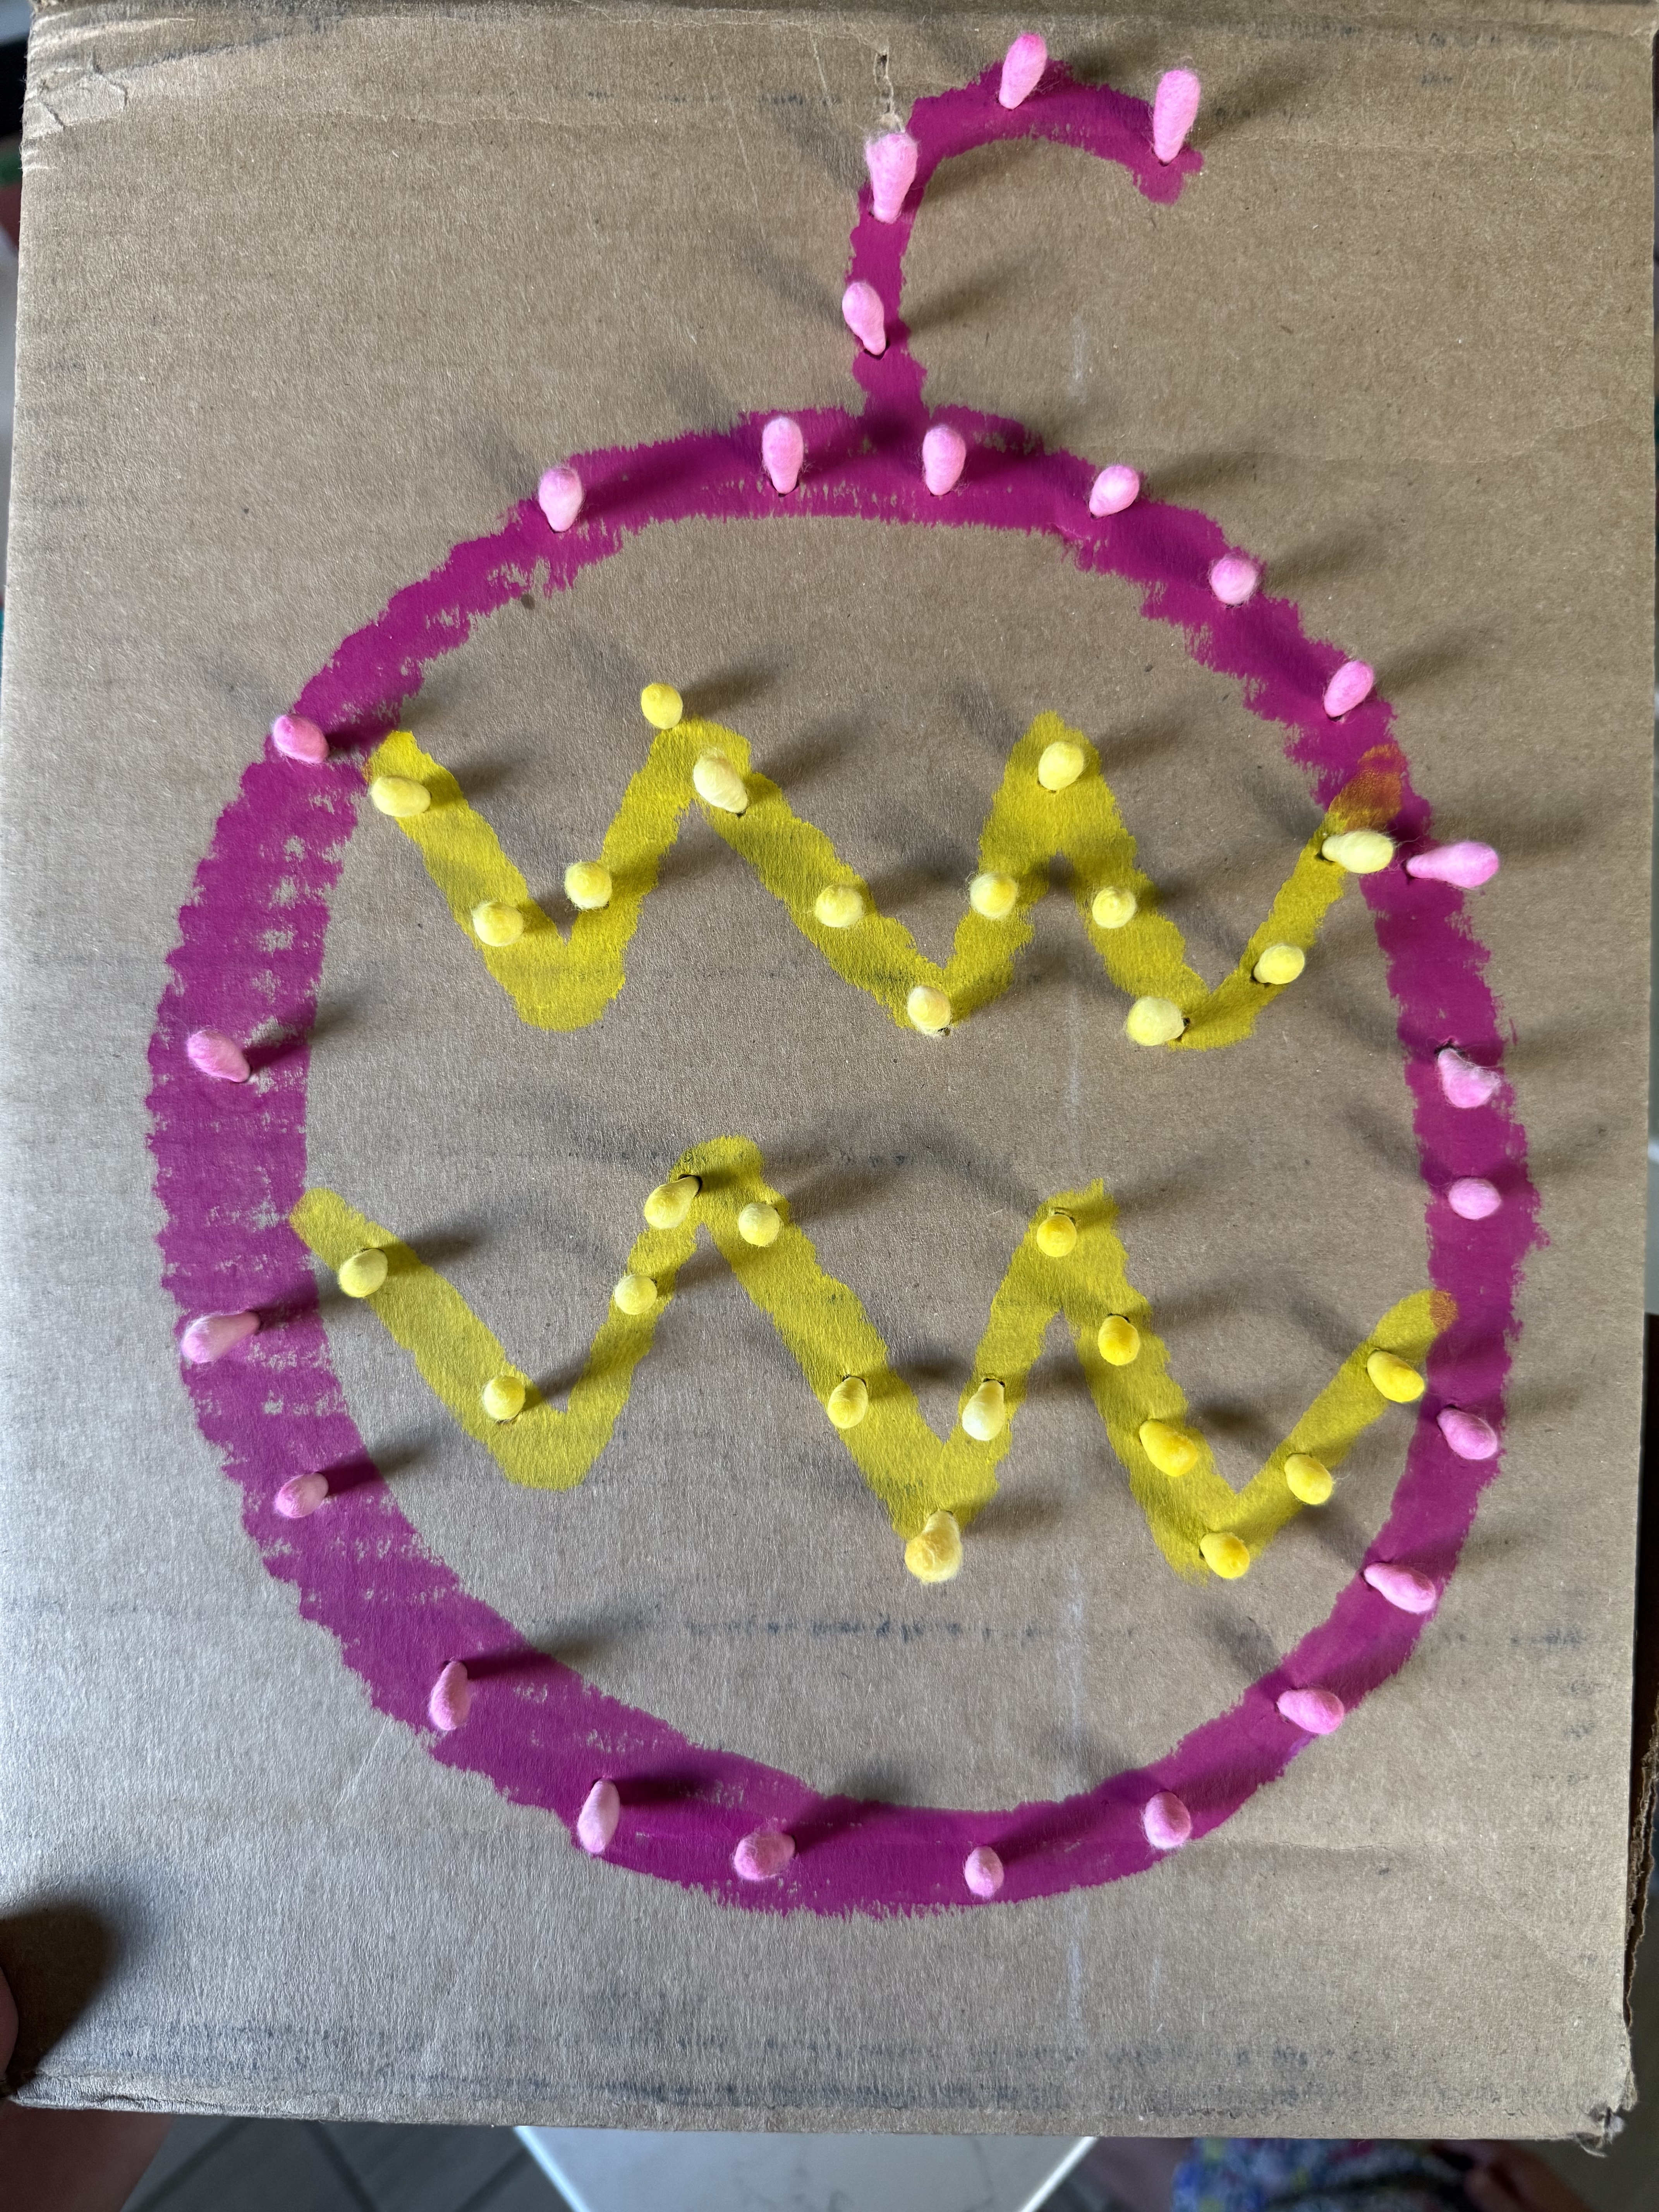
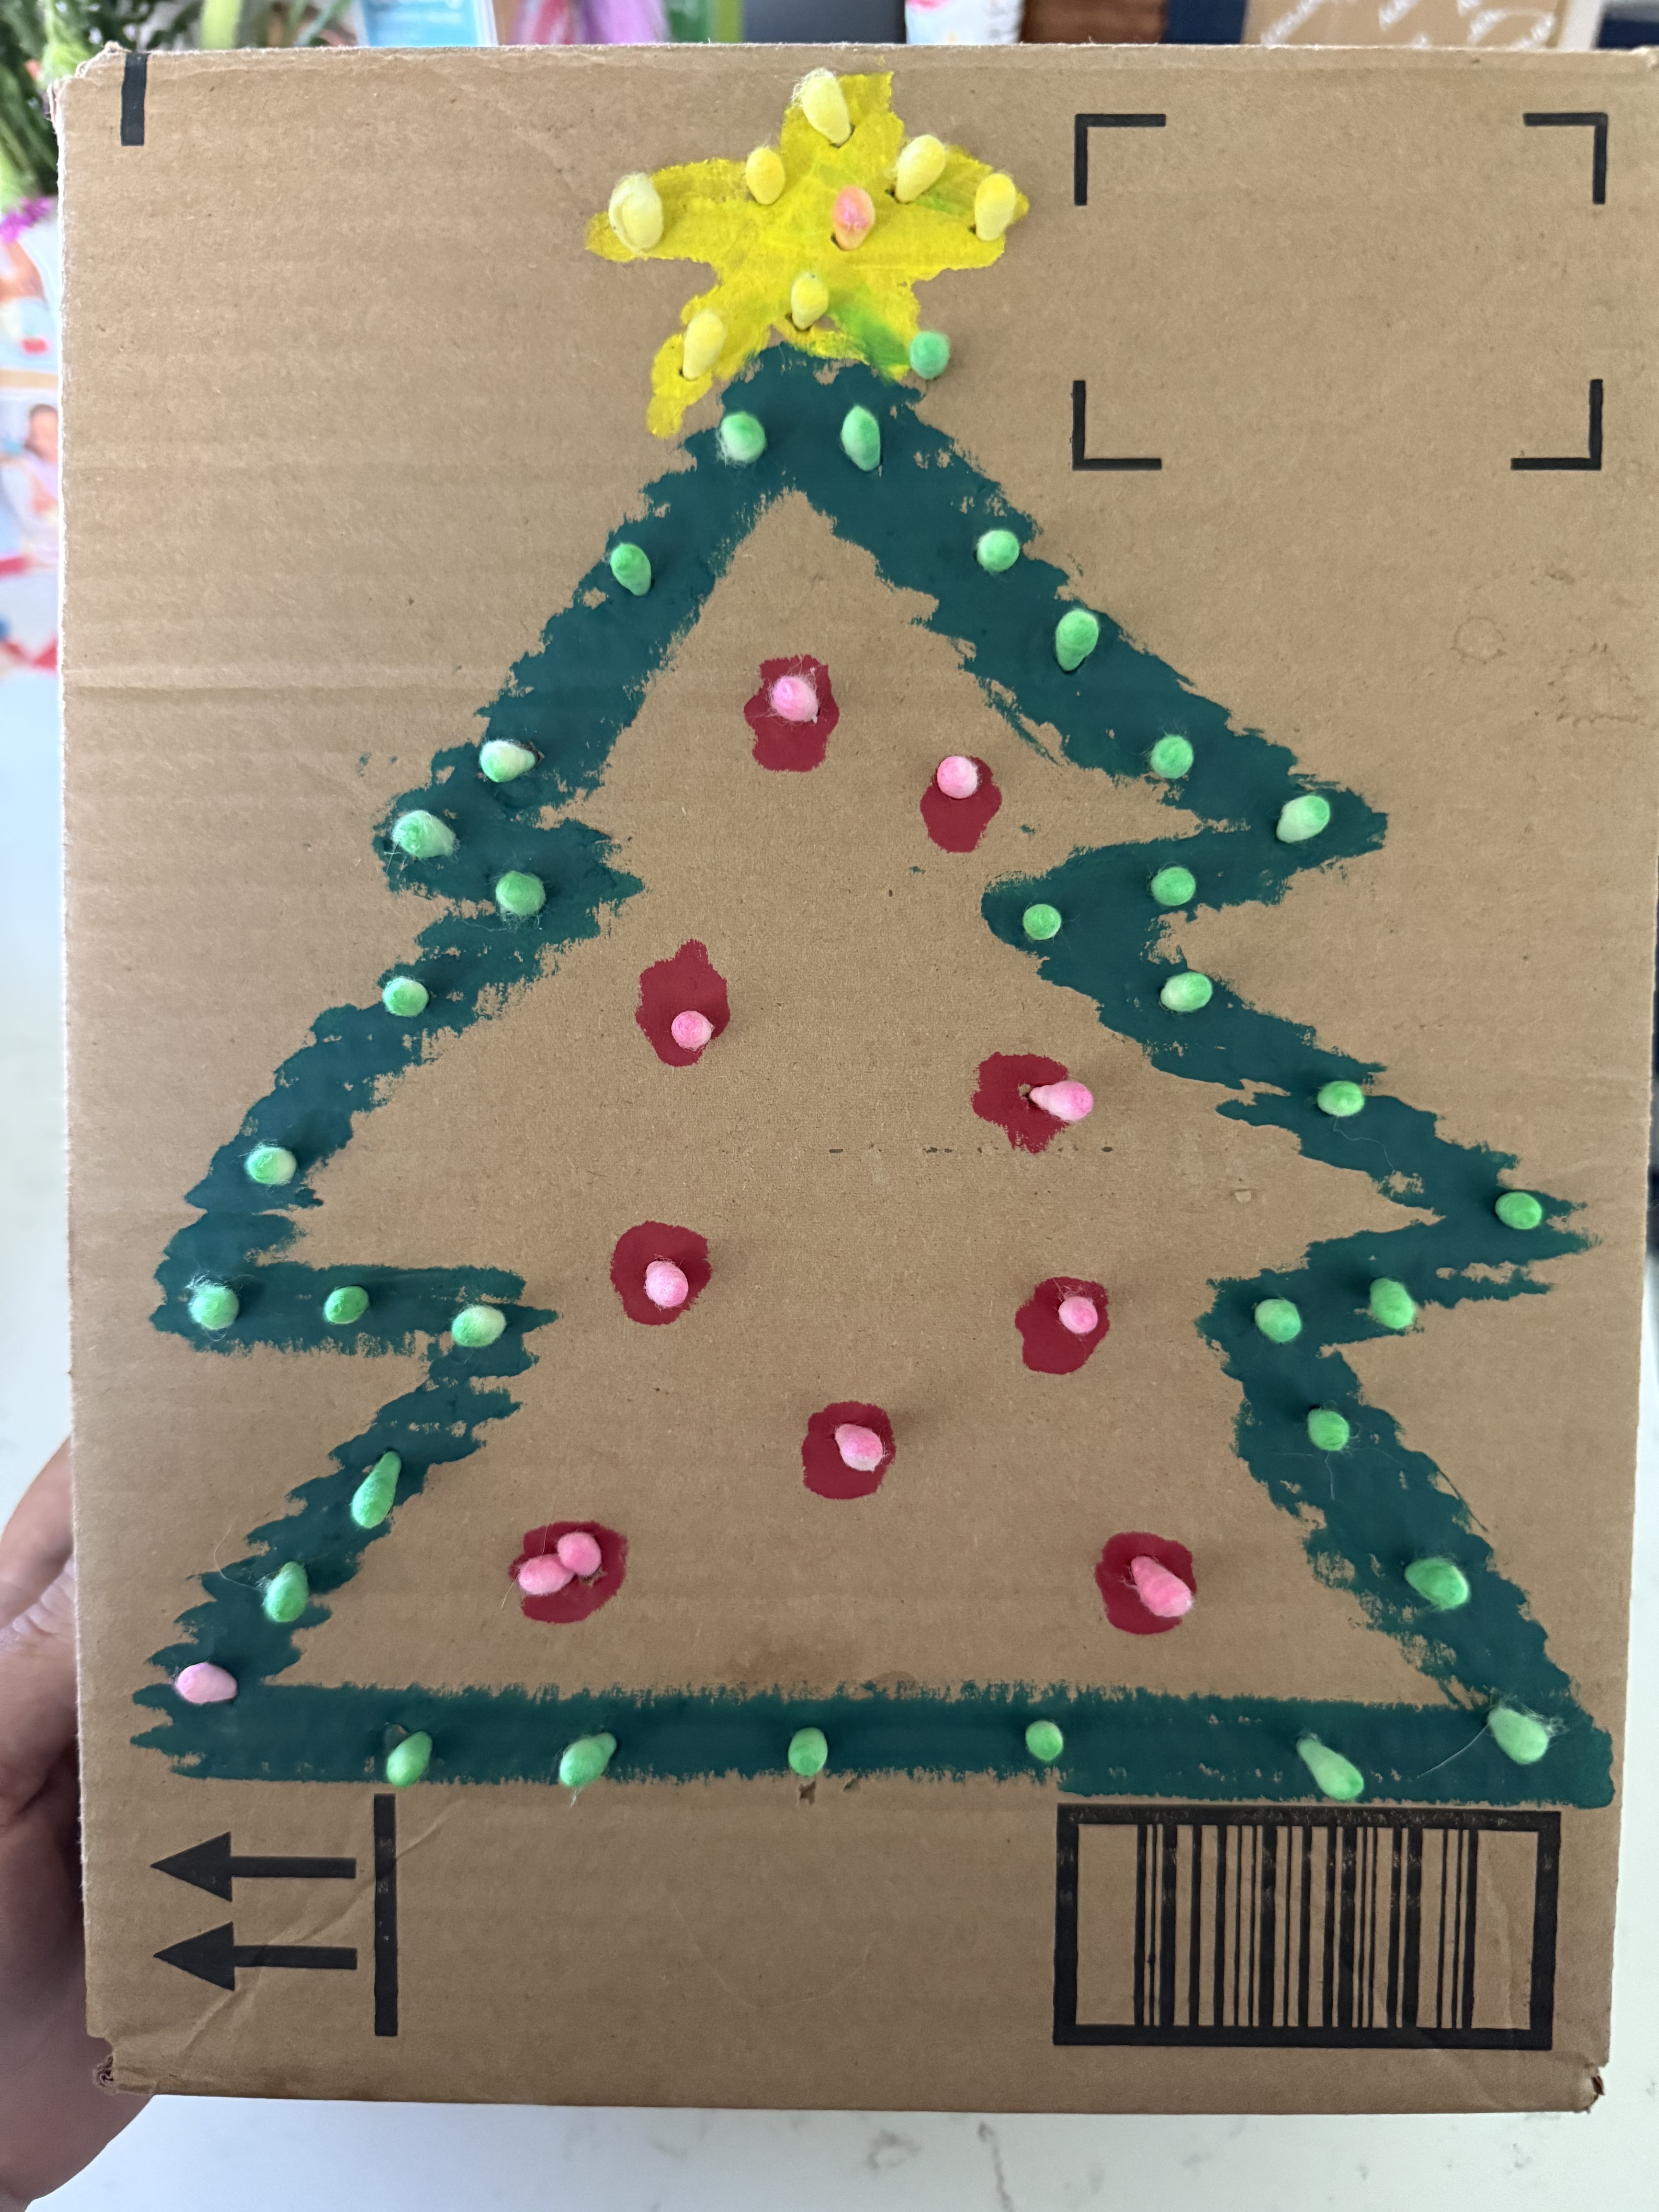
- Draw your design – Simple Christmas shapes work best! We’ve done a Christmas tree and a round ornament. A candy cane or star would be fun too.
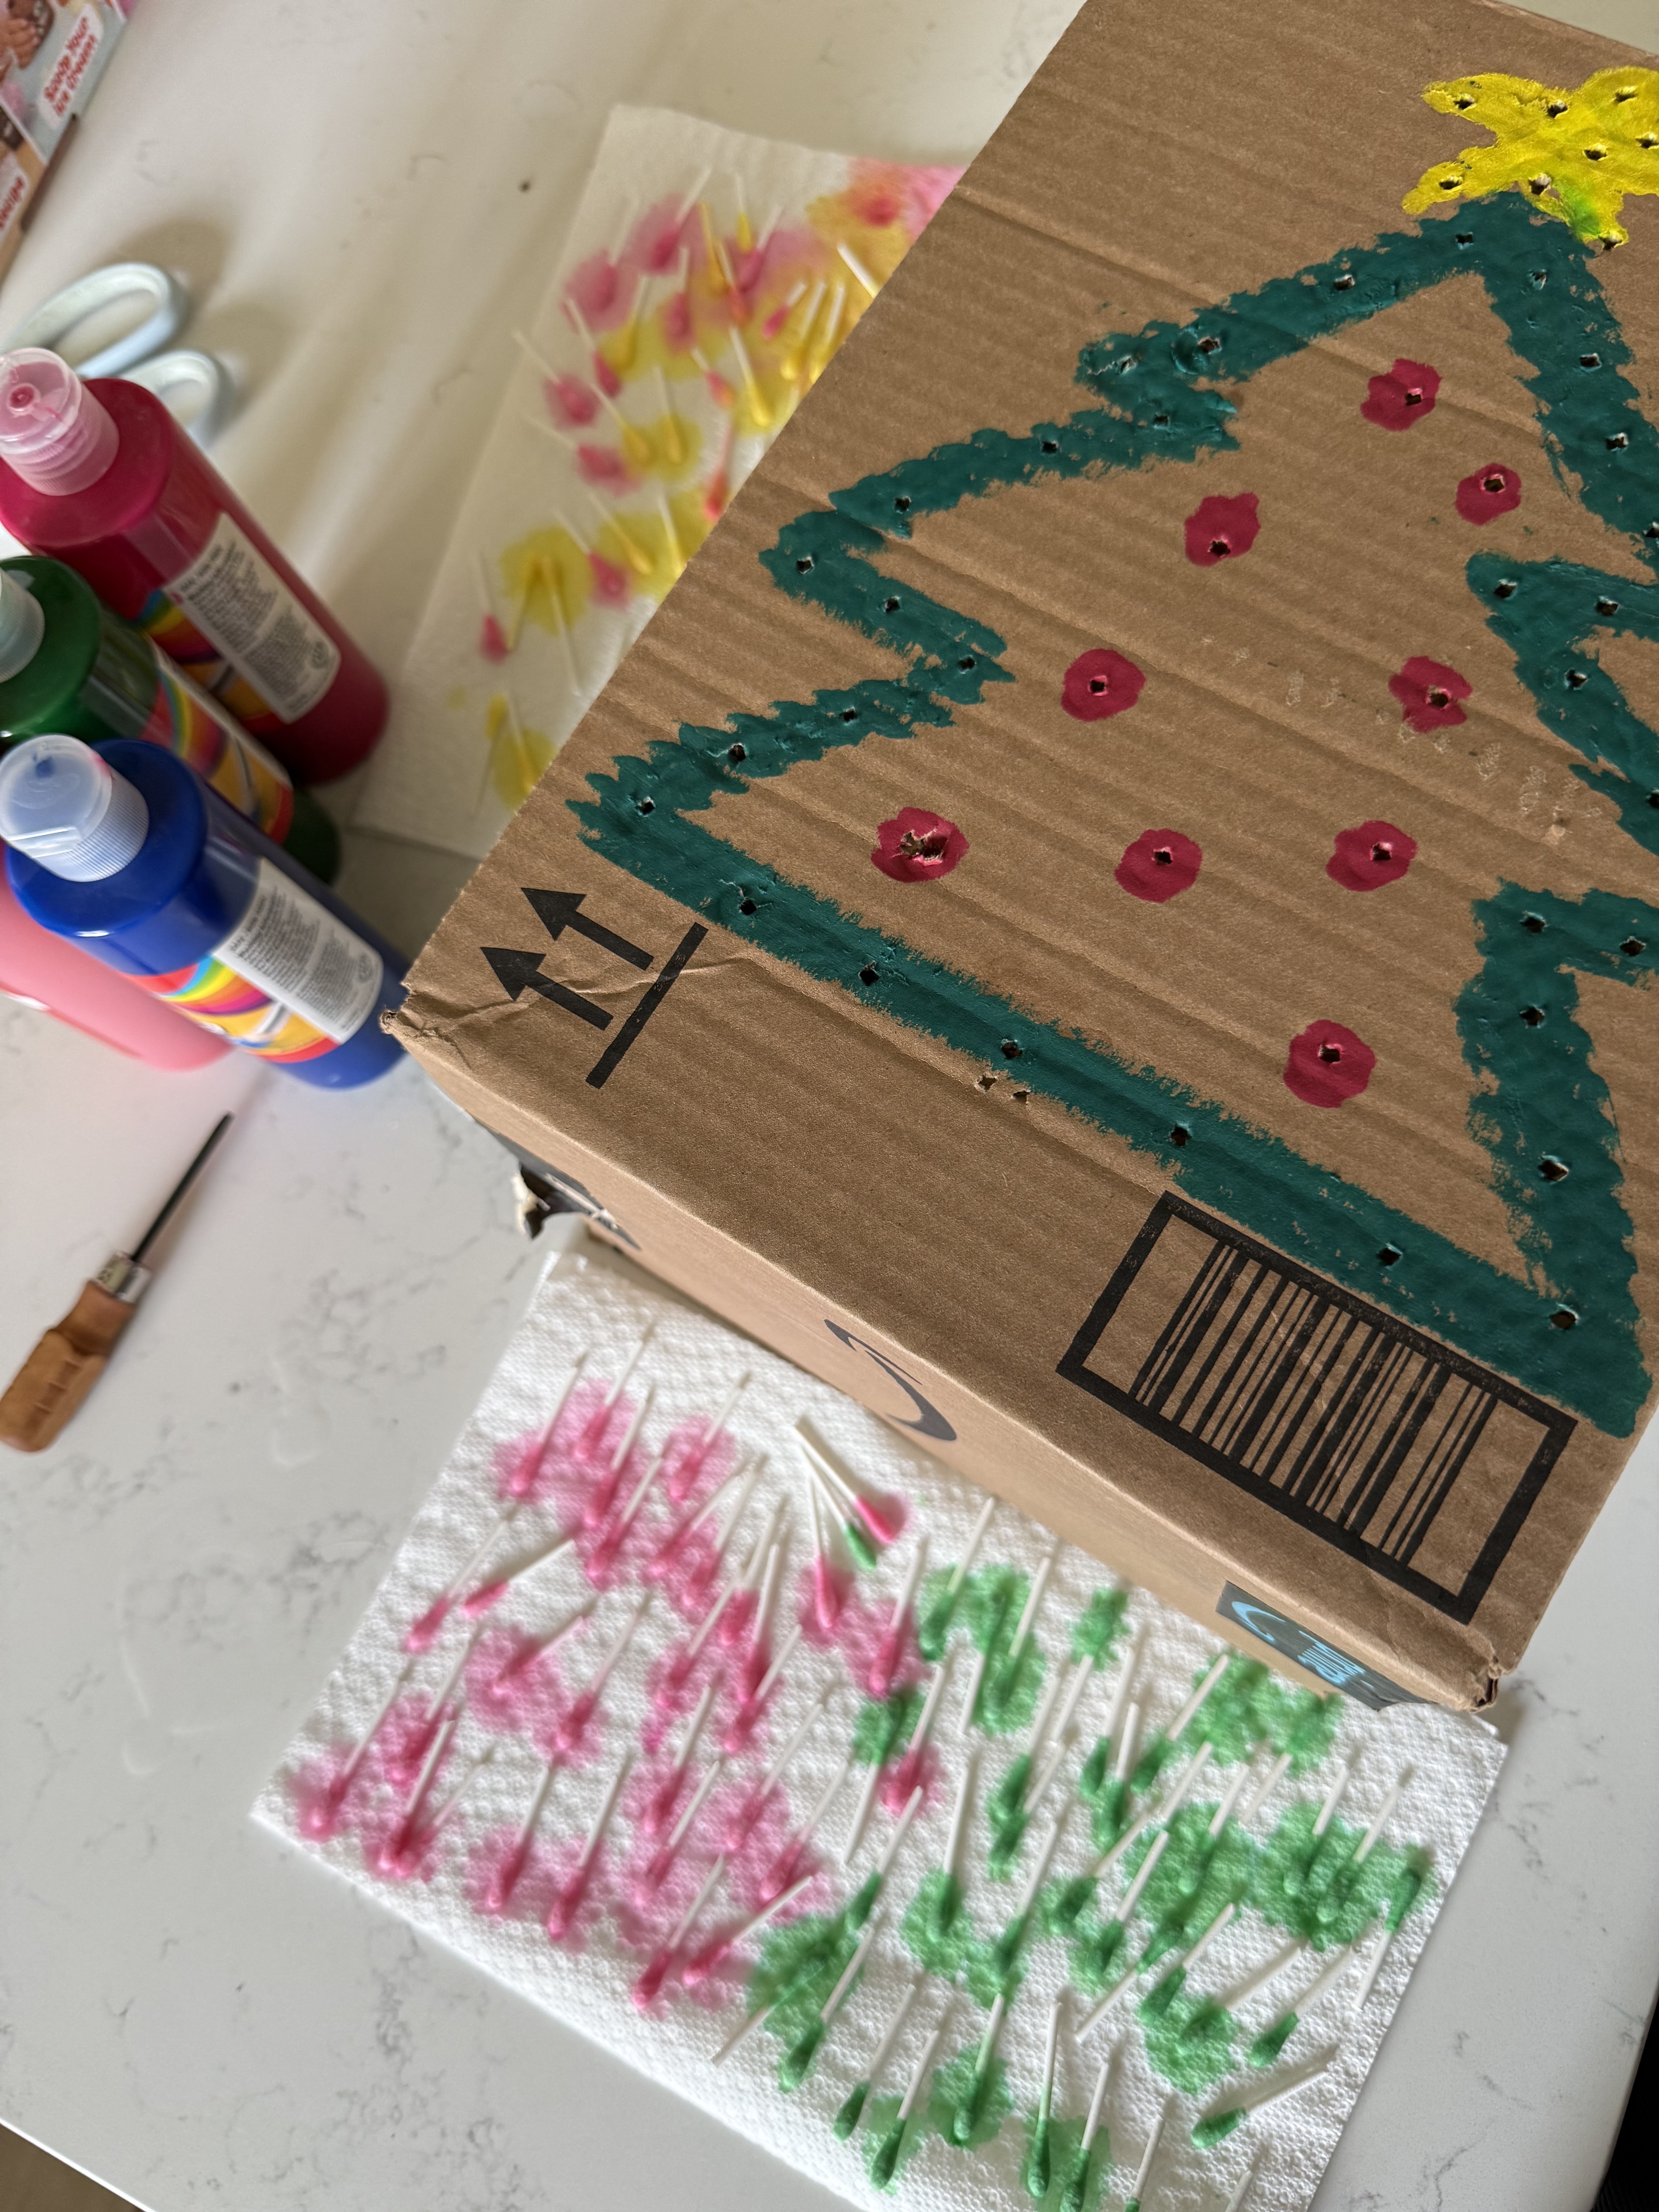
- Punch the holes – Use your screwdriver to poke holes along the outline of your drawing.
- Paint your Q-tips – Cut Q-tips in half, then mix 1 part paint with 2 parts water in small containers. Dip the Q-tips, lay them out on a paper towel, and let dry for about an hour.
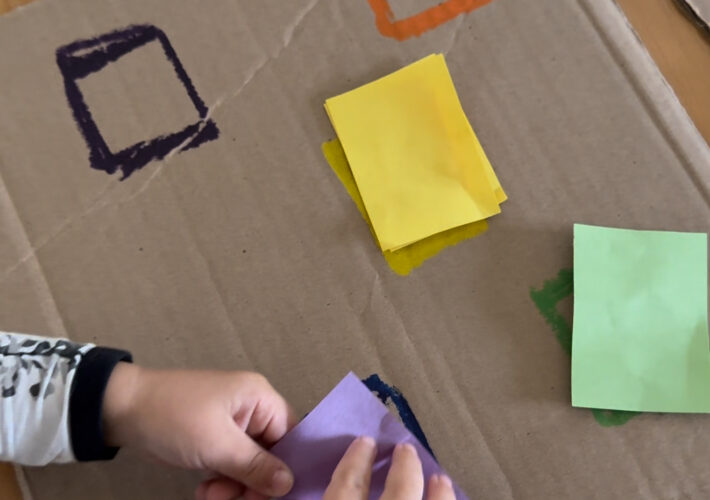
- Play the puzzle – Give your preschooler the colored Q-tips and let them match the pieces to the outline.
That’s it! A super easy, reusable puzzle that doubles as a color recognition and fine motor activity.
Why Kids Love This Activity
These puzzles are always a hit in our house. My preschooler and toddler both enjoy them, and it’s an activity they come back to almost daily during the holiday season.
- It reinforces color recognition in a hands-on way.
- It builds fine motor skills as they fit each Q-tip into its spot.
- It’s budget-friendly and quick to prep.
- And best of all, there’s no mom guilt when you’re ready to recycle the box. Just make a new one with a fresh holiday design, or let older kids create their own outlines for a creative challenge.
Fun Variations and Extra Learning Opportunities
This DIY Christmas puzzle is already a great fine motor and color recognition activity, but you can easily adapt it for preschoolers who are ready for a little extra challenge. These simple variations stretch the activity into early math and literacy skills while keeping it fun and hands-on.
Counting Puzzles
Instead of drawing holiday shapes, write numbers on the cardboard and punch the corresponding number of holes for each one. For example, write the number “3” and add three holes for your child to fill. As they place the Q-tips, they’ll practice counting, one-to-one correspondence, and number recognition.
Name & Letter Recognition
Another idea is to write your toddler’s name across the box, then punch holes along each letter. As they place the Q-tips, they’ll start to recognize the shape of the letters in their name. This can be a fun weekly literacy activity as you rotate in new letters or simple sight words for preschoolers.
Seasonal & Holiday Variations
Don’t pack this activity away after Christmas! The same idea works year-round with different themes:
- Valentine’s Day – hearts and X’s & O’s
- St. Patrick’s Day – shamrocks and rainbows
- Fourth of July – stars, stripes, and fireworks bursts
- Halloween – pumpkins, bats, and ghosts
- Thanksgiving – turkeys, leaves, or cornucopias
- New Year’s Eve – party hats, clocks, and fireworks
- Birthdays – balloons, candles, and cupcakes
These little swaps keep the activity fresh and exciting while giving your child consistent fine motor and learning practice throughout the year.
A Little Holiday Breathing Room
Whether you need five minutes to sip your coffee, wrap presents in peace, or just scroll on your phone guilt-free, this activity is a lifesaver. It keeps kids engaged, adds a festive touch to your home, and gives you that little pocket of breathing room we all need during the holiday rush.
If your kids loved this, be sure to check out my 25 Days of Christmas Activities for Toddlers. You’ll find more festive ideas, crafts, and keepsakes to make holiday magic simple and fun.
And if you still have shopping left to do, don’t forget I’ve rounded up my Gift Guides for the Whole Family and our Favorite Toddler Toys of the Year to make things easier for you.
xx, Ciara


Pingback: 25+ Christmas Activities for Toddlers and Preschoolers - Ciara Deanne on August 23, 2025
1 COMMENT