This post contains affiliate links. A small commission may be earned if you make a purchase through my links. Thank you for supporting my blog!
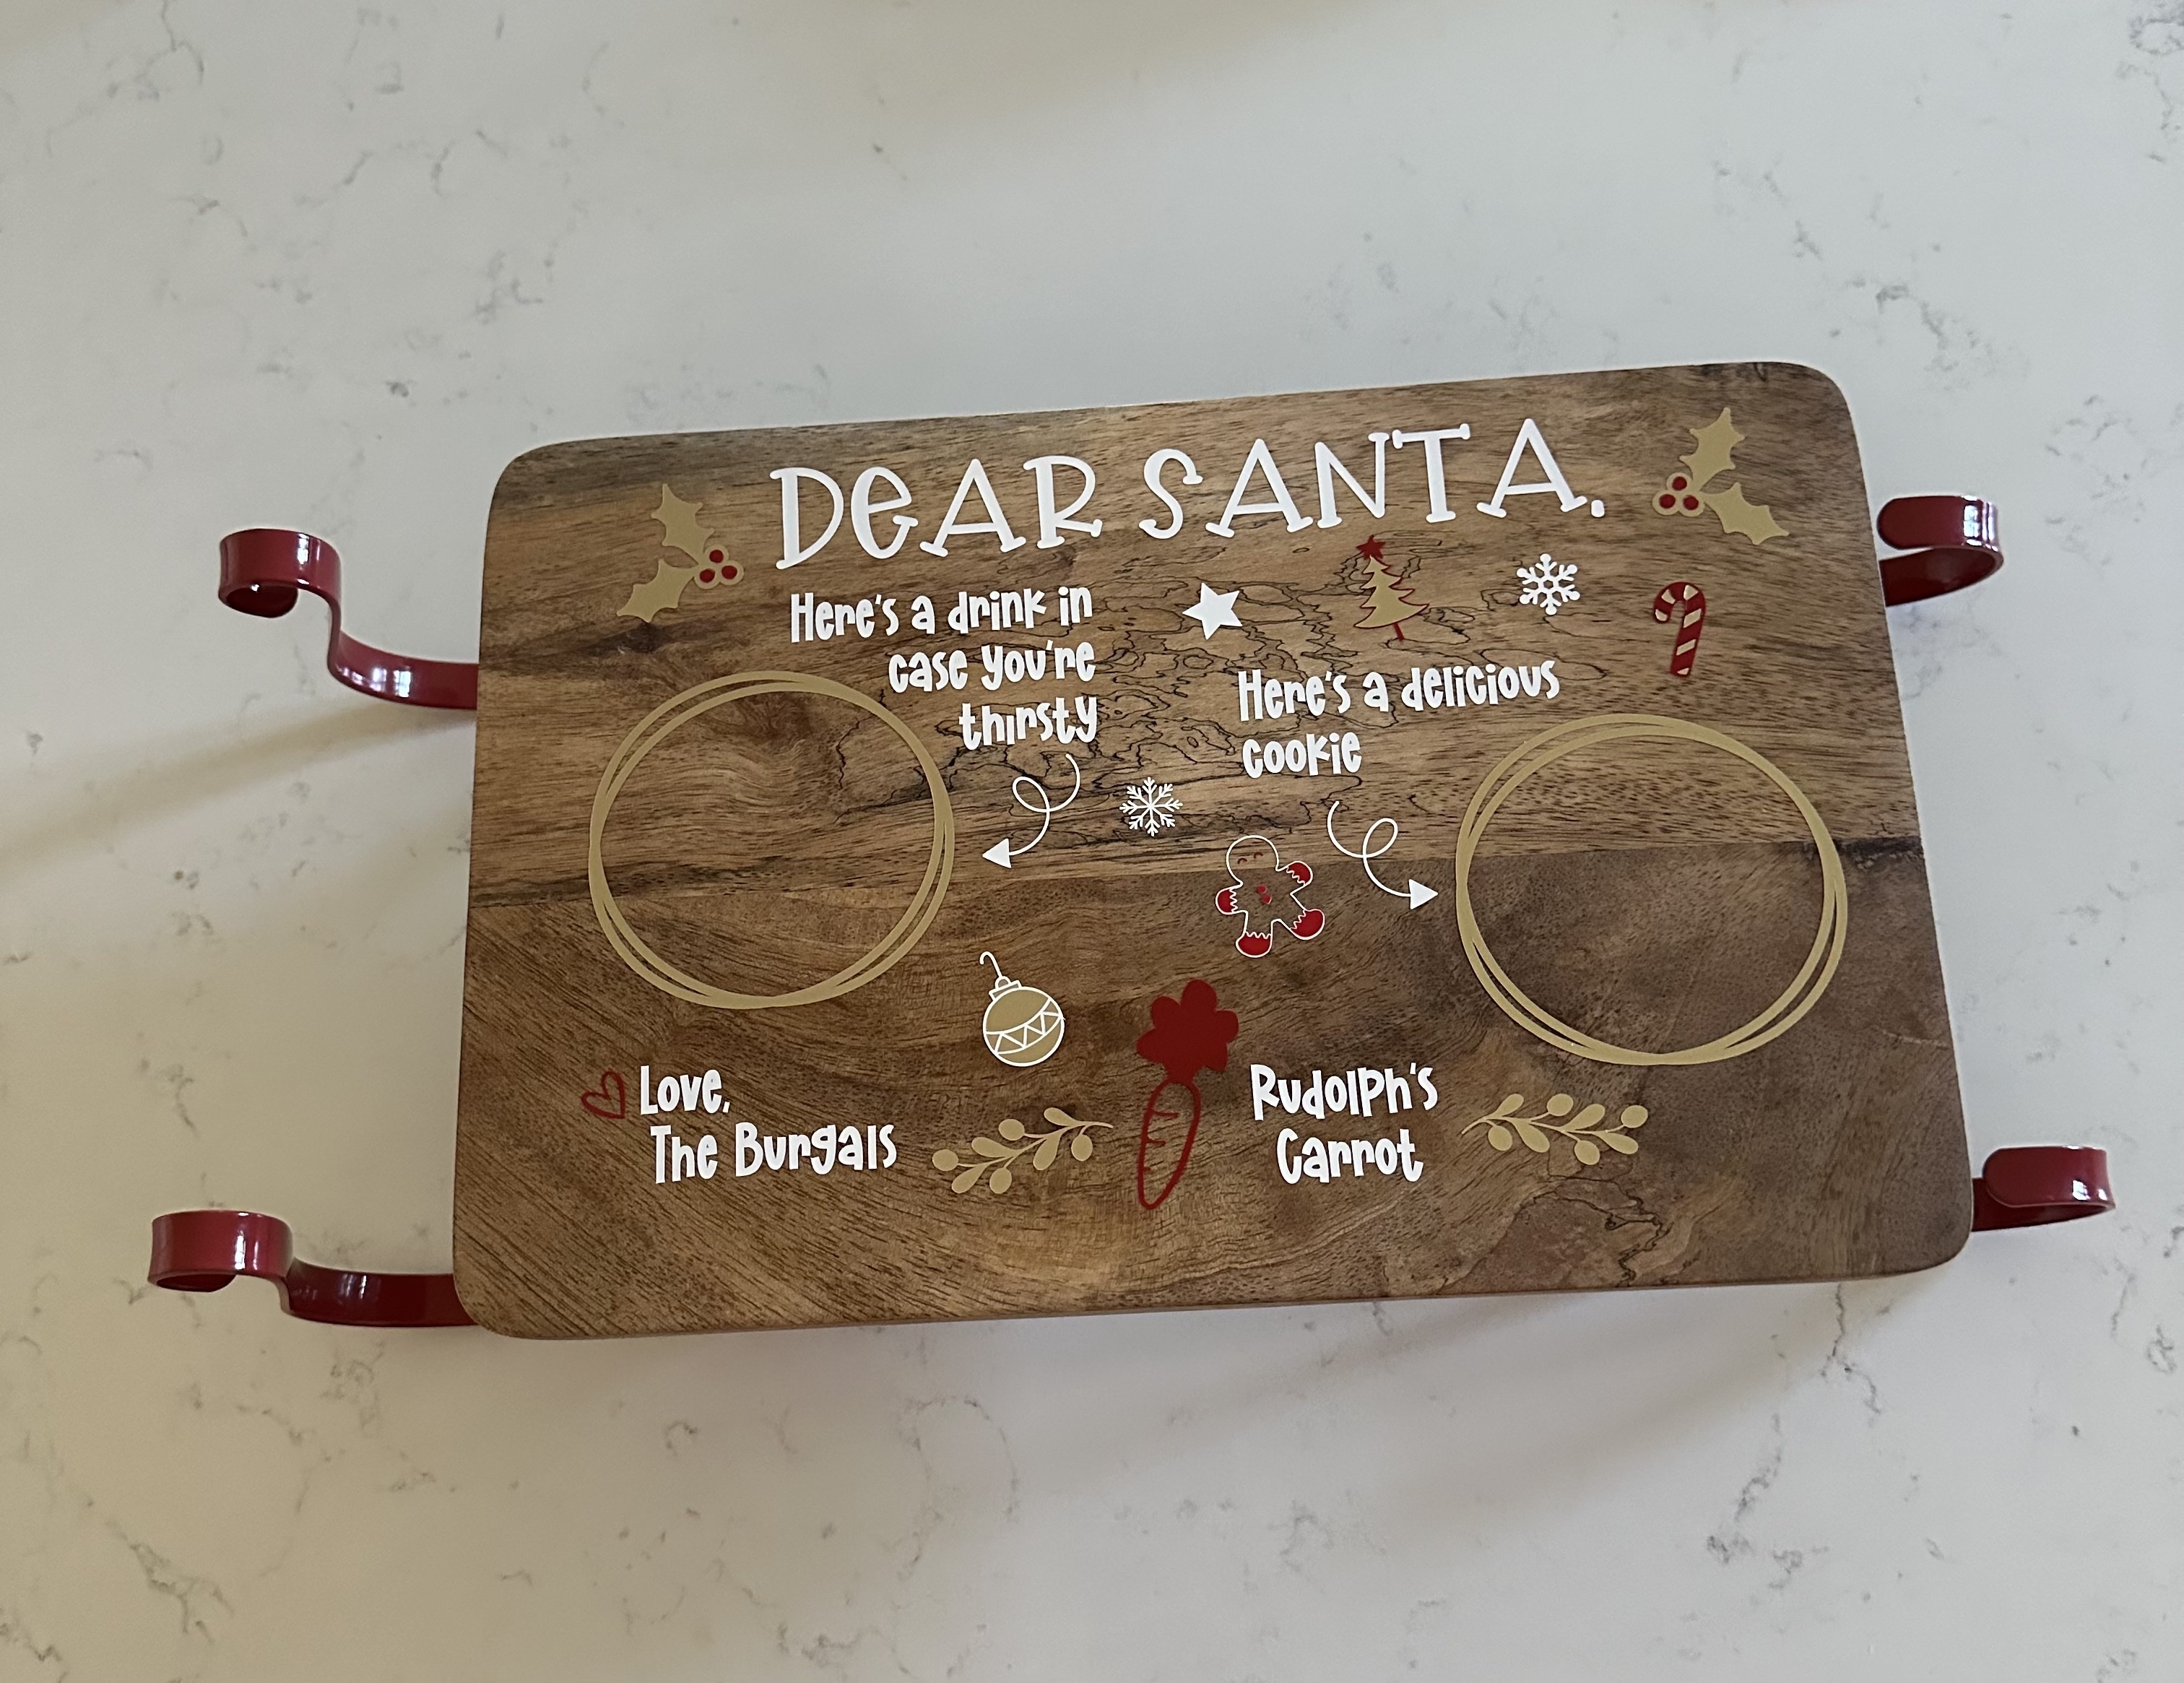
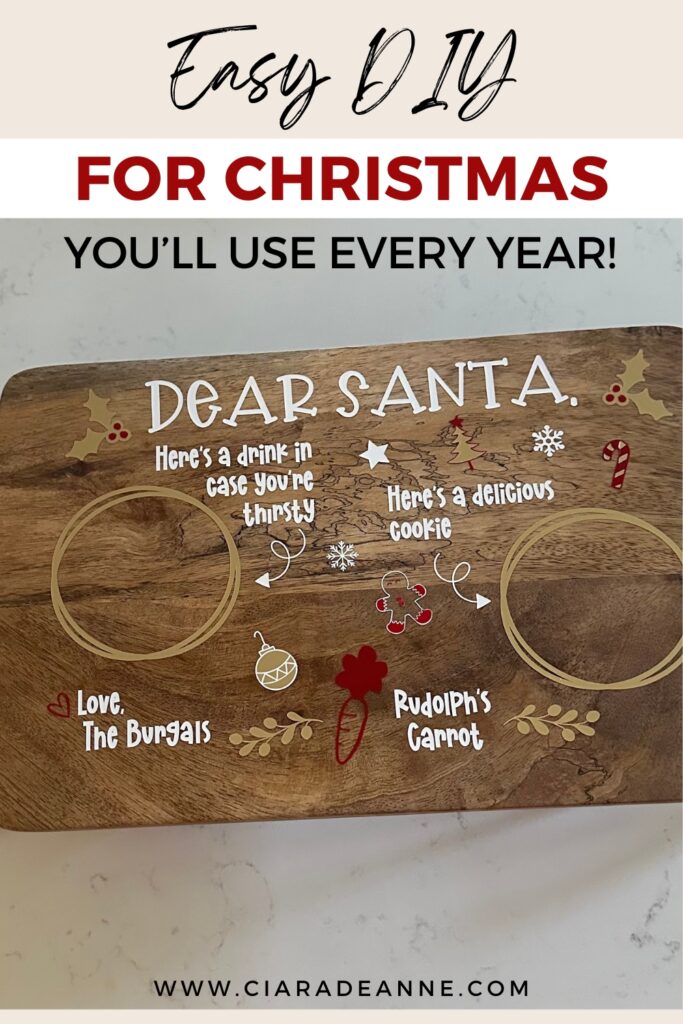
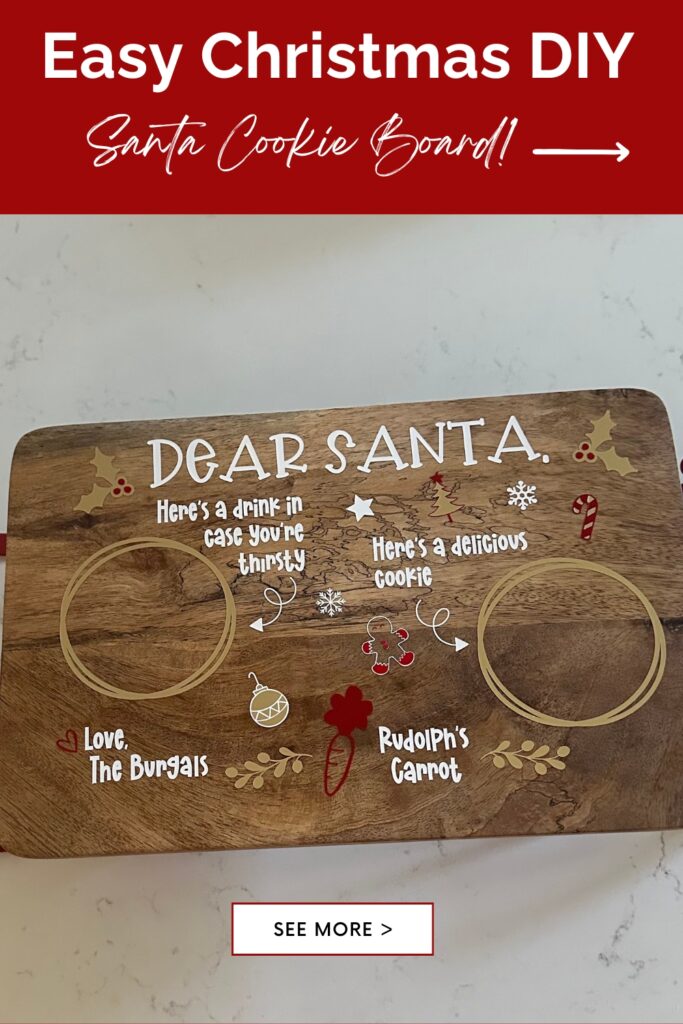
If your family leaves cookies out for the big guy every Christmas Eve, this is such a fun DIY project to make your tradition even more magical. A personalized Santa cookie board is festive, functional, and a keepsake you can pull out year after year.
This is an easy Cricut project — and you can use either the Cricut Maker 3 or Cricut Joy Xtra. I own both, so let’s do a quick comparison before we jump into the tutorial.
Cricut Maker 3 vs. Cricut Joy Xtra — Which Should You Use?
Cricut Maker 3
- Full Price: $429
- What It Can Do: Cut, write, draw, foil, score, engrave, emboss, perforate
- Materials: 300+ compatible materials (including metal, leather, and wood)
- Paper Width: 11.7 inches
- Size: 22.1 x 7.1 x 6.2 in
- Weight: 15.4 lb
Cricut Joy Xtra
- Full Price: $199
- What It Can Do: Cut, write, draw, foil, score, engrave, emboss, perforate
- Materials: 50+ compatible materials
- Paper Width: 8.5 inches
- Size: 12.5 x 6 x 5.5 in
- Weight: 6 lb
My take:
- If you plan to work with thicker materials like leather, foam, felt, or wood — or if you want a wide range of crafting options, the Maker 3 is the better investment.
- If you mainly want to create personalized holiday gifts, home décor, and kids’ projects without storing a huge machine, the Joy Xtra is a great choice.
I also want to mention the Cricut Joy (smaller than the Joy Xtra), but its 4.5-inch width limit just wasn’t practical for me. I’ve had several projects where the extra width of the Joy Xtra was necessary.
Honestly, I rarely drag out my Maker 3 for projects. Even before I had the Joy Xtra, I found that most of my projects involved vinyl or iron-on designs, the Joy Xtra handles those perfectly and is much easier to store and use.
How to Make a Personalized Santa Cookie Board
What You’ll Need
- Cricut Joy Xtra (or Maker 3)
- Permanent Vinyl (I used white, red, and gold)
- Cricut Transfer Tape
- Cricut Tools (scraper + weeding pick)
- Serving board (I used a sleigh-shaped serving board – here’s a similar one on Amazon. A circle or rectangle board works too.)
- Cricut Design Space
Step-by-Step Instructions
1. Find or Create Your Design
- In Cricut Design Space, search for “Santa Cookie Board” or use this design link and customize it for your family.
- You can also design your own in Canva and import it into Cricut Design Space. This takes more time but gives you full creative control.
- Fonts I used: BFC Santa’s Toy Bag and BFC Snow Cookie.
2. Choose Your Vinyl Colors
- Assign colors to each layer of your design so they cut separately.
3. Cut Your Design
- Load each color of permanent vinyl into your Cricut and cut according to your design.
4. Weed and Layer Your Vinyl
- Start with the base layer (white), then layer red, and finally gold. Use transfer tape to align and apply each layer cleanly.
5. Apply to Your Board
- Smooth the design firmly with your scraper so it adheres well.
6. Seal Your Design
- Apply a thin coat of Mod Podge over the vinyl to seal it before curing. This is optional but it helps protect the design and makes it last for years.
7. Cure and Use
- Allow the Mod Podge to fully cure according to the instructions before using your board for cookies.
This project is such a cute way to make Christmas Eve extra special for your kids, and it also makes a great gift for grandparents, teachers, or friends (just tweak the design however you want).
I’m planning to make a matching personalized milk glass for Santa, so stay tuned for that tutorial.
I’m also thinking about starting a weekly Cricut project series so I actually use my machine more often. Let me know if there’s a project you’d love to see! Until then check out the 25 Day of Christmas Crafts and Activities if you need ideas for the whole month of December.
xx, Ciara


Pingback: 25 Days of Christmas Activities for Toddlers - Ciara Deanne on November 11, 2024
Pingback: Hidden Christmas Scene Painting - Ciara Deanne on November 11, 2024
Pingback: Mistletoes Christmas Keepsake - Ciara Deanne on November 11, 2024
3 COMMENTS