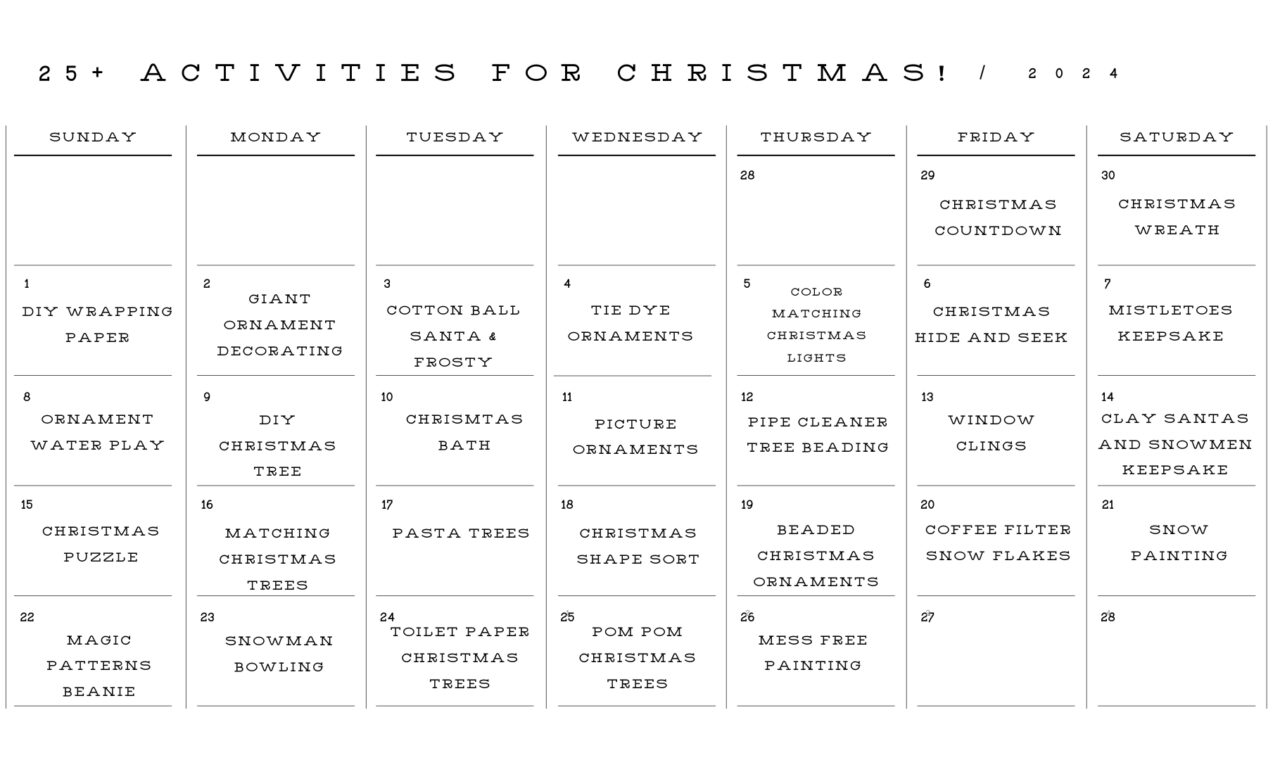
If you are looking for some fun and festive activities and crafts to do this Christmas season – I’ve got you covered! These 25 days of activities are perfect for you and your toddler to do all month long in December. (Printable version of the calendar at the bottom of the page) **This post may contain affiliate links. A small commission may be earned.**
25+ Days of Christmas Activities
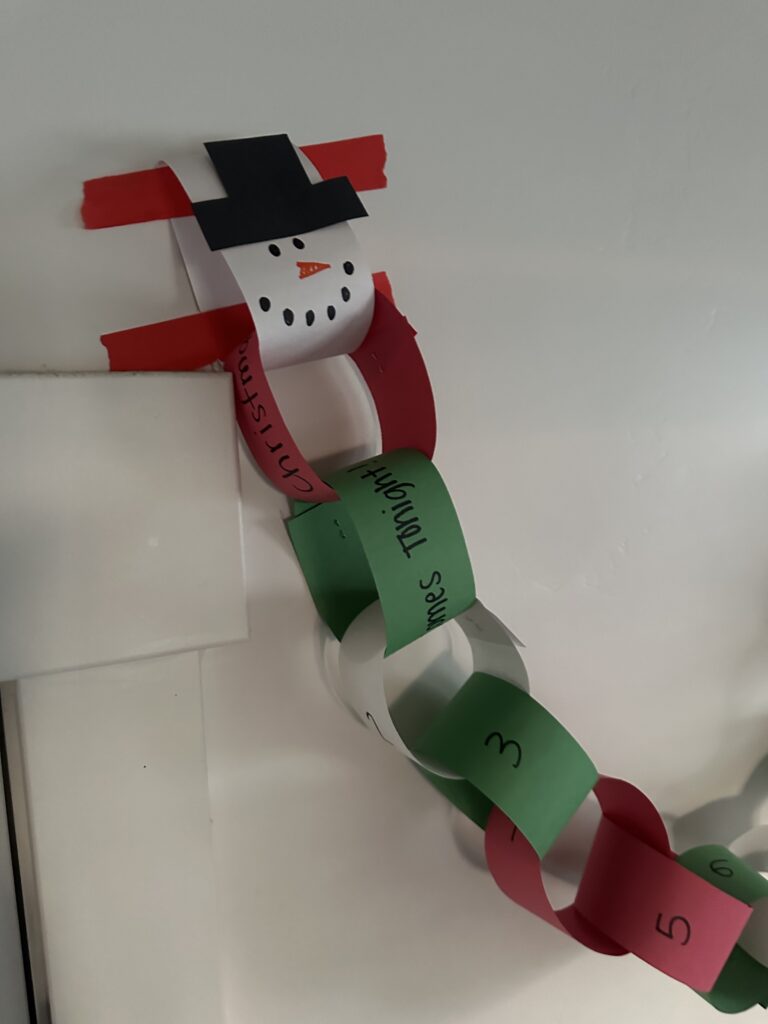
Day 1: Christmas Countdown
What you need:
– Construction Paper
– Scissors
– Stapler
– Glue
– Markers
1. Cut out 27 or so strips of paper about 2 inches by the smaller length of your paper (8-9 inches). If your kids are old enough, this would make some great practice with scissors! We love this pair for my 3 year old.
2. Write the numbers 1-25 as well as CHRISTMAS! on the strips (this way your kids aren’t wanting to count the chain everyday).
3. Create a chain of the strips. Start with Christmas and end with 25 (or how many days you are away from Christmas creating this).
4. Decorate the final chain with whatever theme your kiddo choses. Santa, snowman, reindeer, wreath, etc.
5. Every day cut one off as a countdown to Christmas!
For younger kids this wooden magnetic countdown is cute and could be used every year! You can obviously do both too, that’s what we’ll do!
Bonus Fun – Make Christmas Tree Cinnamon Rolls!
We used the Annie Cinnamon rolls and Supernatural Sprinkles (they’re great for Christmas Cookie decorating and dye free!).
Day 2: Christmas Wreath
What you need:
– Cardboard Circle or Paper Plate
– Tissue Paper
– Glue
There are so many ways to create a Wreath for Christmas. I love this one for younger toddlers because it’s easy for them to do themselves.
1. Cut out your cardboard wreath or the center out of a paper plate.
2. Draw a bow and circles for ornaments on your wreath
3. Cut your tissue paper into 1 inch squares and crumple them into balls. We did lots of green for the main part of the wreath and then red, and white for the bow and ornaments.
4. Drop some dots of glue, or trust your toddler with the glue themselves and let them decorate their wreath.
The bow and ornaments are there if they want to decorate them, or else just let them have fun and decorate it the way they want!
5. Let the glue dry and then you can hang it on their door!
Day 3: DIY Wrapping Paper
What you need:
– Butcher Paper (we are going to do White and Brown)
– Christmas Stamps
– Paint or Ink Pads (or both)
– Optional glitter for the paper
1. Lay your butcher paper on the counter or table.
2. Decide if you want themes for your paper or just a free for all. Both options are great.
3. Let your toddler paint and stamp away. This can be as abstract as they want, as long as they’re entertained!
4. Let the paint dry full. Write “Merry Christmas” “Ho Ho Ho” “Let it Snow” etc in sharpie.
5. Wrap your Christmas gifts in this all season! Such a fun and special holiday tradition.
** For younger toddlers I find the ink to be easier with the stamps!
Day 4: Giant Ornament Decorating
What you need:
– Cardboard (you can use this print out too)
– Markers
– Sequins, Beads, Pom Poms, Glitter Pom Poms, Paint
– Glue
1. On your cardboard cut out your ornament shape. Draw on various lines or shapes for your toddler to color in and decorate.
2. Let your toddler decorate their giant ornaments however they want to.
**If you want to make this a color recognition activity – color lines certain colors and have your toddler place the correct colors on the lines.
3. Hang your ornaments!
Day 5: Cotton Ball Santa & Frosty
What you need:
– Frosty and Santa Outline (you can find print outs at the bottom of the page)
– Cotton Balls
– Glue
1. Get your toddler their outlines of Santa and Frosty. You can use the print outs or you can draw them!
2. Let them glue cotton balls to Santa’s beard and all over frosty.
3. If you put cotton balls on Santa’s hat as well, you can have your toddler paint it red (the cotton balls soak up a lot of paint, but it keeps them occupied for a long time).
Day 6: Tie Dye Ornaments
What you Need:
– Cardstock
– Foil
– Markers
– Spray bottles
1. Cut out several ornaments and foil sheets about the size of the ornament (a little bigger is good)
2. Have your toddler color all over the foil.
3. Spray a few sprays of water on the foil sheet.
4. Place the cardstock ornament on the foil and reveal a beautiful tie dye ornament!
5. Let the ornament dry and save it for your DIY tree.
**We are creating several ornaments to place on our DIY tree, but you can hang them for decoration anywhere!
Day 7: Color Matching Christmas Lights
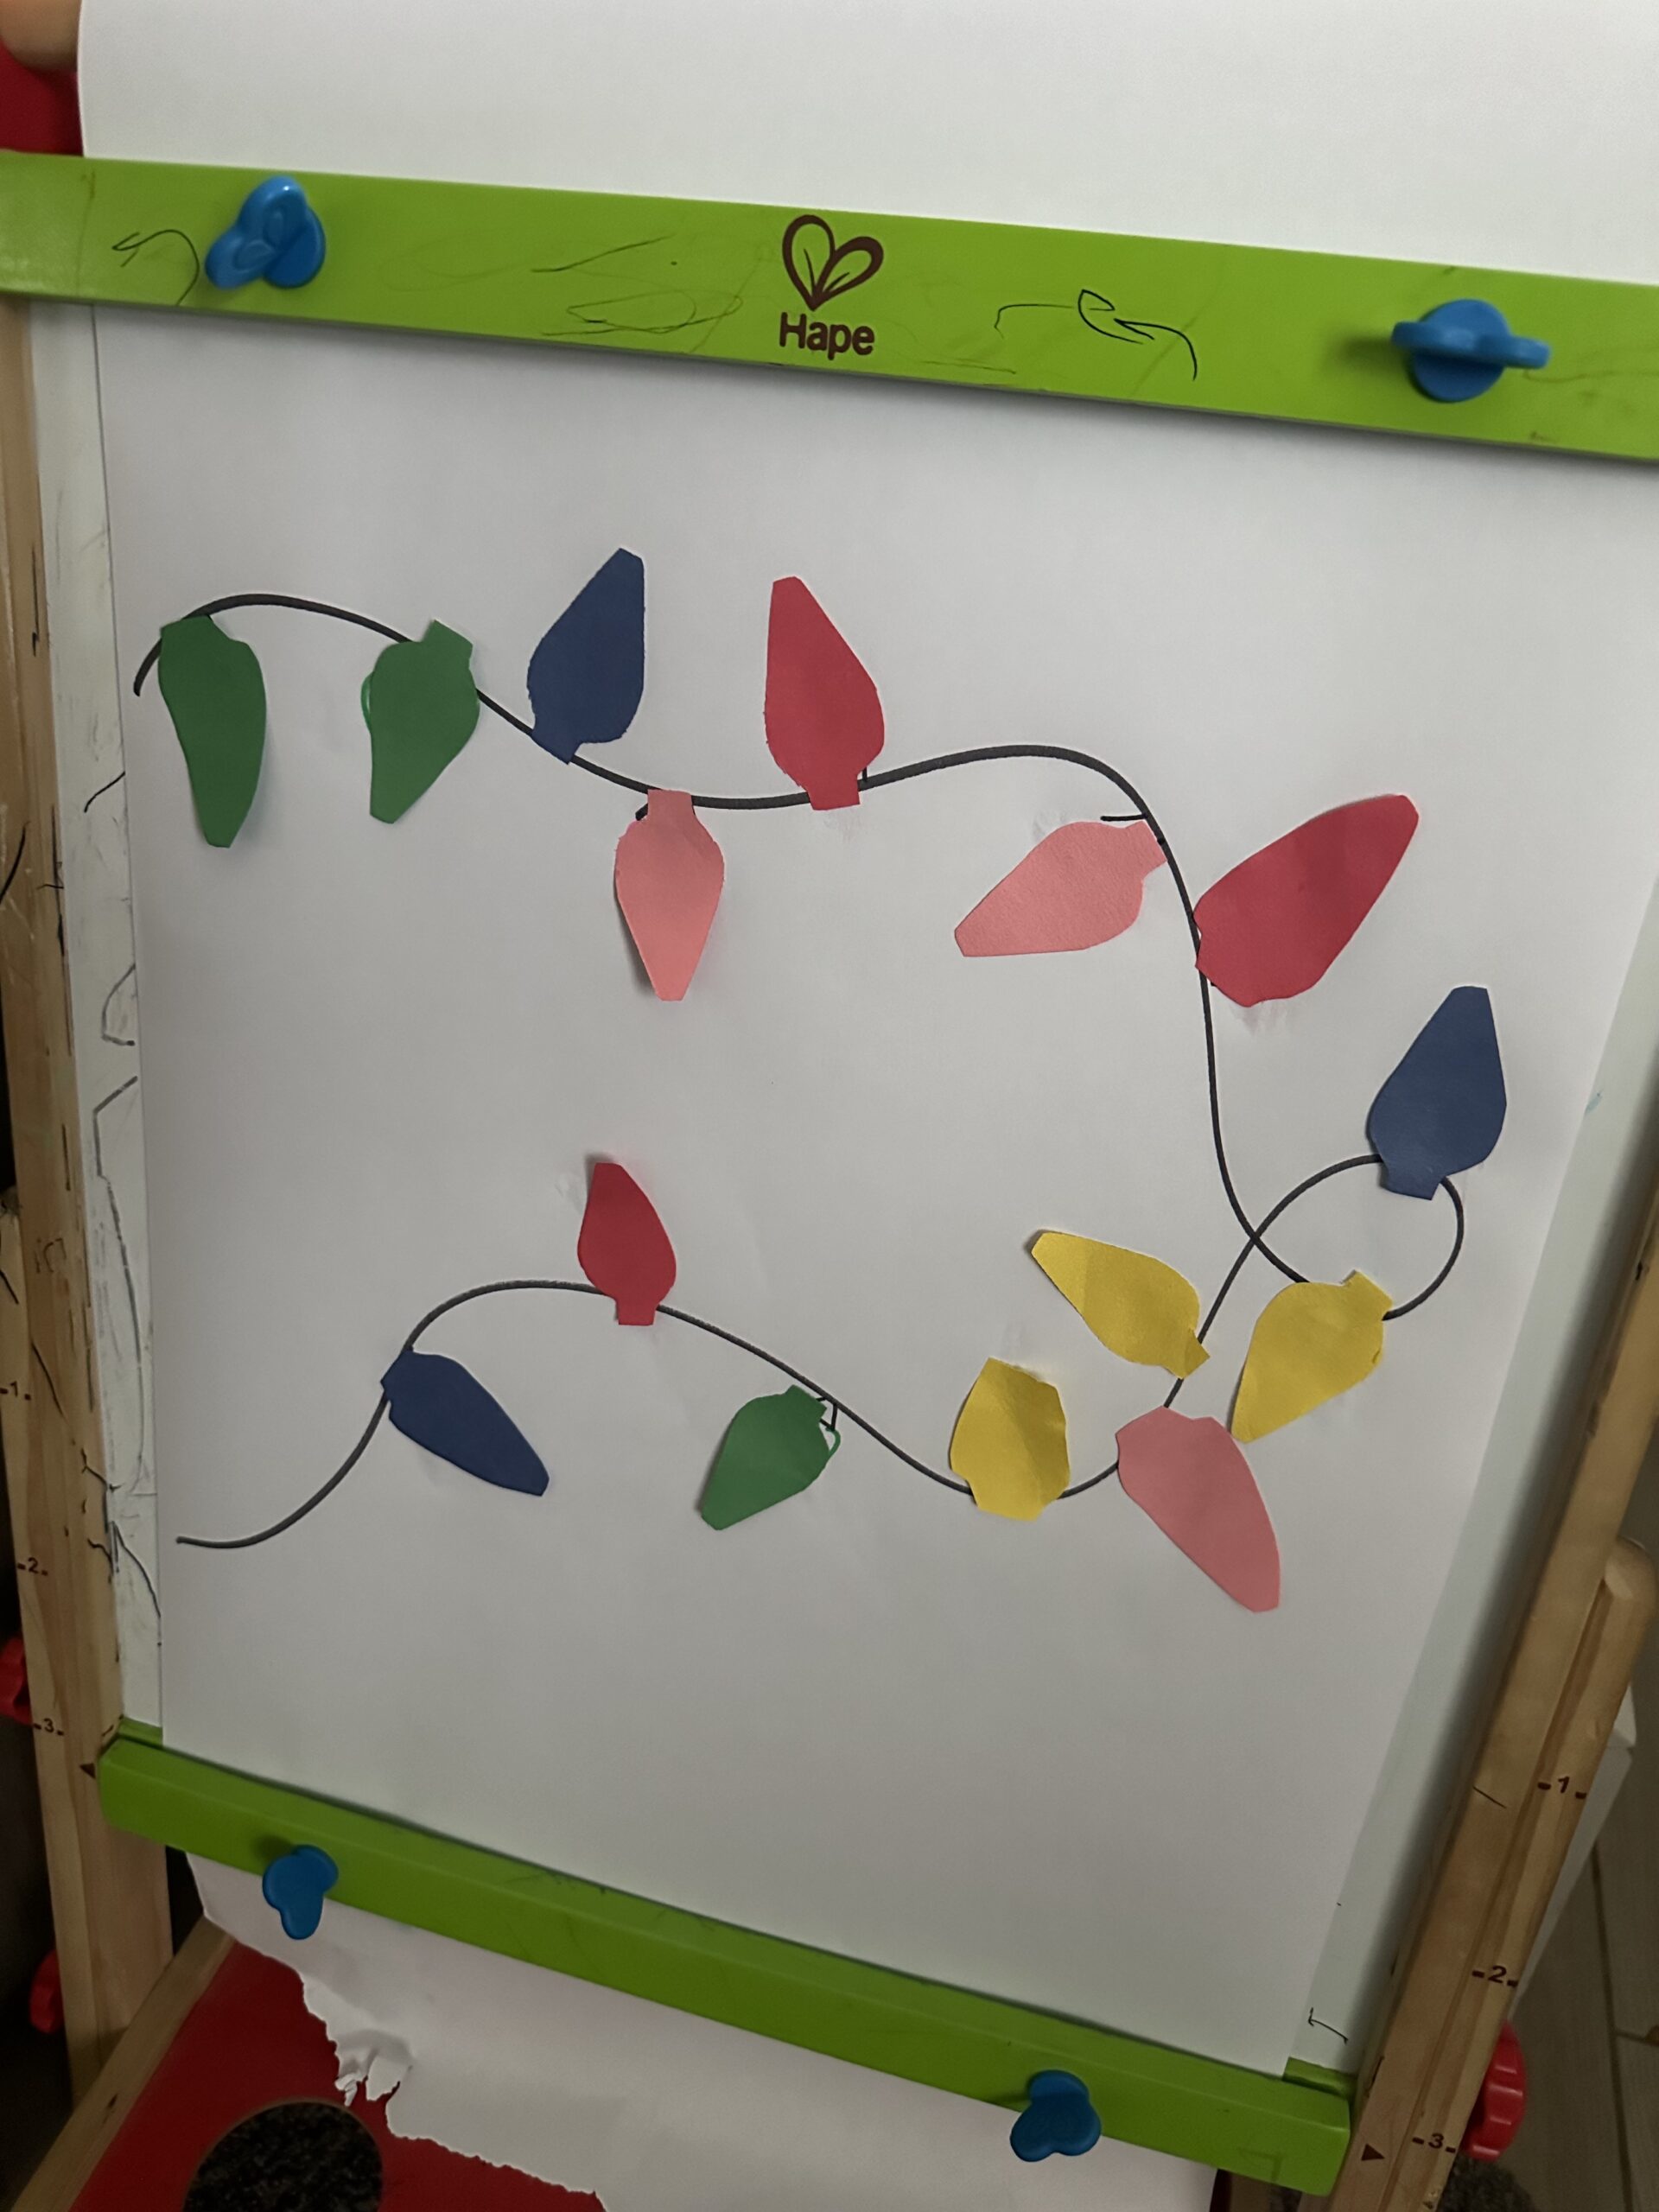
What you need:
– Butcher Paper (White or Brown)
– Construction Paper
– Markers
– Tape or glue stick
1. On the butcher paper draw a line of Christmas lights, leave the lights as outlines only (don’t color them in) – we use our easel for this!
2. Cut out construction paper matching your Christmas lights colors and shapes.
3. Have your toddler match the colors of lights to the outlines. They can tape these on or glue them.
** You could also give your toddler label stickers in the matching colors instead of cutting the paper!
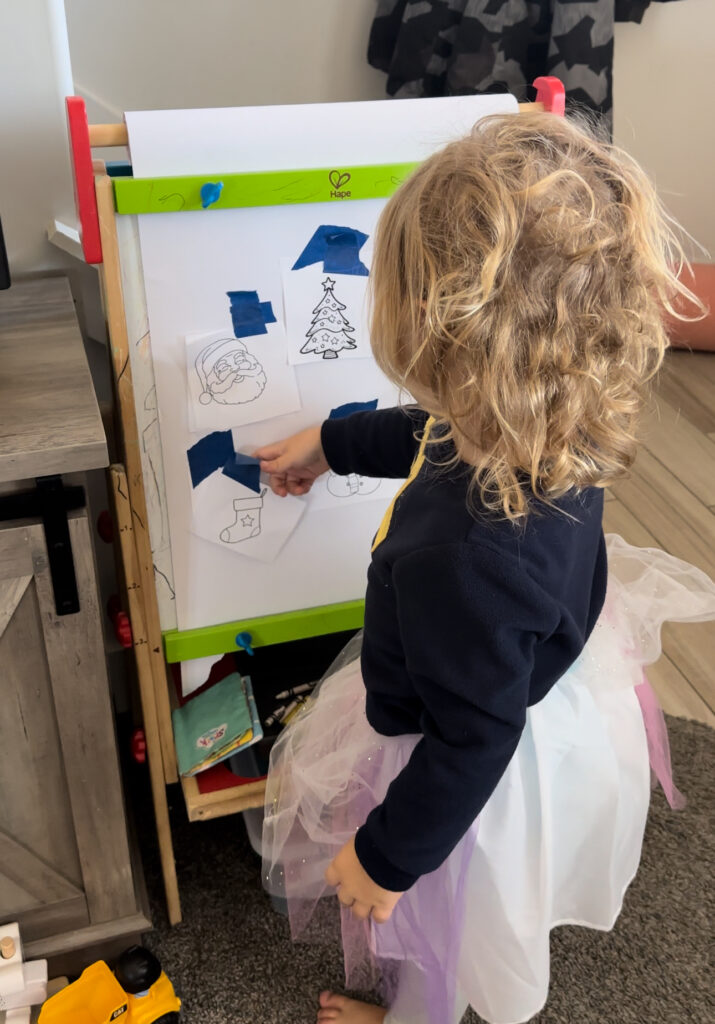
Day 8: Christmas Hide and Seek
What you need:
– Butcher Paper
– Construction paper (or you can use the holiday print outs at the bottom of the page)
– Tape
– Maker
1. Draw the 6-8 Christmas themed items on your butcher paper – we use our easel for this!
**If you use the holiday print out, have your toddler color their pieces before hand to get some extra time from this activity**
2. On the construction paper draw the same Christmas themed items and cut them out.
3. Hang your construction paper pieces all around the house with painters for your toddler to find. Have them match the pieces to the butcher paper.
4. Hide them all over again because my toddler is usually saying “AGAIN” after this activity.
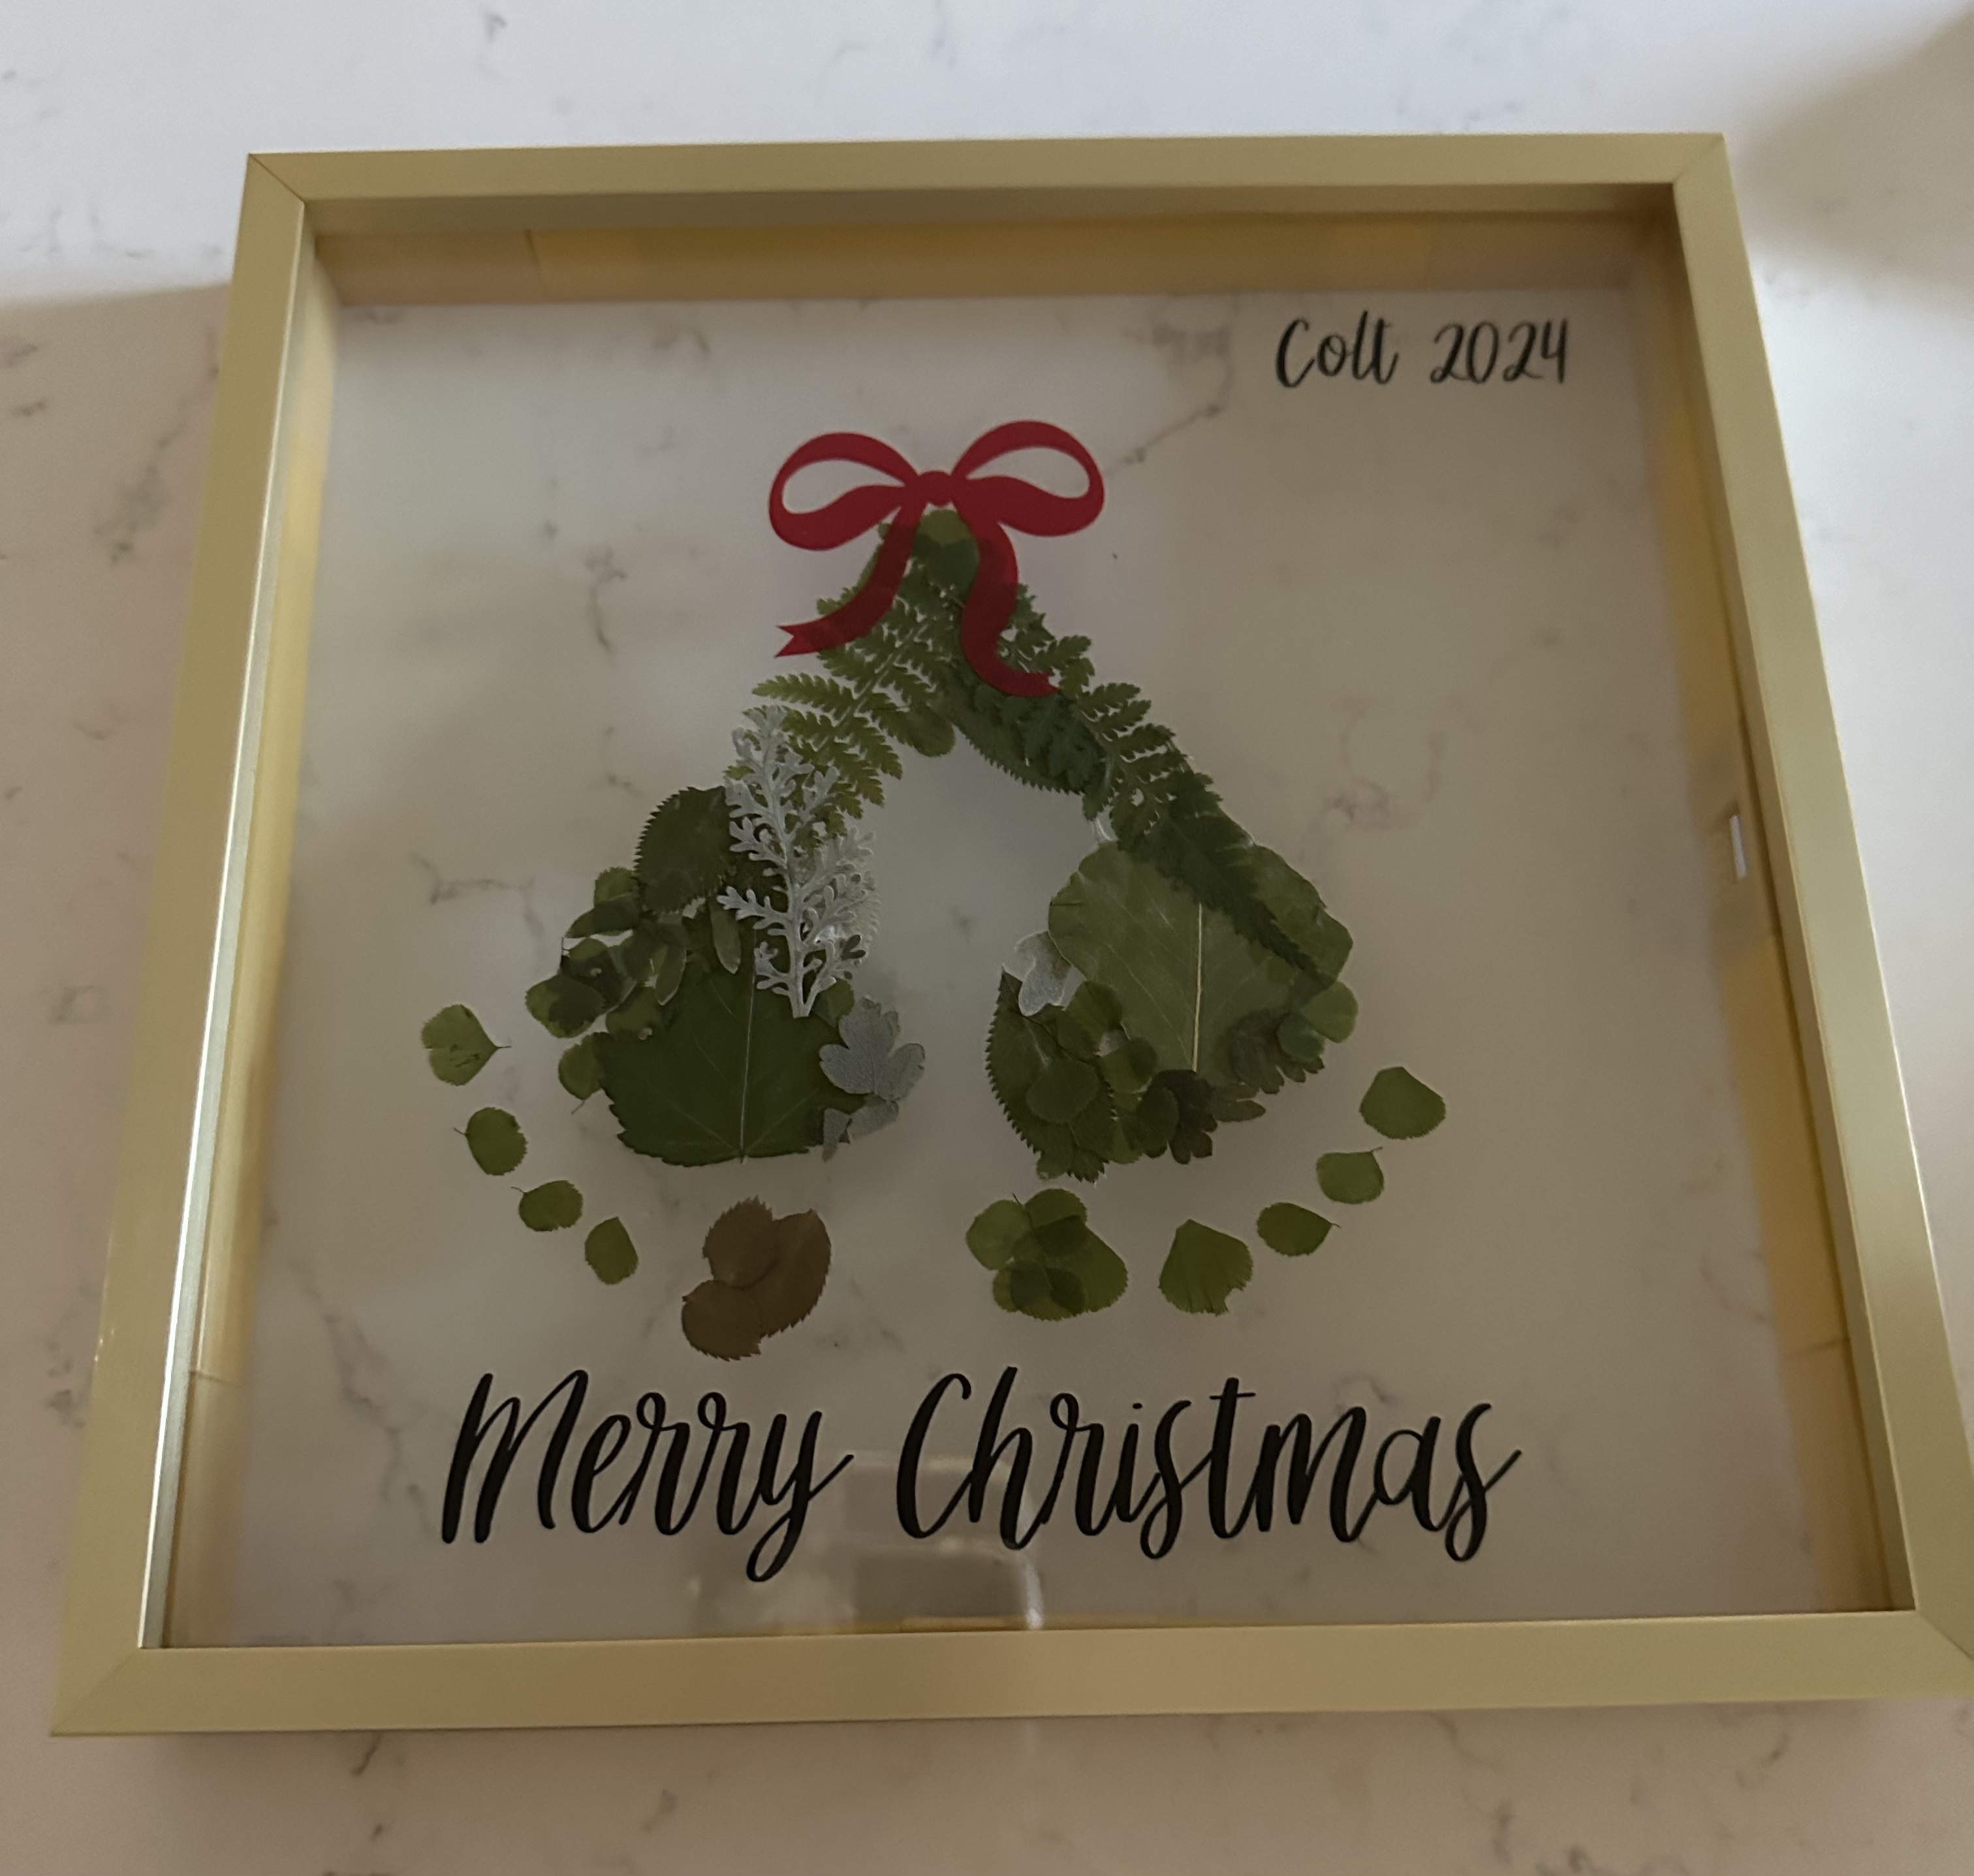
Day 9: Mistletoes Keepsake
Full Blog Post Here.
What you need:
– Floating Frame
– Ink Pad
– Dried and pressed greenery and flowers (Red and White)
– Mod Podge
– Red and Black Vinyl (Cricut – I have the Joy Xtra and Maker 3, here’s a quick comparison of my machines)
OR
– 1/2 inch Red Ribbon and Black Sharpie
1. To make my life easier, I stamped my kids’ feet on cardstock vs straight on the frame insert.
2. Place the frame insert on top of the foot you are going to start with. You’ll want to have it placed at an angle since we are making mistletoes. I did a similar keepsake for Mother’s Day but just had the feet straight!
3. Paint Mod Podge glue over the footprint and lay pressed greenery all over the glue. I added some white and red into the mix as well.
4. Move the frame insert to angle the second foot where you want it to be. Repeat Step 3.
5. Cut out a bow with your Cricut and red vinyl. If you are using real ribbon, make sure your “bow” is just laid flat (and not tied). You can glue it down for extra protection.
6. With black vinyl or sharpie, write your Christmas saying of choice, the year, and who’s Mistletoes these are!
7. Hang on the wall or gift to a grandparent.
Day 10: Ornament Water Play
What you need:
– Unbreakable Ornaments
– Sequins, Pom Poms
– Pipettes
– Container or Cake Tin
1. Fill your container with water and the sequins and pom poms.
2. Take the caps off the ornaments and put them to the side.
3. Let your toddler explore the water and fill the ornaments how they want.
This is just a fun water activity to let your toddler explore and entertain themselves for as long as they will!
Day 11: DIY Christmas Tree
What you need:
– Green Felt or Green Construction Paper
– Tape
– Scissors
– Velco Dots
1. Cut out your pieces of felt to create a your Christmas tree.
2. Tape your tree to the wall.
3. Place velcro dots all of your tree (save the other sides to place on the ornaments you create all month)
If you don’t want to create your own tree this year but still want a felt one your toddler can decorate – try this one for $10! Bonus tip, still buy the velcro dots and let your toddler decorate with their own ornaments as well as the ones that come with the tree!
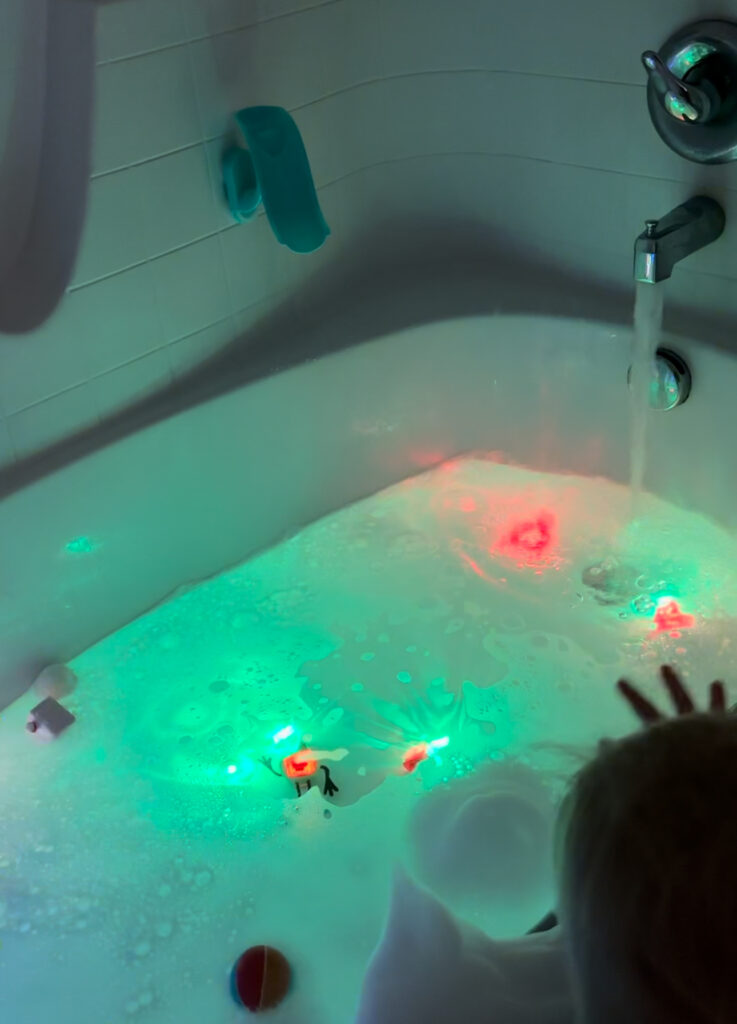
Day 12: Christmas Bath
What you need:
– Body Wash or Bubble Bath (We love Tubby Todd, you can get 10% with this link)
– Light Up Christmas Bath Toys (You can do non light up of course too)
– Glo Pals to light up the water
– Stand Mixer (or electric mixer)
1. Mix 1/4 cup of water and 3-4 pumps of body wash. Mix for 3-5 minutes. The foam should thicken up and stick in the bowl (think like meringue if you bake)
2. Place the green and red Glo Pals in the bath to light up the water.
3. I leave the foam in a separate bowl to help keep it from melting as fast.
4. Let your kid enjoy their “snow” and Christmas bath!
Day 13: Picture Ornaments
What you need:
– Cardstock
– Markers
– Picture of your kiddo
– Contact Paper
1. Draw several ornaments on cardstock and let your toddler color them (You can use the PDF print out found here too)
2. Print a picture of your toddler (we love our Kodak travel printer to print photos of your toddler instantly)
3. You can cut out the center or just cut out your toddlers face and place it on top.
4. Use contact paper to “laminate” your kids ornament (you can use a real laminator if you have one too).
5. Cut out your other ornaments too. You can put pictures of the whole family or no pictures. These will be great to decorate your toddler’s DIY tree!
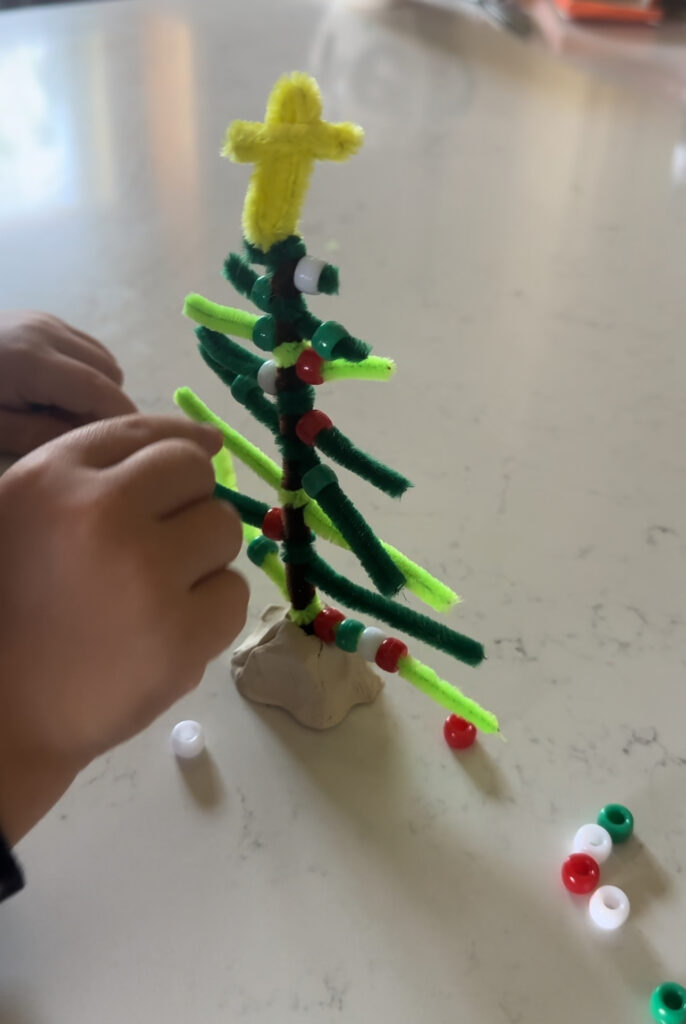
Day 14: Pipe Cleaner Tree Beading
What you need:
– Pipe Cleaners
– Beads
– Clay/Play-doh (optional, but this is how we kept our tree standing for her to decorate)
1. Fold one pipe cleaner in half (this will be your tree trunk)
2. Cut green pipe cleaners into pieces for the branches. I wrapped these pieces around the trunk to secure them (one piece of pipe cleaner is 2 branches)
3. Place your tree trunk into your clay or play-doh
4. Let your toddler bead and decorate the tree!
You can do this with other Christmas shapes like snowflakes!
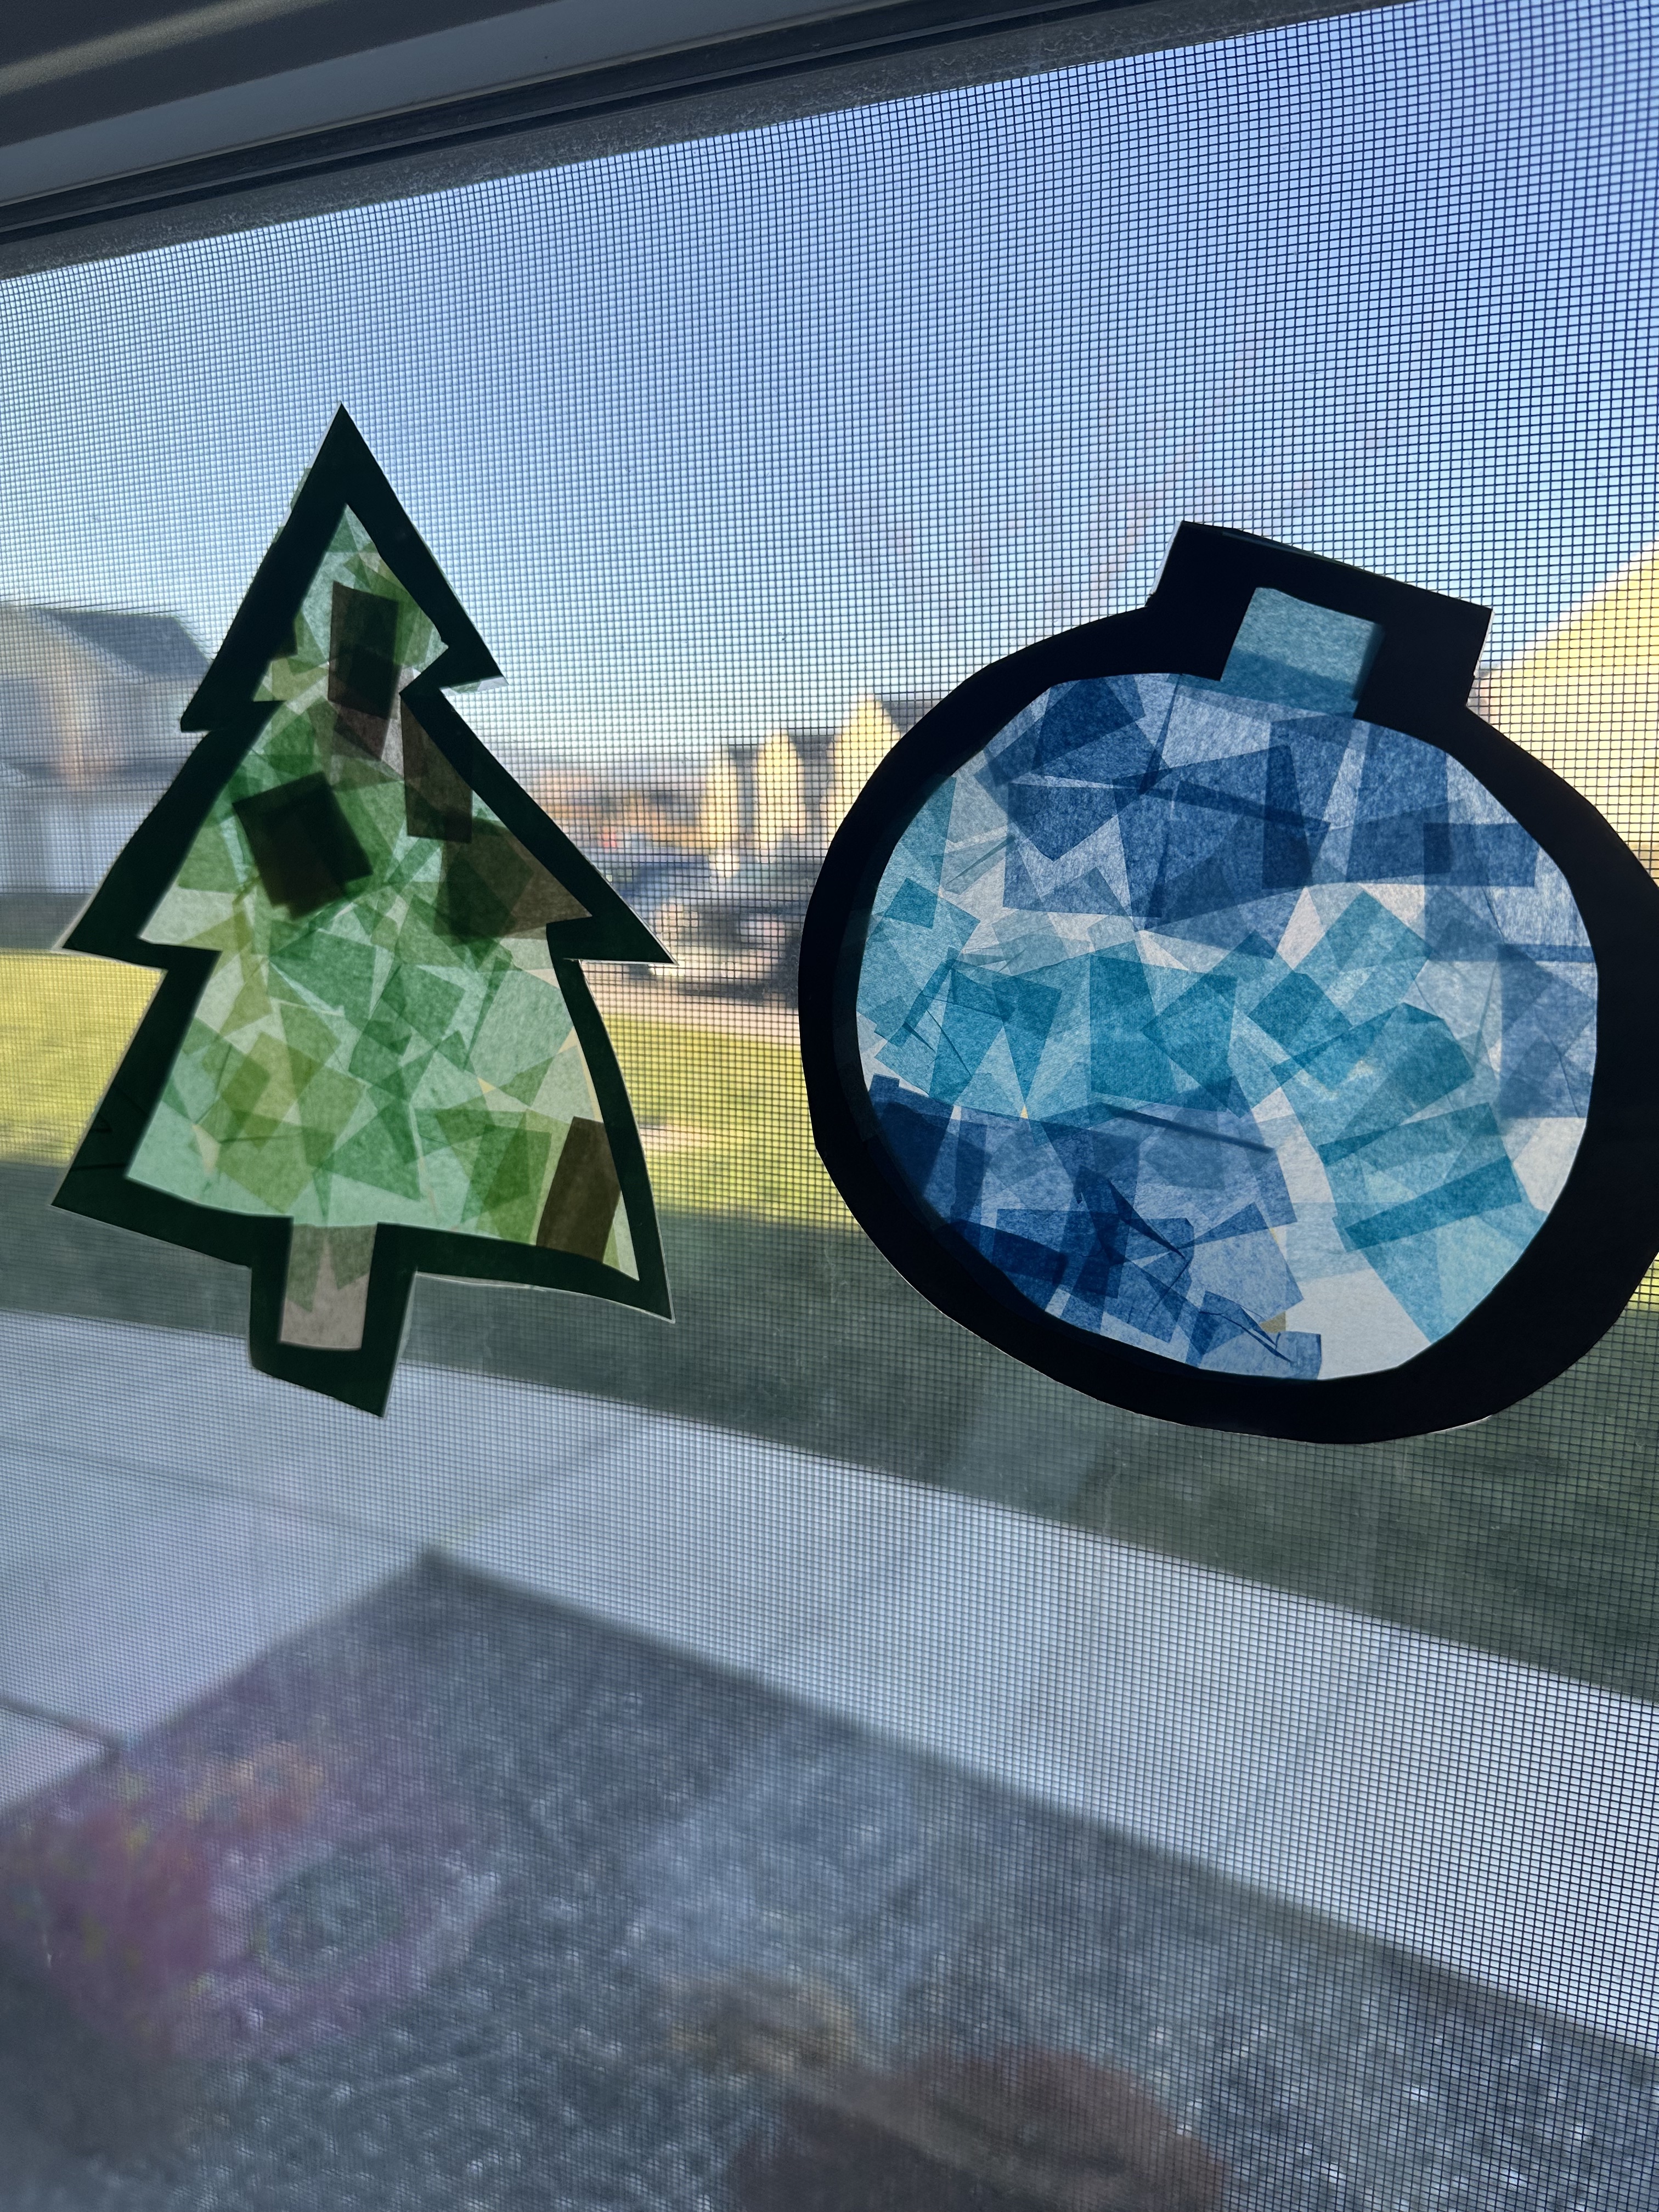
Day 15: DIY Window Clings
What you need:
– Contact Paper
– Construction Paper
– Tissue Paper
– Scissors
1. Cut out your desired window cling shape outlines. We did a Christmas Tree and a Christmas Ornament. If you want your window cling to look great from both inside and out, you’ll want two outlines per window cling.
2. Cut out two pieces of contact paper that will fully cover your outline.
3. Cut small 1 inch or so squares of tissue paper in your desired colors.
4. Place your outline on a piece of contact paper.
5. Let your toddler fill up the rest of the contact paper space with the tissue paper squares. You’ll want them to lay as flat as possible.
6. Cover all the open space with colored tissue paper and then place the second outline on top.
7. Sandwich with the other sheet of contact paper.
8. Cut out window cling and stick to clean window.
*If your window cling is having trouble sticking, spray with a tiny amount of water and then cling it. Ours have been on our window for well over a month without moving!
Day 16: Clay Santa Hands and Snowman Feet
What you need:
– Air Dry Clay
– Paint (red, green, white, black, more colors for ornaments if you do Christmas trees)
– Rolling Pin
– Wax Paper
1. Roll out your air dry clay into a 1/4 inch slab.
2. Have your toddler or baby press their hands or feet into the clay.
3. Cut the clay out and smooth the edges by dipping your finger in some water. If you want to hang these, be sure to cut out a small circle using a chop stick or toothpick.
4. Let the clay dry for a few days.
5. Paint your creations! If you want your toddler to help, the trees are the easiest for them to paint.
Use as ornaments or just keepsakes to have.
Day 17: Christmas Puzzle
What you need:
– Qtips
– Empty Cardboard Box
– Butcher Paper
– Markers
– Paint (or food coloring or markers)
– Screwdriver (to poke the holes)
1. Cover your box in butcher paper and draw your picture for your puzzle. We did a Christmas Tree!
2. Cut your qtips in half and dye the tips by soaking them in watered down paint. Make sure you have all your colors from your picture. You’ll want these to dry for a couple hours!
3. Poke holes around your picture with your screwdriver.
4. Once the qtips are dry, let your toddler complete the puzzle by sticking the qtips into the matching colors!
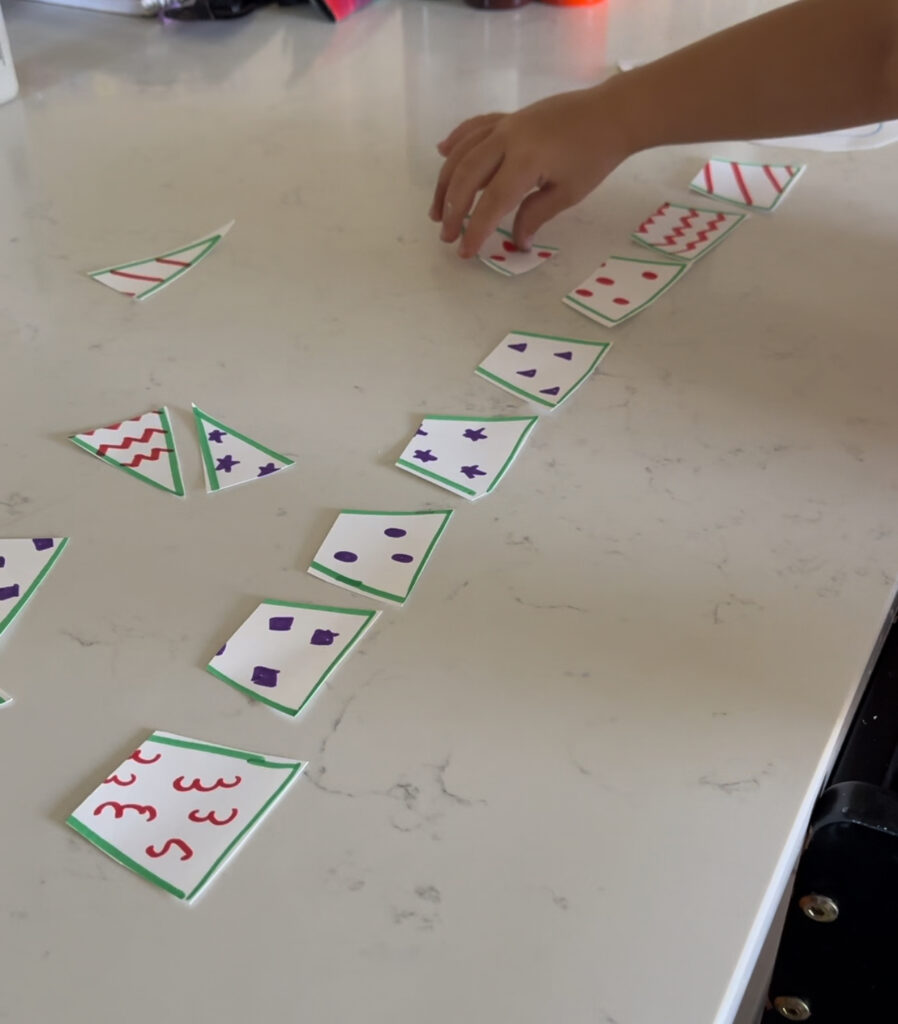
Day 18: Matching Christmas Trees
What you need:
– Cardstock
– Markers
– Scissors
1. On the cardstock draw several Christmas Trees with different patterns (lines, circles, squiggles, etc). You can also do different color patters too.
2. Cut the trees out and cut them in half.
3. Mix the trees up and let your toddler sort and match them!
If you have a younger toddler, you can lay out the bottom halves of the trees and let your toddler find and match the tops.
*Bring some movement! If you want your toddler to also get their body moving, do this one like the Christmas hide and seek. Tape half the trees to a piece of butcher paper or your easel. “Hide” the other halves on the walls in your home. Have your toddler run around finding the missing halves and then tape them with their matching piece!
Day 19: Pasta Trees
What you need:
– Cardboard Trees and Ornaments
– Uncooked Pasta
– Glue
– Paint
– Sequins, Pom Poms
1. Cut out cardboard Christmas trees and ornaments from cardboard.
2. Glue various pasta shapes to your trees covering all the cardboard.
3. Let the glue dry overnight.
4. Let your toddler paint all the noodles with all the colors to decorate their trees and ornaments.
5. Let the paint dry and then decorate even more with pom poms and sequins.
Day 20: Christmas Shape Sort
What you need:
– Butcher Paper
– Construction Paper
– Markers
– Tape
1. Hang your butcher paper up or on a table and draw 3-4 Christmas shapes (we did Candy Cane, Stocking, Christmas tree, Gingerbread Man – You can also do Snowmen, Reindeer, Ornament, Star, etc).
2. Cut out several of the shapes you chose on construction paper (I used my Cricut for this but you can just draw and cut them out). You can put these on various colors and in various sizes.
3. Hang your cut outs all around your living room and let your toddler find them.
4. Have them sort and hang them in the correct matching shapes.
If you want to continue the fun you can ask your toddler to sort by color or by size next!
Day 21: Beaded Christmas Ornaments
What you need:
– Pipe Cleaners
– Christmas Colored Beads
1. Fold over one edge of a pipe cleaner so the beads don’t fall off.
2. Have your toddle thread beads filling all but 2 inches of the pipe cleaner.
3. Twist the two ends of the pipe cleaner together to create a circle and hook
4. Hang your ornaments!
Day 22: Coffee Filter Snowflakes
What you need:
– White Coffee Filters
– Water Colors
– Paintbrushes
1. Fold your coffee filter in half 3-4 times.
2. Let your toddler paint with their water colors. Be sure the entire coffee filter gets color.
3. Let the coffee filter dry completely.
4. Cut out little pieces of your coffee filter to create the snowflake
If your kid is old enough to use scissors you can draw the pieces they’ll want to cut out.
5. Hang your snowflakes around!
Day 22: Snow Painting (Substitute for Ice Painting if you have no snow)
What you need:
– Snow (or ice)
– Paint
– Paintbrushes
– Cake tin
1. Fill your cake tin with snow – you can even make a couple snowmen or a little house!
2. Grab some paints of choice, we typically just use acrylic craft paint.
3. Let your toddler paint the snow!
4. Dump and refill as often as you need.
We do this all the time in the other seasons just with ice cubes and it keeps my toddler entertained for so long!
Day 23: Magic Patterns Beanie
What you need:
– White Crayon
– Cardstock
– Watercolor paints
– Sharpie
1. Draw a Pom Beanie on a piece of cardstock with a sharpie (you can grab the print out at the bottom of this page too).
2. Draw your designs and details inside the beanie with white crayon.
3. Let your toddler paint the beanie whatever colors they want and have the designs appear!
You can also do this with a Christmas tree or holiday scene. Just draw your surprise in white crayon and have your toddler paint over it with water colors. The water should repel from the waxy crayon and reveal your picture!
Day 24: Snowman Bowling
What you need:
– White Paper Cups
– Sharpie/Marker
– Ball
– Painter’s Tape
1. Draw snowman faces on your white paper cups
2. Line up the snowman in a bowling triangle (we’ve also stacked them)
3. Tape down a line or x where your toddler should stand
4. Let your toddler roll the ball to knock over the snowman pins!
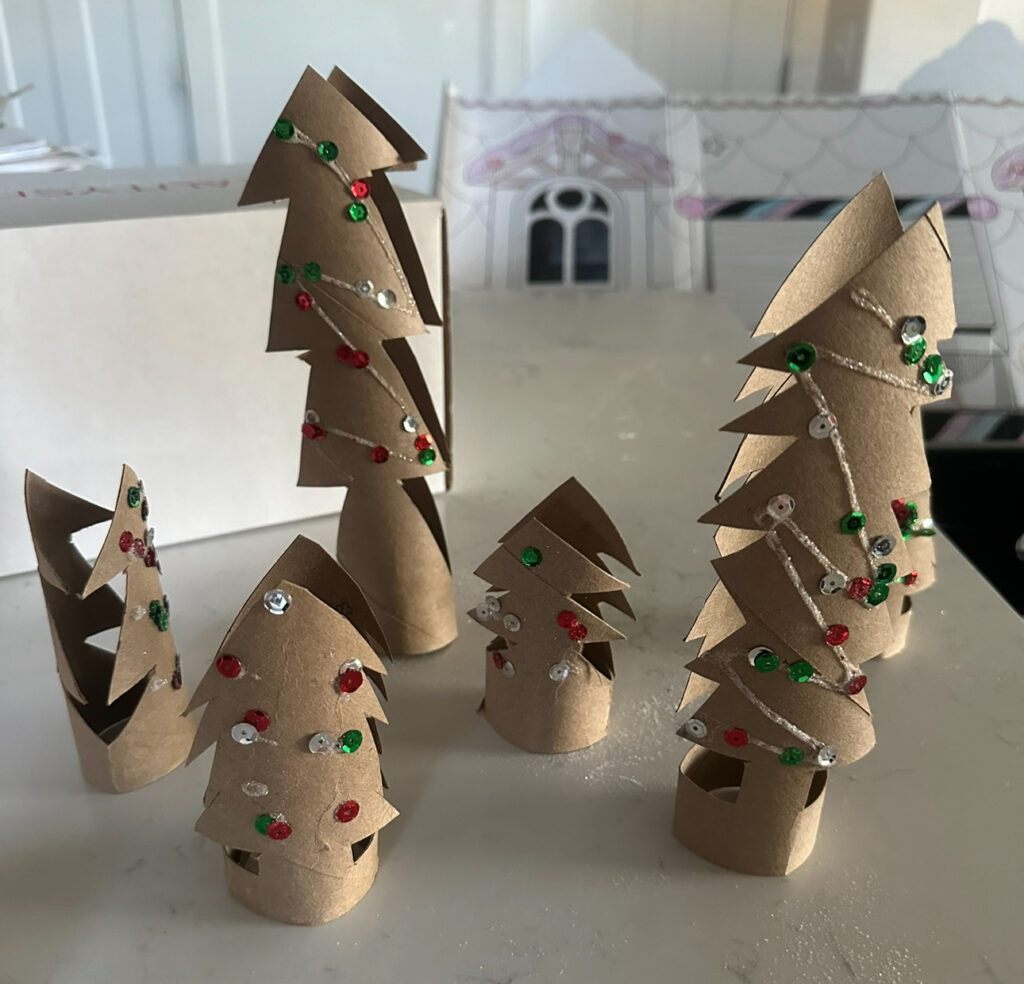
Day 25: Toilet Paper Christmas Trees
What you need:
– Empty toilet paper and paper towel rolls
– Electric Tea Lights
– Paint, markers, or crayons
– Scissors
– Glue, Pom poms, Sequins
1. Let your toddler color the toilet paper rolls how they want, you can also leave them brown and just decorate them.
2. Let dry and then fold in half and cut out your Christmas trees. Be sure to leave about an inch at the bottom uncut (this will be how the roll stand up and where the light goes)
3. Let your toddler decorate the tree again with sequins and pom poms.
4. Place the tea lights inside the roll and turn it on.
5. Decorate your Christmas village or toddler’s dresser with them!
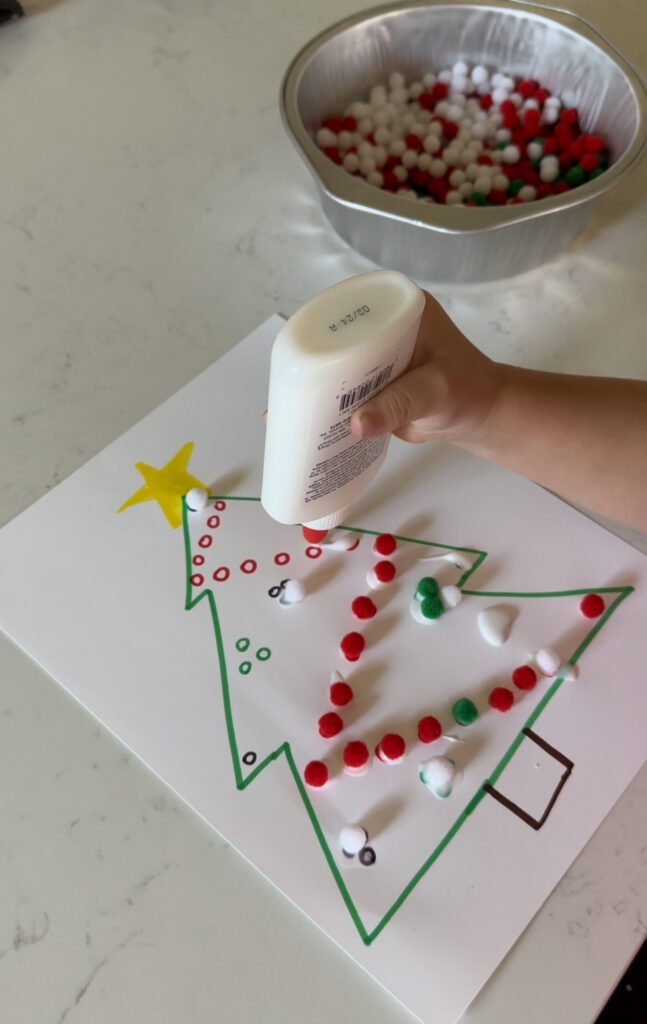
Day 26: Pom Pom Christmas Tree
What you need:
– Pom Poms
– Cardstock
– Glue
– Markers
1. Draw a Christmas Tree on your piece of cardstock
2. Draw ornaments and ribbon on your tree. I did this in matching colors to the pom poms in hopes that my toddler would color match them!
3. Let your toddler glue their pom poms to their Christmas tree!
For younger toddler you can put glue drops for them to put the pom poms on.
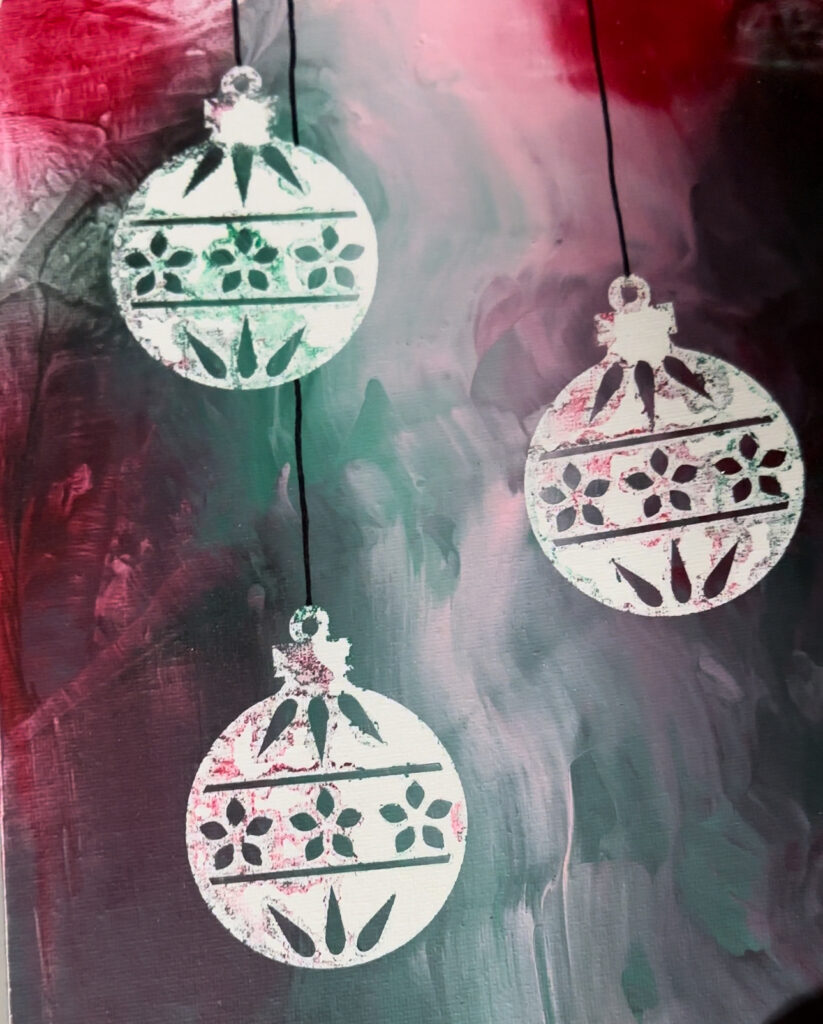
Day 27: Mess Free Painting – Christmas Edition
Full Blog Post Here
What you need:
– Canvas
– Big Ziplock Baggie
– Paint
– Circut and Vinyl; or glue if you don’t have a cricut
1. Create your Christmas scene out of removable Cricut vinyl – or with elmers glue. If doing with glue you want it to be thick enough to peel it off once you’ve painted.
2. Let glue fully dry.
3. Place gobs of paint all over the canvas and place it into the ziplock baggie
4. Let your toddler smear and paint the canvas through the ziplock.
5. Once canvas is fully covered with paint, take it out of the bag and let it fully dry.
6. Peel off the glue or the vinyl to reveal your Christmas scene
I hope you have so much fun with these Christmas Crafts and Activities! Be sure to check out all the other indoor activities you can do this winter. xx Ciara
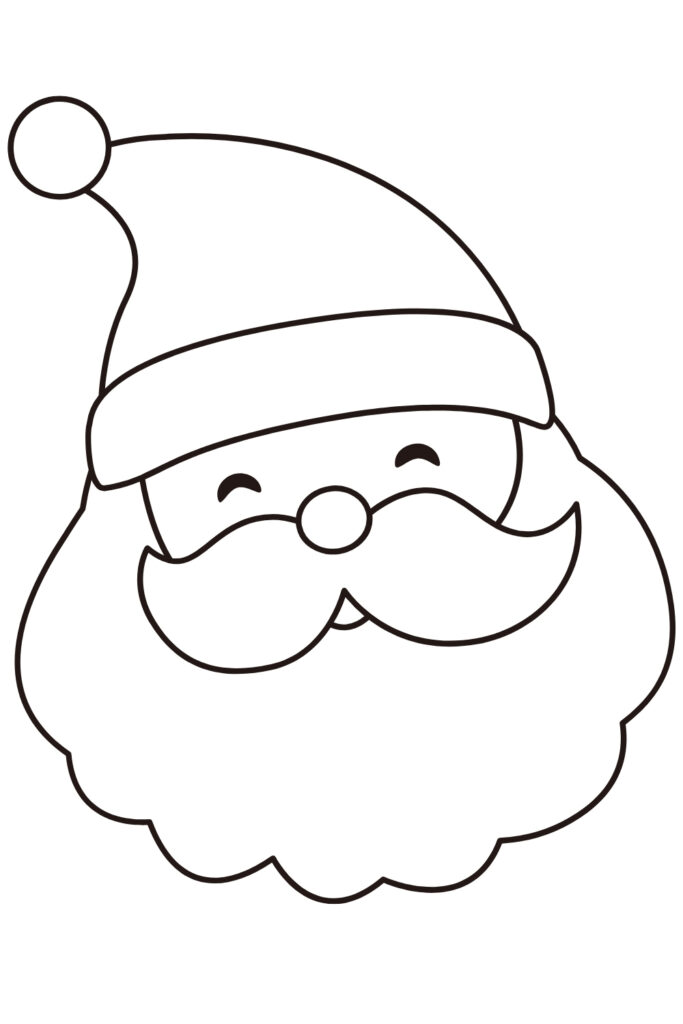
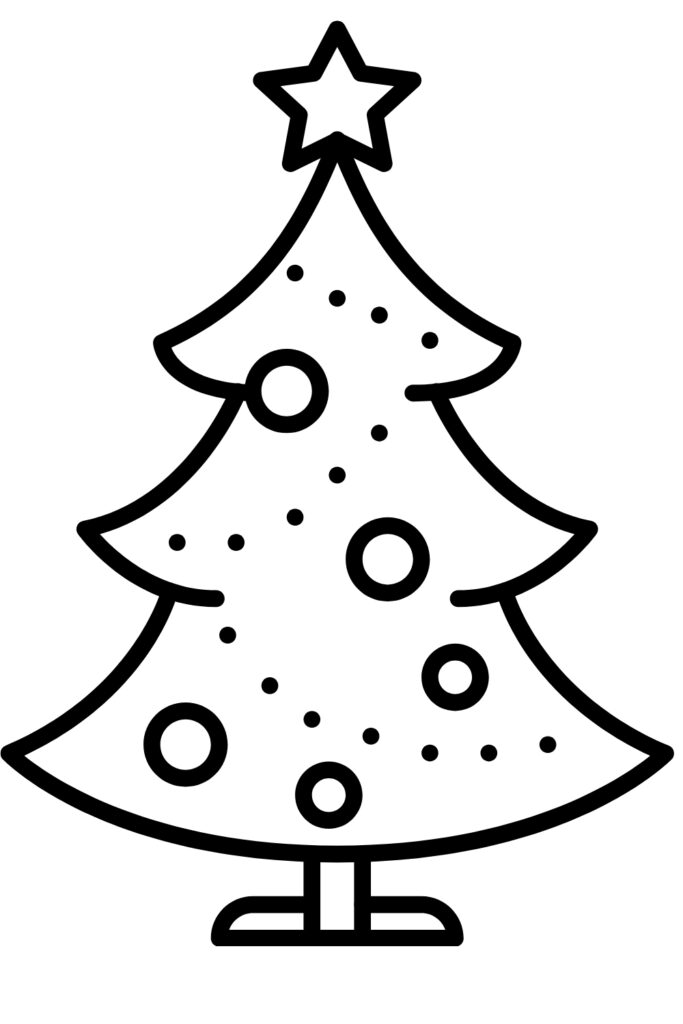
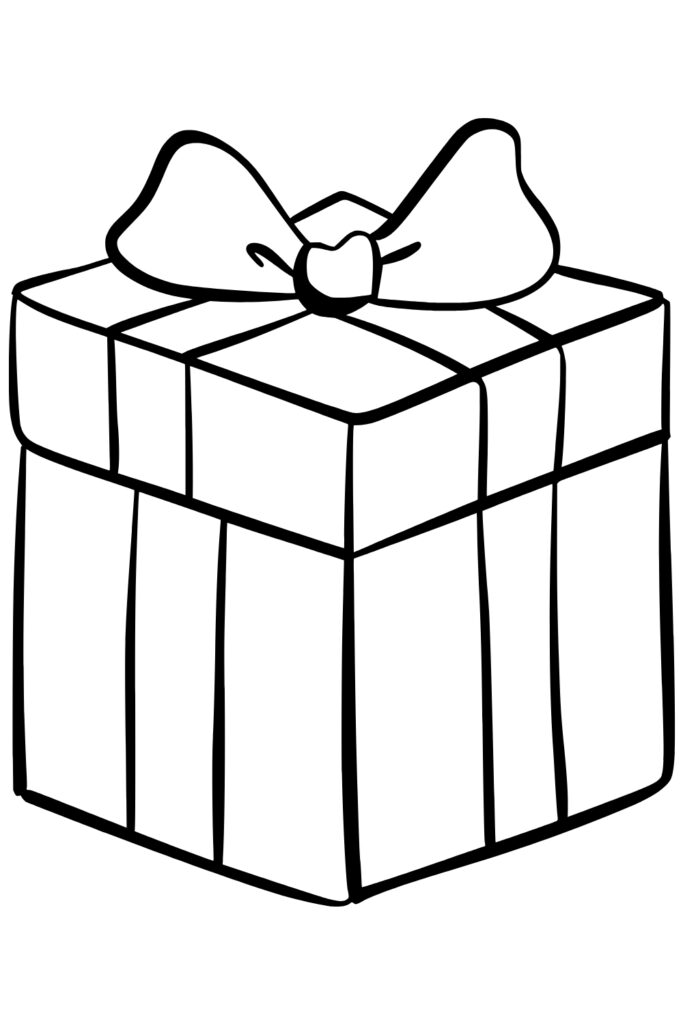
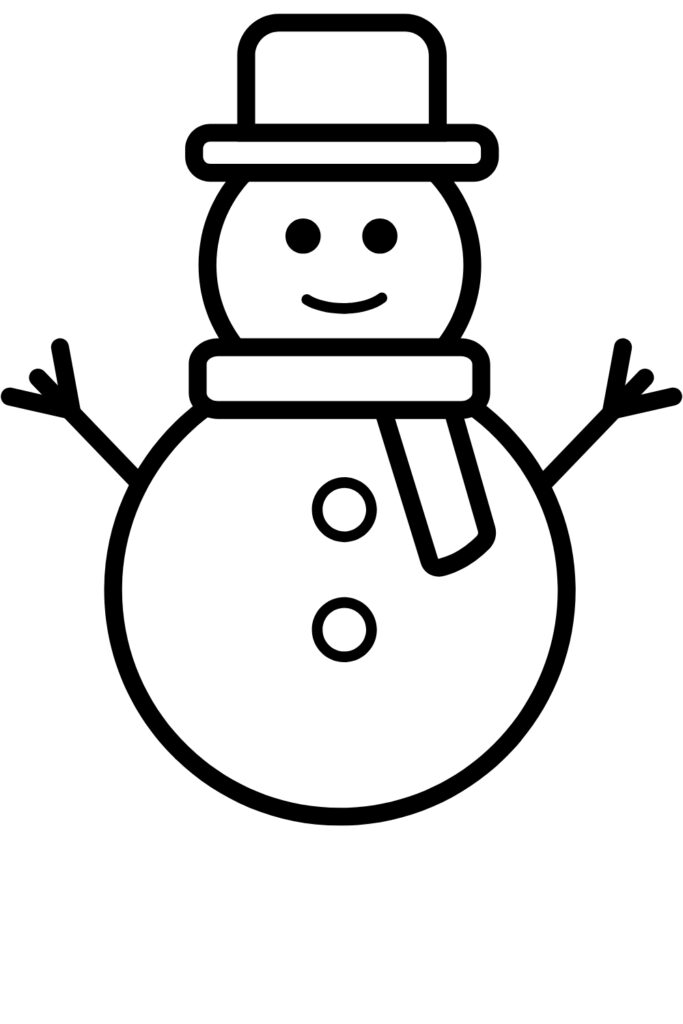
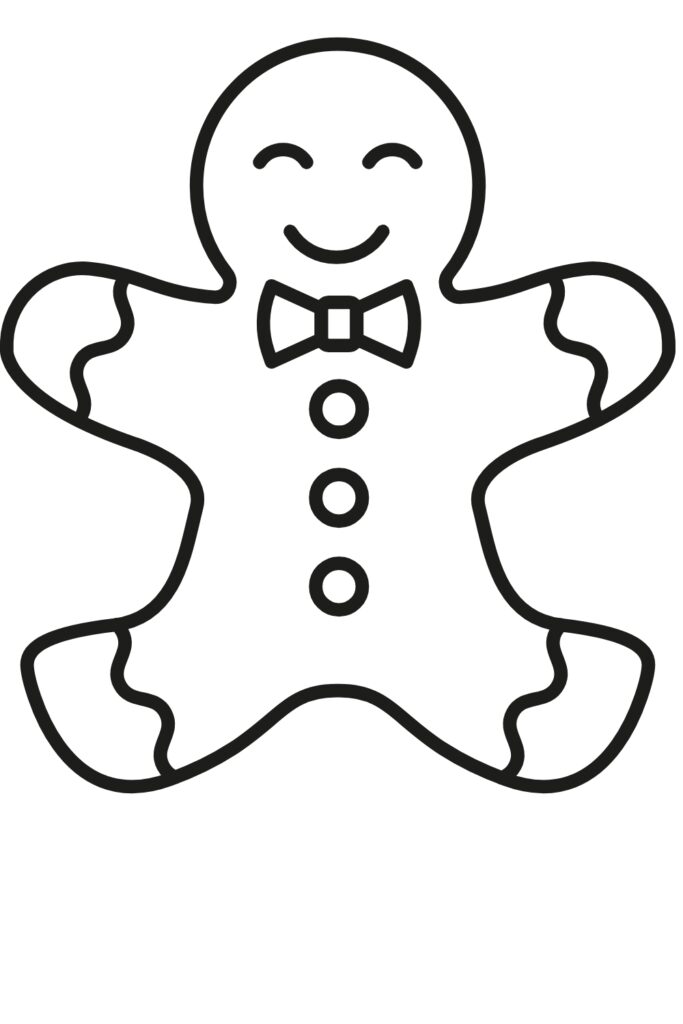
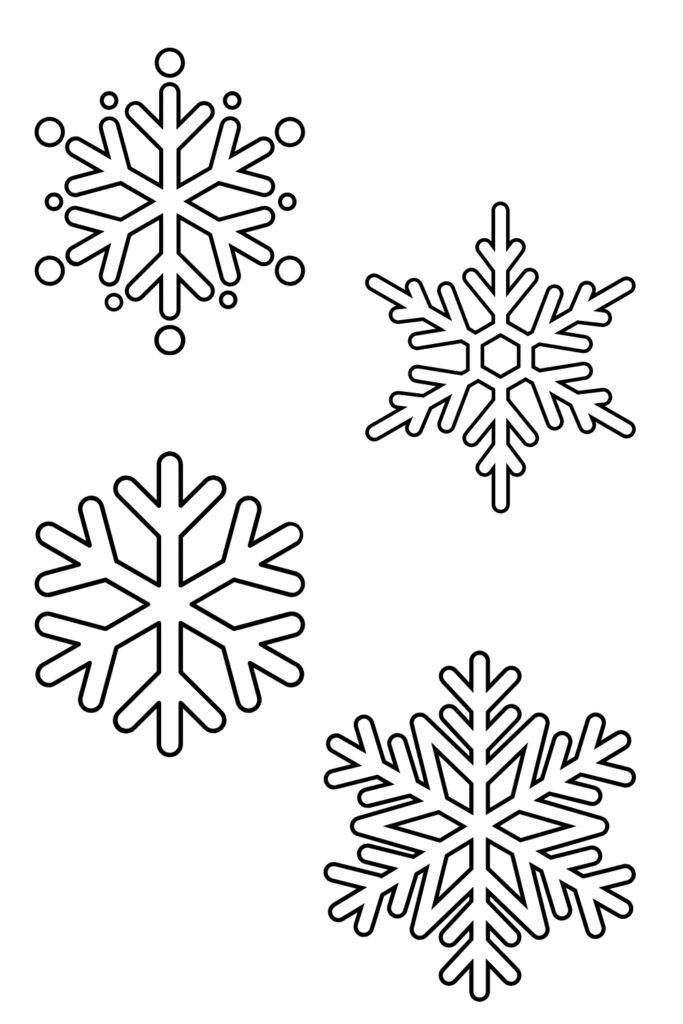
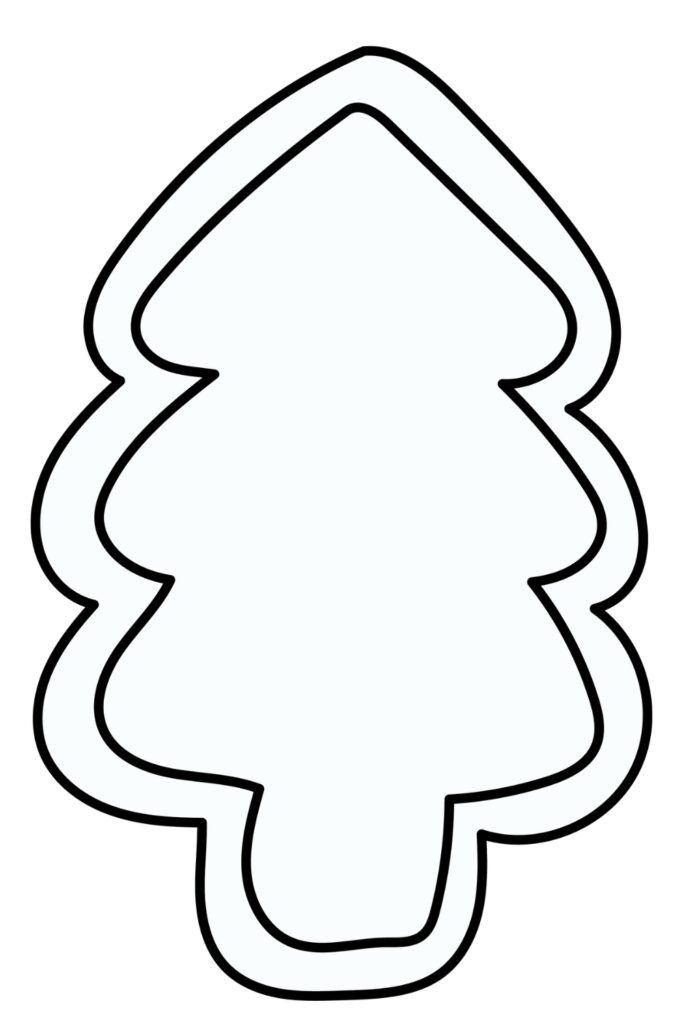
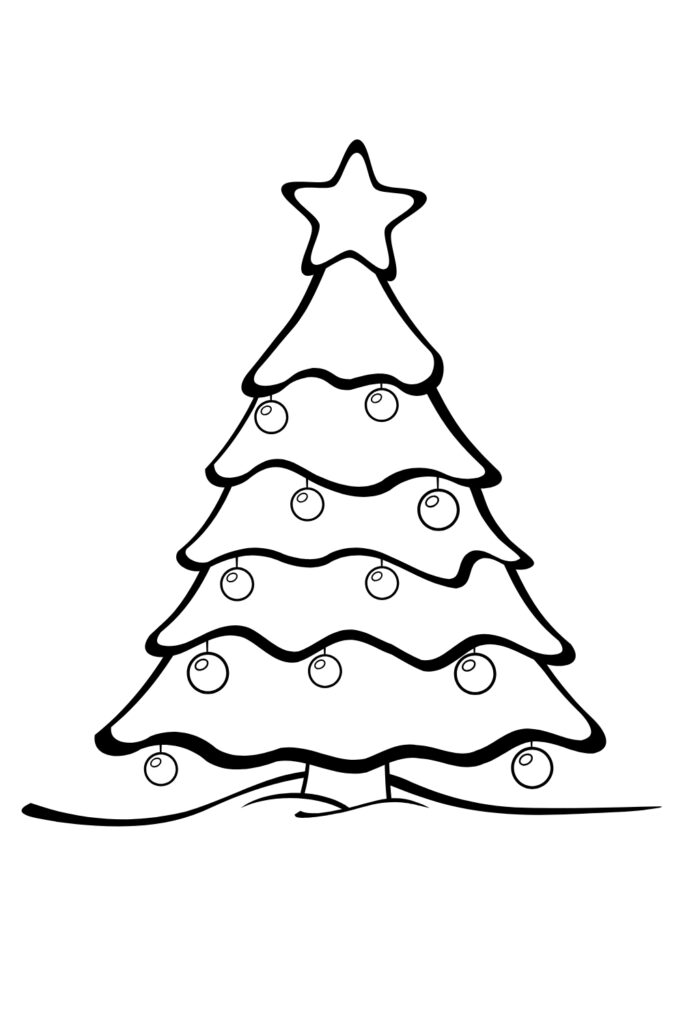
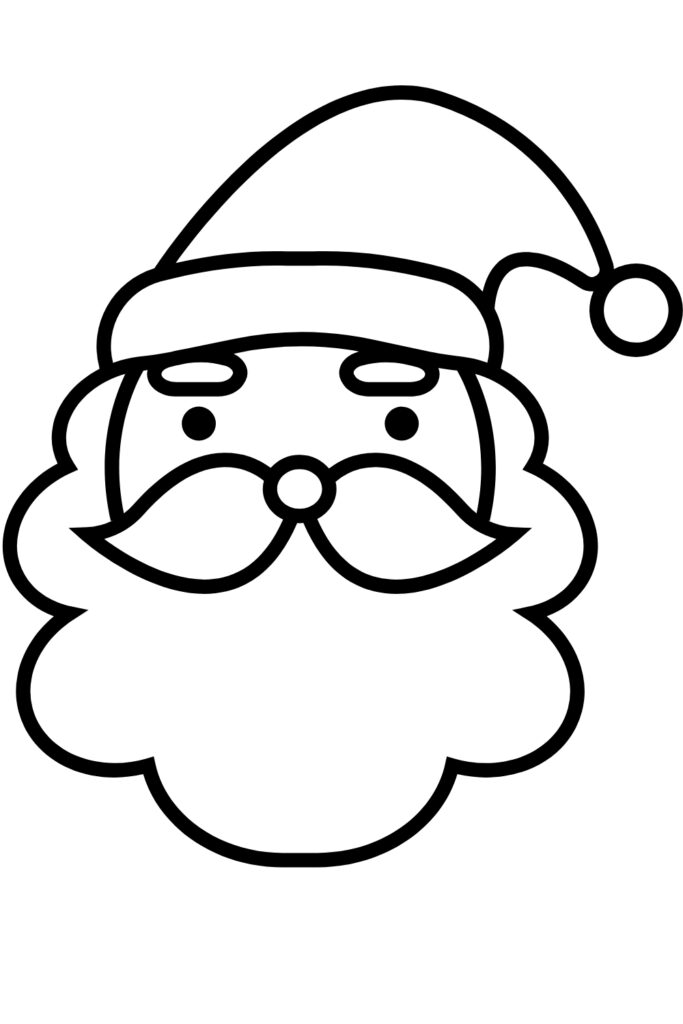
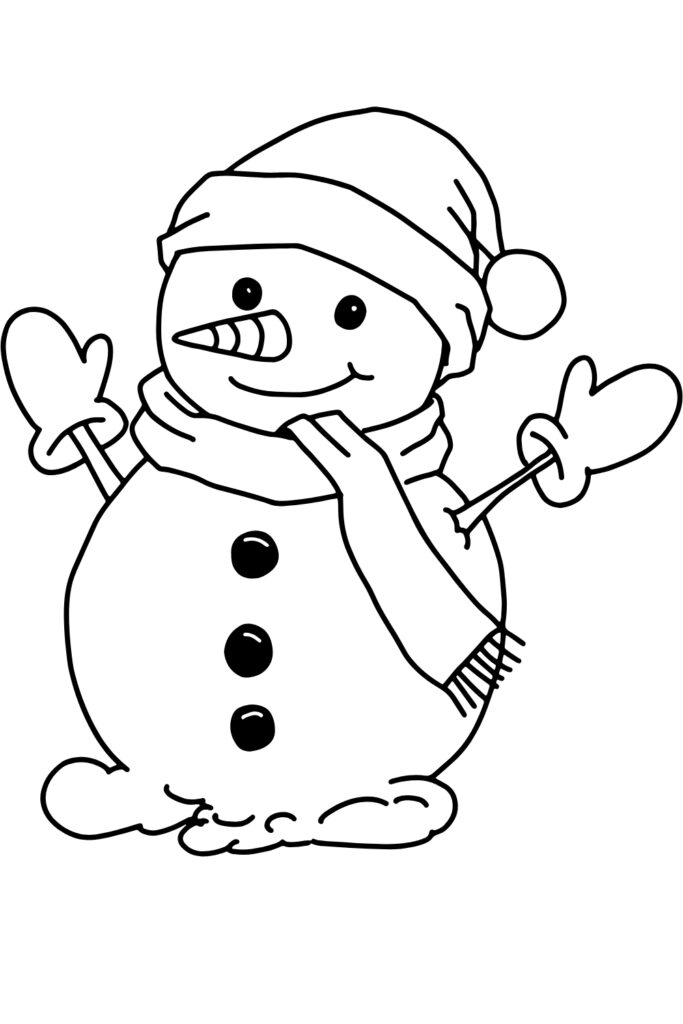
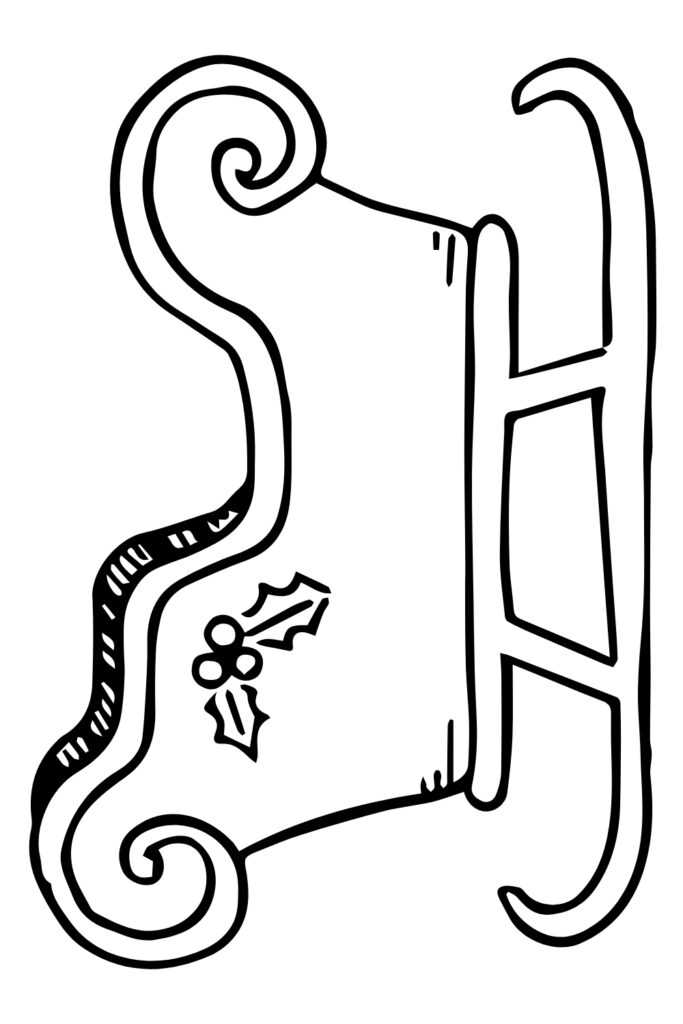
BONUS: Christmas Coloring
Grab these Christmas Color Sheets (and any shapes or print outs your might need from the activities)! Print them out to have on hand for random coloring. Grab them from the images below or on this link!


Pingback: 5 Educational Christmas Activities for Toddlers - Ciara Deanne on November 11, 2024
Pingback: Mistletoes Christmas Keepsake - Ciara Deanne on November 11, 2024
2 COMMENTS