If you are looking for a special keepsake that will add to your Valentine’s decor and take you back to a special moment – this one is it. I used it with my newborn for a “Baby’s First Valentine’s Day” but you could definitely do it with older kid’s hands or feet. **This post may contain affiliate links. A small commission may be earned.**
Full List of Supplies and Tutorial at the bottom of this page!
I imagine you’re a mom reading this, but if you’re not this would make the sweetest gift for a new mom! With my first two kids, doing these crafts and keepsakes was out of the picture for me in my first year of postpartum, but if someone would have done this for me… I can’t even imagine the emotions I’d feel!
Now that I have my third, I’ve learned a few things about myself and postpartum. One of the most important things I can do is still make time for the things I love to do. So that means, on top of keeping up with my daily hygiene, skincare, and nutrition – I am also making time for crafts and little projects with my current toddlers.
So far for Valentine’s we’ve done some fun decor painting and this little footprint keepsake with the newborn. I haven’t decided if I’ll do any floral handprints with my toddlers – I’ll definitely redo our Mother’s Day Floral Footprints with all three kids! We also did a similar craft to this for Christmas – Floral Christmas MistleTOES.
The Mother’s Day Floral Footprints is my FAVORITE piece of decor that I have up all year long. If you want to make something special for another mother of littles, it would be this.
There are so many handprint and footprint crafts you can do. A lot of these are done with paint – which is still such a fun memory – but I really love these floral ones to hang on the walls. I feel like having the pressed florals and greenery for the footprints really elevates these keepsakes to something you’d be able to hang every year.
I wish I would have done this for my “Baby’s First Valentine’s” for each baby – but that isn’t stopping me from doing it with this third kid!
Clever idea: If you have your footprints from the hospital still you could definitely do this with those tiny newborn feet!
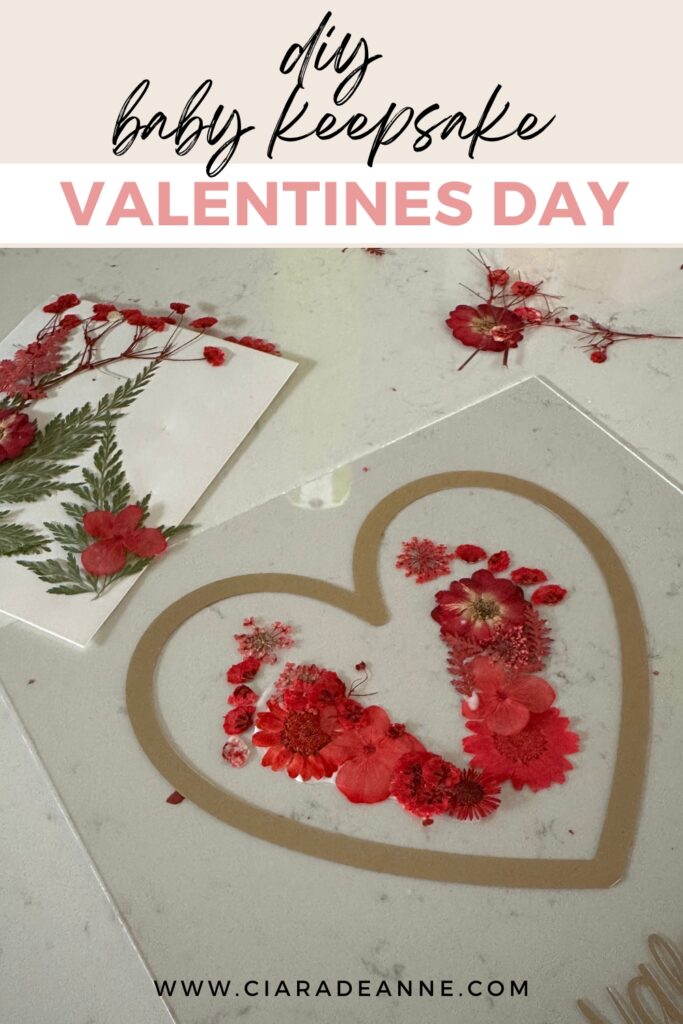
For the floating frame, I made sure to measure my toddler’s feet before hand to ensure the frame I used would fit her feet. When I did this for Mother’s Day I used a wider frame (8×10), but since I was going to make one of this for just one kid, I thought the square frames would look cuter.
There are two big things I changed to make this easier on myself (I learned from my mistakes when I did this at Mother’s Day).
1. I stamped my kiddos feet onto a piece of cardstock (instead of trying to do it on the frame/glass). This allowed me to do the glue and greenery when I had time and not worry about the ink getting smudged on the plastic/glass.
2. I purchased greenery already dried and pressed. When we did this for Mother’s Day my toddler and I collected flowers, pressed, and dried them and then made the keepsake. This was so memorable, but it didn’t really feel possible at this time of year. In order to do this successfully you have to pick the leaves and flowers and press them and let them dry for at least 2 weeks before you can use them. If there is moisture in them when you try to use them, mold will form and your keepsake will be ruined.
Amazon List of Everything You Need!
What you need:
– Floating Frame
– Mess Free Ink Pad or Regular Ink Pad
– Dried and pressed Red and/or White Flowers
– Mod Podge
– Red, Black or Gold Vinyl (Cricut – I have the Joy Xtra and Maker 3, here’s a quick comparison of my machines – for this project I just used my Joy Xtra, I think it’s the perfect size)
OR
– Black Sharpie
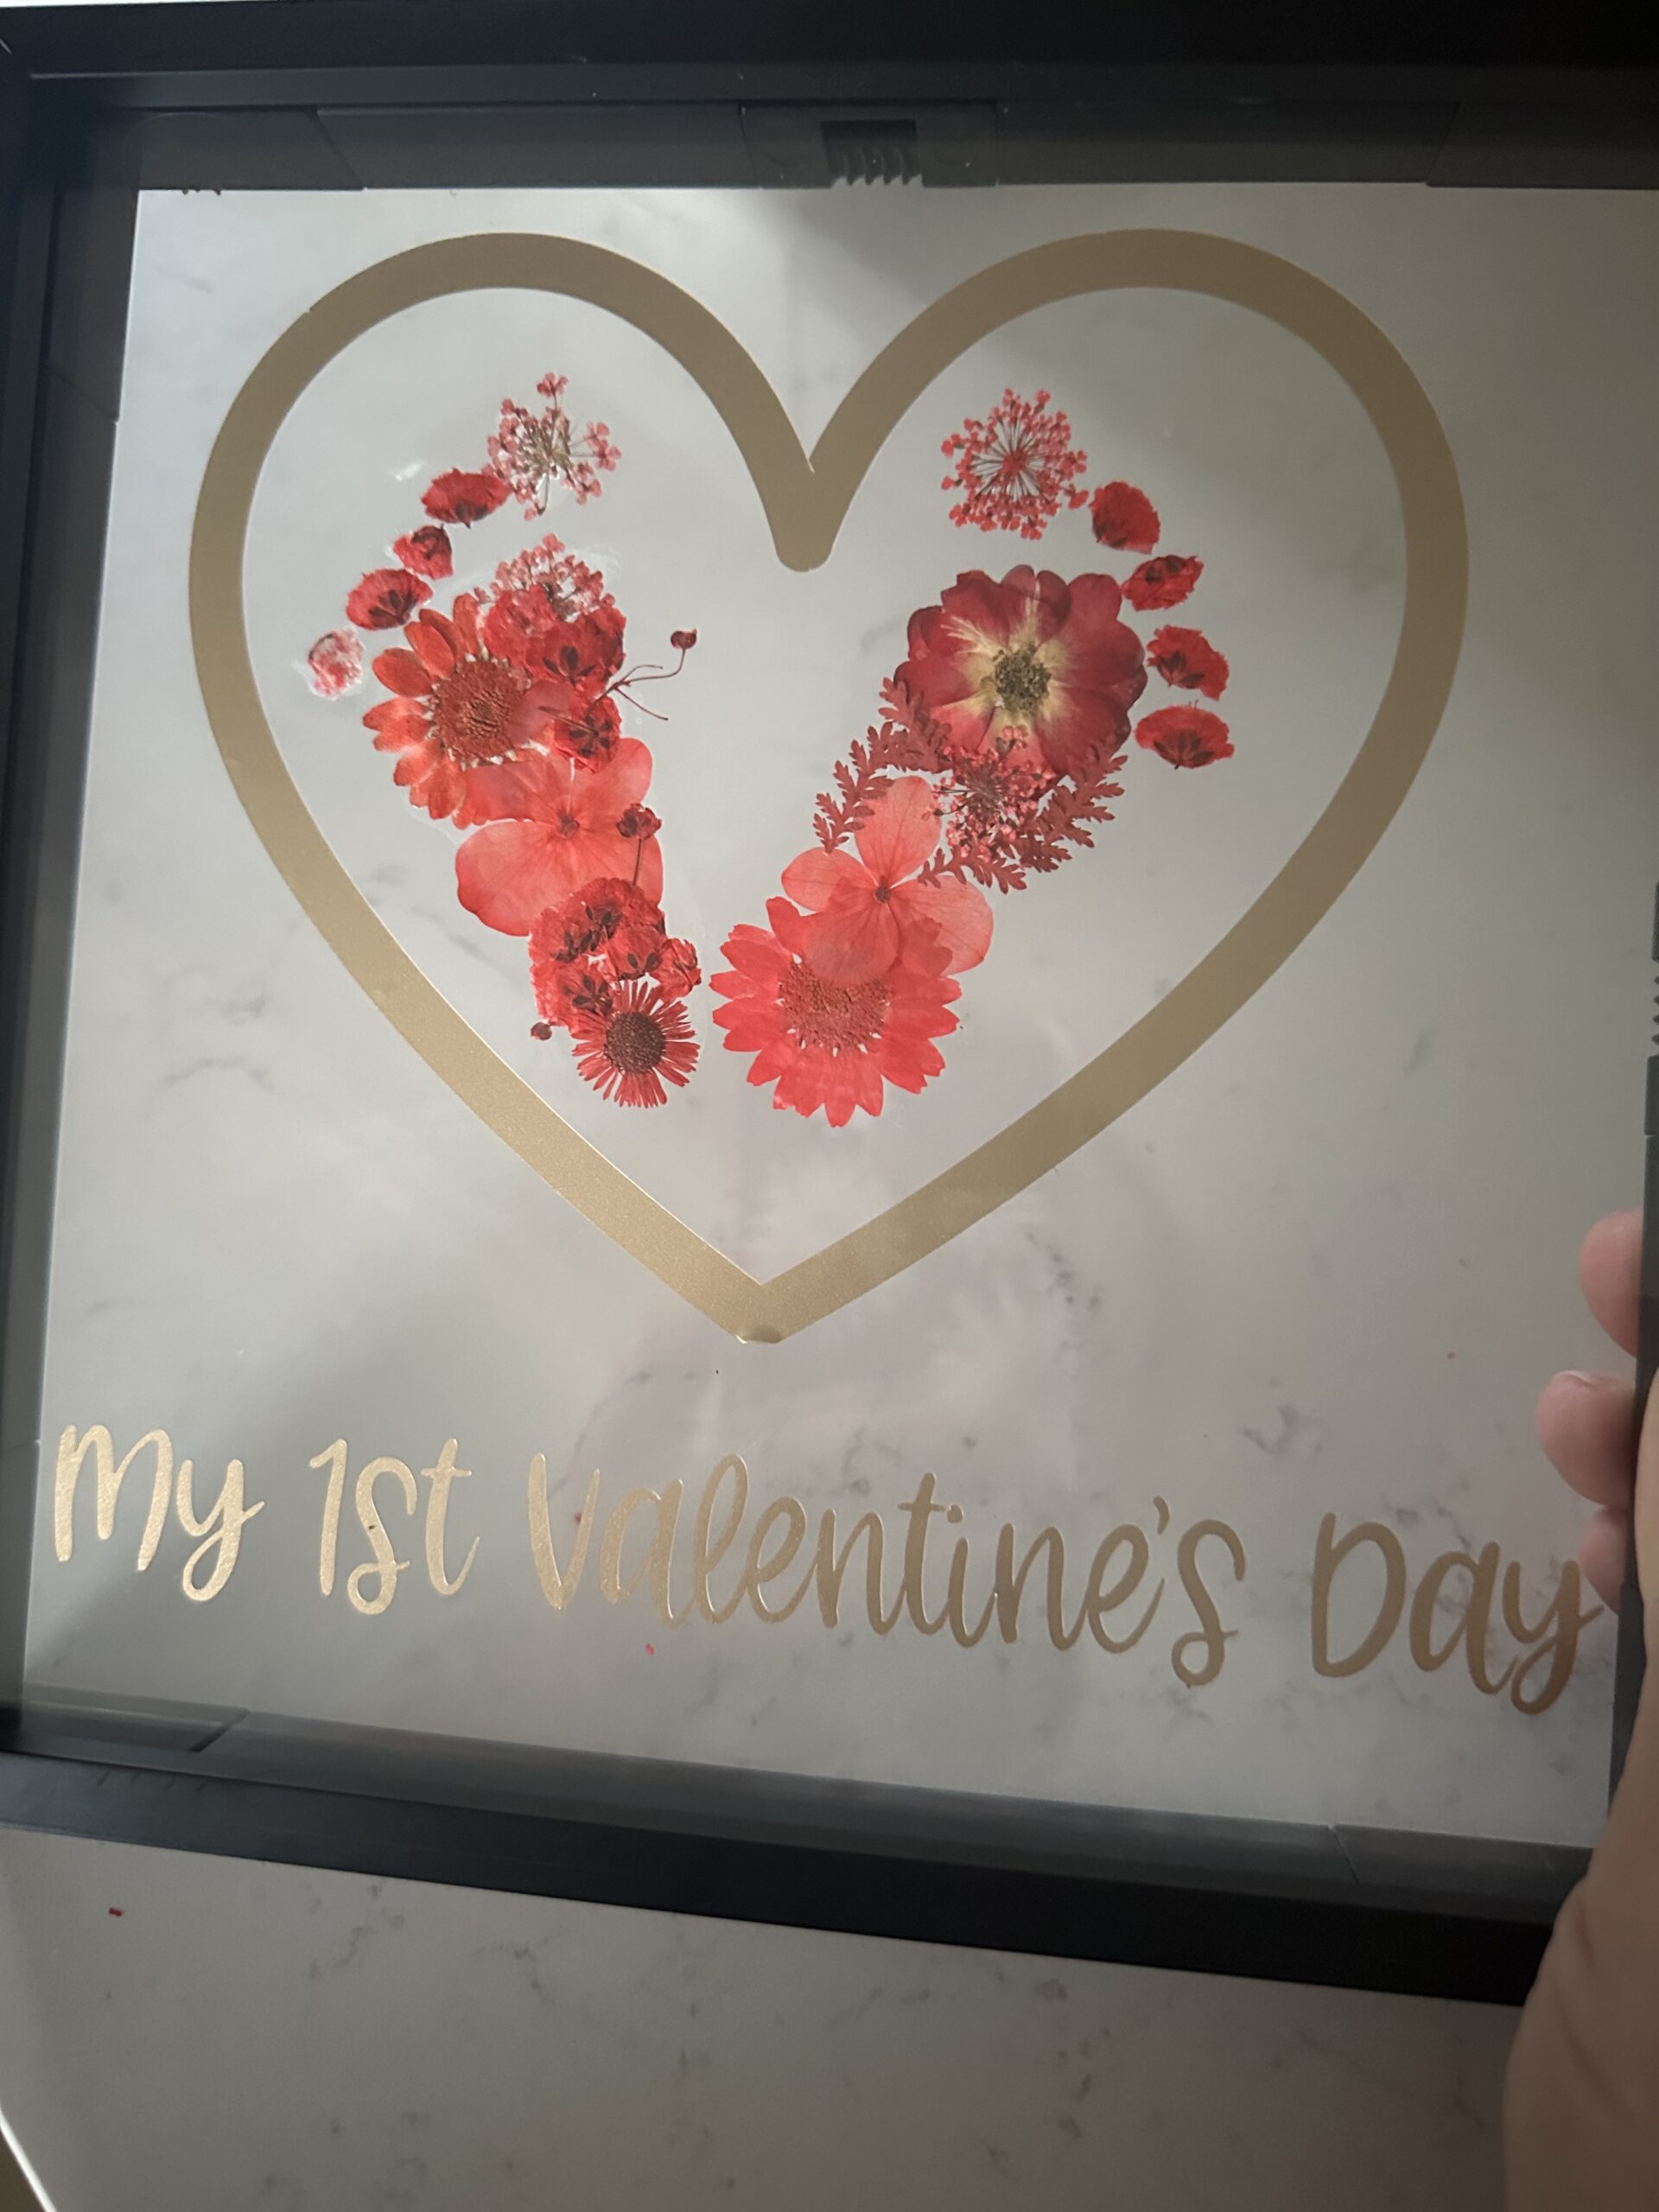
1. To make my life easier, I stamped my kids’ feet on cardstock vs straight on the frame insert. This just allows for more tries if you need them and less ability of smudging. I also like that you don’t have the black on the glass at all so it doesn’t show through your greenery.
2. Find the center of the frame and where you’ll place your heart (I skipped this and mine are slightly off centered.. whoops). Place your phrase at the bottom of the frame. You can do “My First Valentine’s” or “Be Mine” or “Happy Valentine’s Day” – you decide! I also put my kid’s name and the year in the top right.
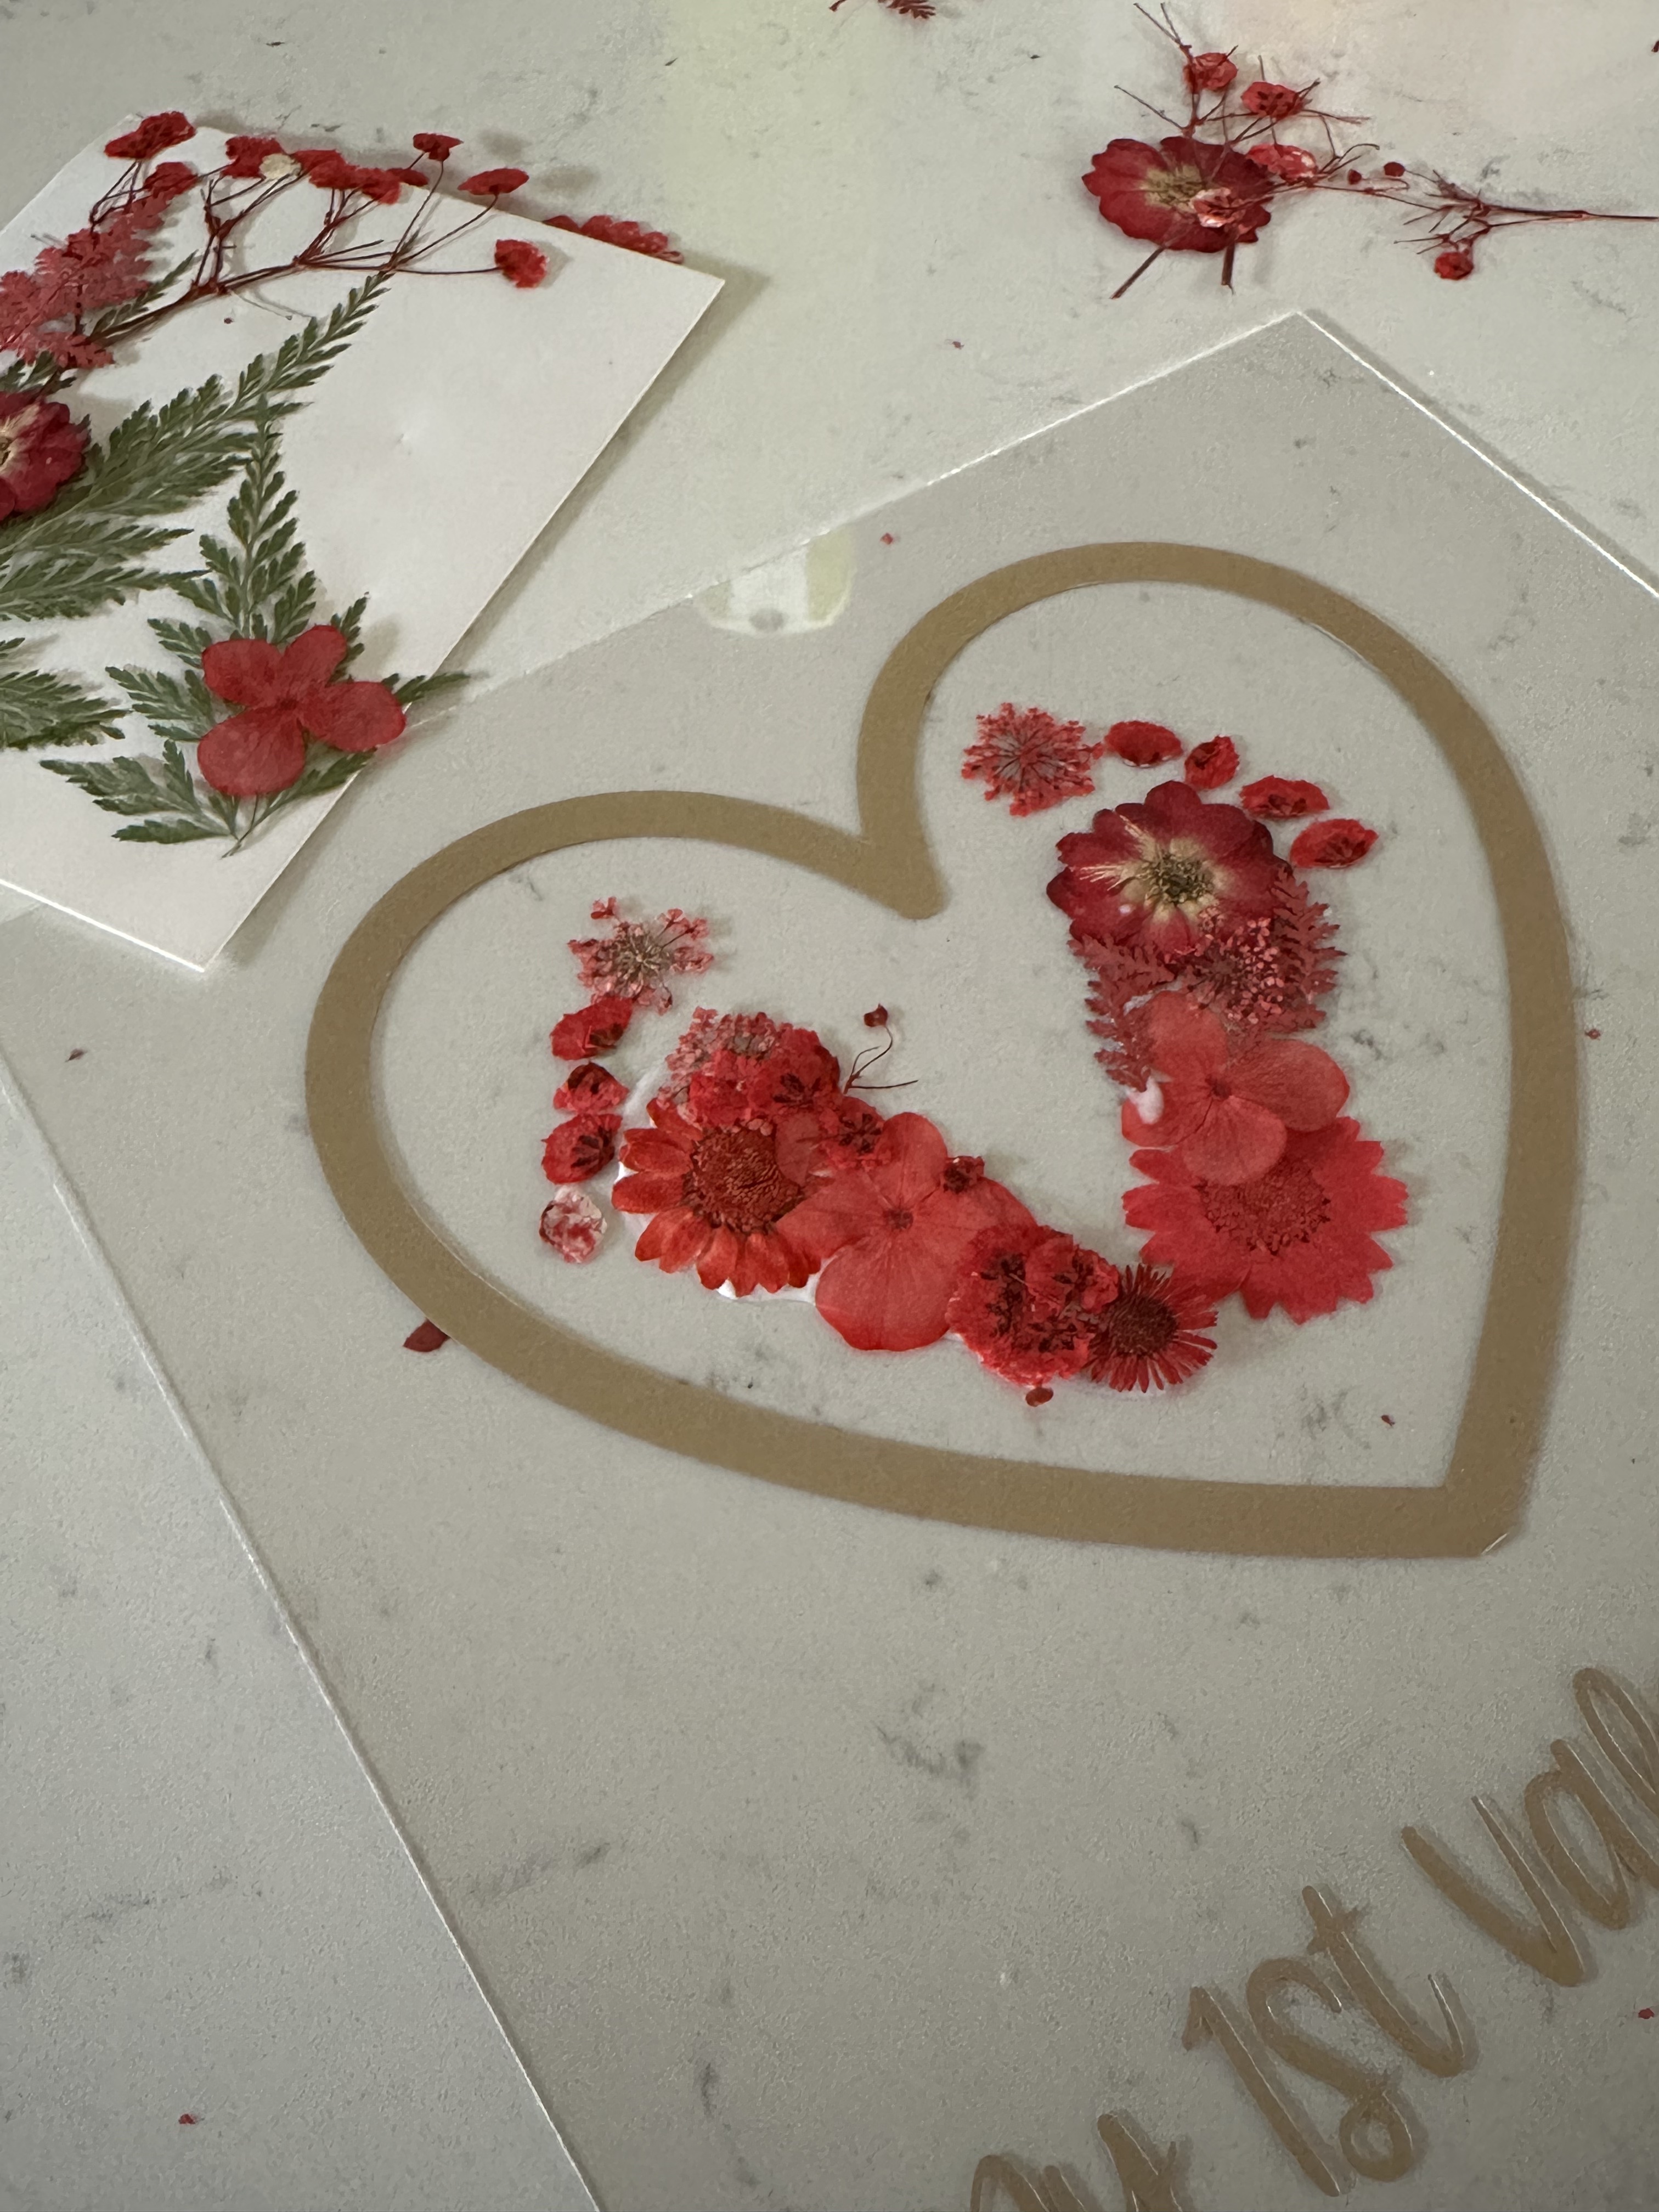
3. Cut out your design with your Cricut and use transfer tape to place it on the insert of the frame. Make sure your kids hand/feet will fit inside the heart you create!
**You want to do the vinyl first so you can use transfer tape without messing up the flowers.**
4. Place the frame insert on top of the foot you are going to start with. One footprint at a time, paint Mod Podge glue over the footprint and lay pressed flowers all over the glue. I used all red flowers and love it, but it would look cute with a mix of red, pink, and white too.
5. Move the frame insert to angle the second foot. I just have the two feet inside the heart, you could have the heels overlapping, but you definitely don’t need to. Repeat Step 4.
6. Let dry for at least 24 hours before placing into the floating frame.
7. Hang and enjoy for the holiday season.
Valentine’s Day is just around the corner! If you are looking for other great Valentine’s crafts to do check out:
Katie’s DIY Valentine’s Kisses
Haley’s Easy DIY Heart Wands
Caitlyn’s Toddler Valentine’s Day Craft
Lexie’s Valentine’s Sun Catchers
Thanks so much for checking out my blog, I hope you love it! Oh, and just in case you haven’t heard it today – You’re doing a great job. xx Ciara

Pingback: DIY Valentine Gift Idea - Gall Adventures on January 13, 2025
Pingback: Toddler Valentine’s Day Craft - Meet The Mungers on January 13, 2025
Pingback: Valentine's Day Craft Idea: Sun Catchers - The Undem Family Adventures on January 13, 2025
Pingback: 4 Valentine's Crafts and Activities for Toddlers - Ciara Deanne on January 13, 2025
7 COMMENTS
Caitlyn
1 year agoOkay this is beautiful! I love the floating frame!
Katie Gall
1 year agoThis is a beautiful idea. Perfect keepsake
Lexie
1 year agoThis idea is so sweet and such a great keepsake!