This post may contain affiliate links. A small commission may be earned if you make a purchase through my links. Thank you for supporting my blog!
If you’ve ever saved a cute toddler craft only to realize halfway through that it was definitely not toddler-friendly… you’re not alone. I’ve been there. That’s why I’m constantly testing and simplifying ideas to find the ones that are actually doable, especially with young toddlers.
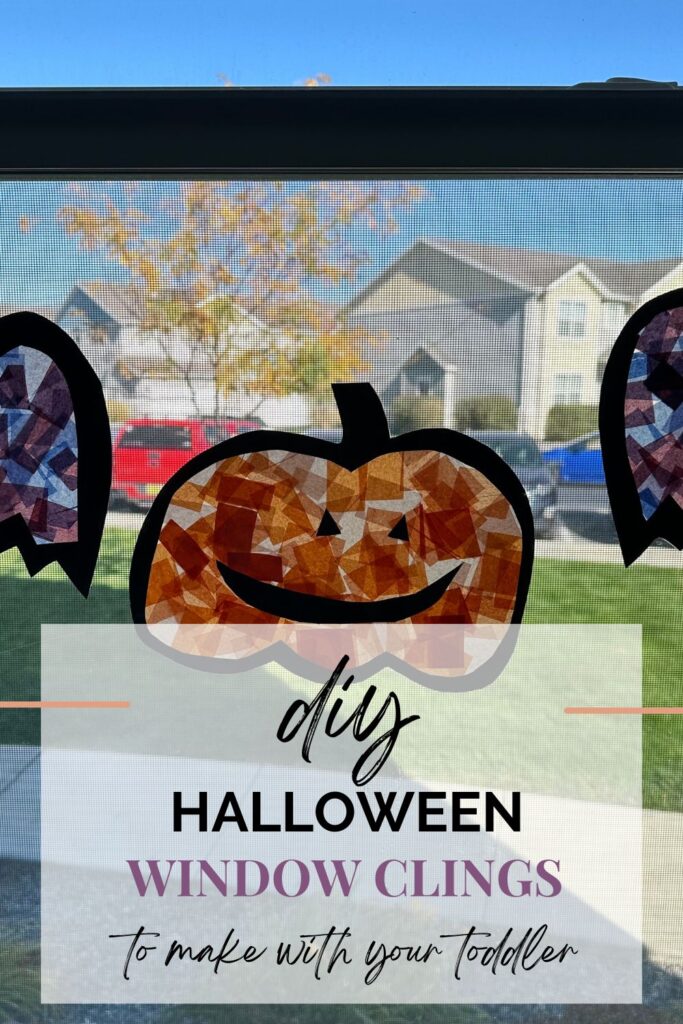
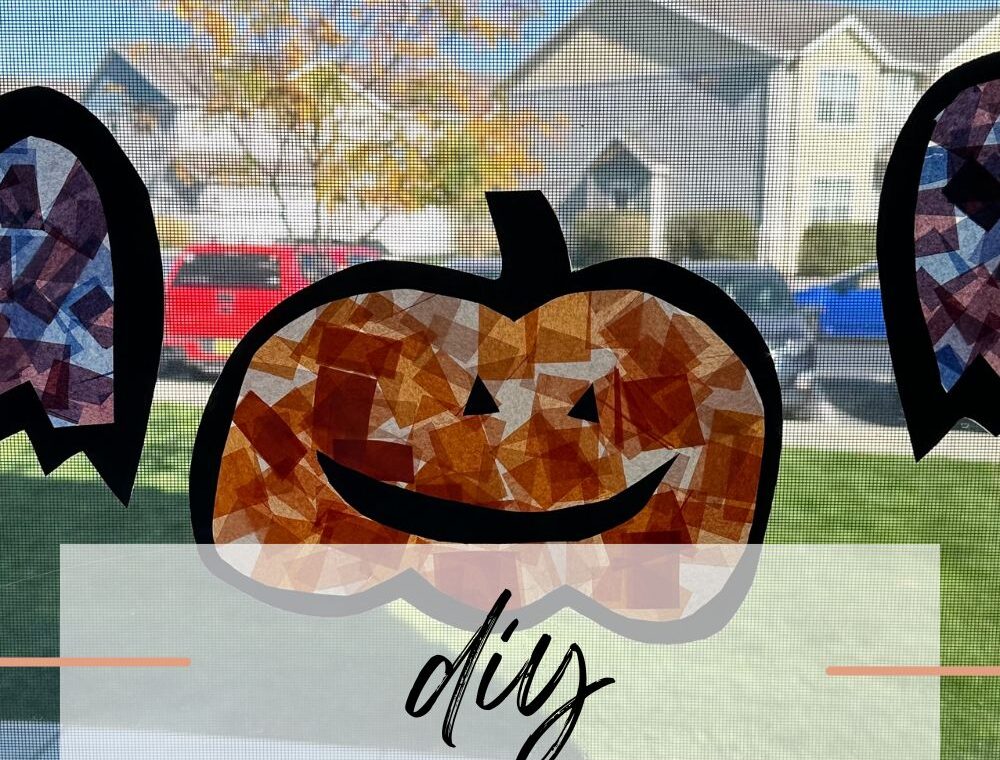
These DIY Halloween window clings are one of our favorite easy Halloween crafts for toddlers. I’ve tried a few methods over the years, but this one takes the prize for being simple, fun, and perfect for tiny hands. The best part? You can adapt this idea to any holiday or theme, we’ve since made them for Christmas, Valentine’s Day, and more!

This version is a Halloween window cling craft, but you can totally make it work year-round.
What You’ll Need (Amazon List):
- Contact paper
- Tissue paper (cut into 1″ squares) or Cellophane for a stained-glass effect
- Construction paper (for your shape outlines)
- Scissors
- Painter’s tape (optional)
- A Cricut if you want perfect outlines (but hand-cut works just fine!)
I have the Cricut Joy Xtra and honestly think it’s the perfect size. It can still cut so many different materials for crafts and projects, but it’s small enough to tuck away when I’m not using it — which is a huge win since I don’t have a ton of storage space.
How to Make a Toddler-Friendly Halloween Window Cling:
Create your outline.
Cut out a fun Halloween shape (like a pumpkin, ghost, or bat) from construction paper. If you want your cling to be outlined on both the inside and outside of the window, cut two of the same shape. Tip: Not confident in your freehand skills? Use Canva to find a printable outline to trace or cut!
Cut your contact paper.
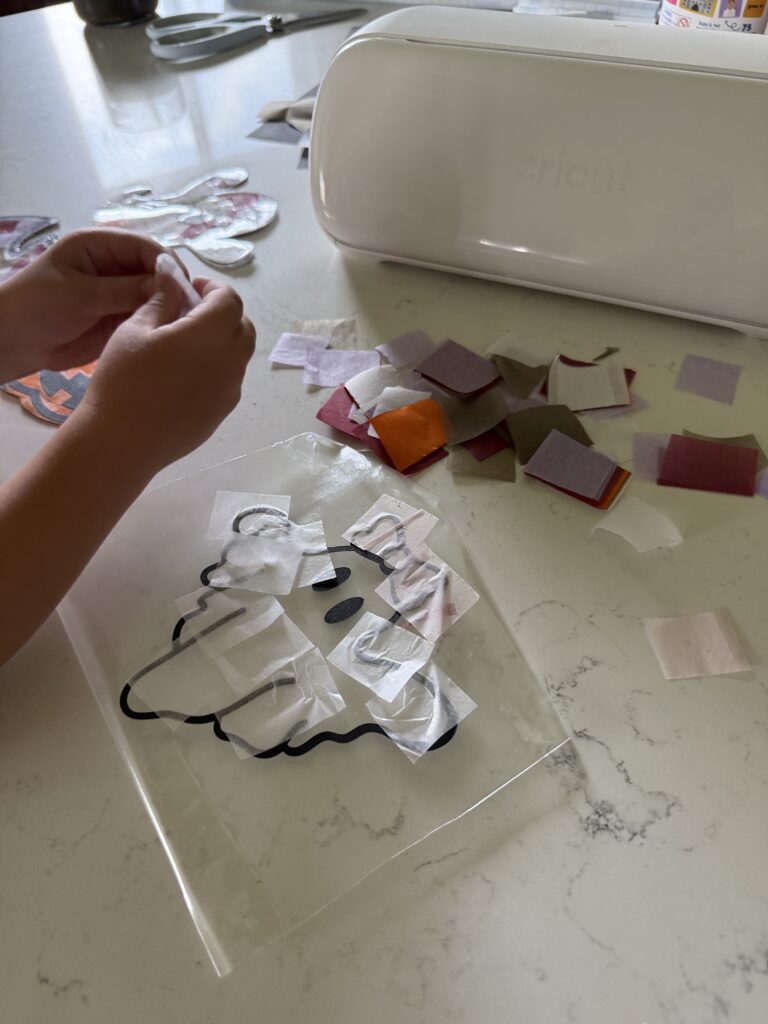
You’ll need two pieces the size of your shape. Stick your construction paper outline onto the sticky side of one contact sheet, and tape the whole piece down with painter’s tape so it doesn’t slide around while your toddler works.
Add tissue paper.
Let your toddler stick the small tissue squares (or cellophane for a stained-glass look) all over the sticky side, filling in the shape. It doesn’t have to be perfect — just encourage them to lay the pieces flat so it sticks well. My 4-year-old especially loves layering the tissue paper to make new colors!
Seal it.
Once your toddler is finished decorating, place the second outline (optional) and then cover the whole thing with the second piece of contact paper — sticky side down — like you’re sealing it up.
Cut it out.
Trim around the edge of your outline. There shouldn’t be any sticky edges left; it should feel like a laminated craft.
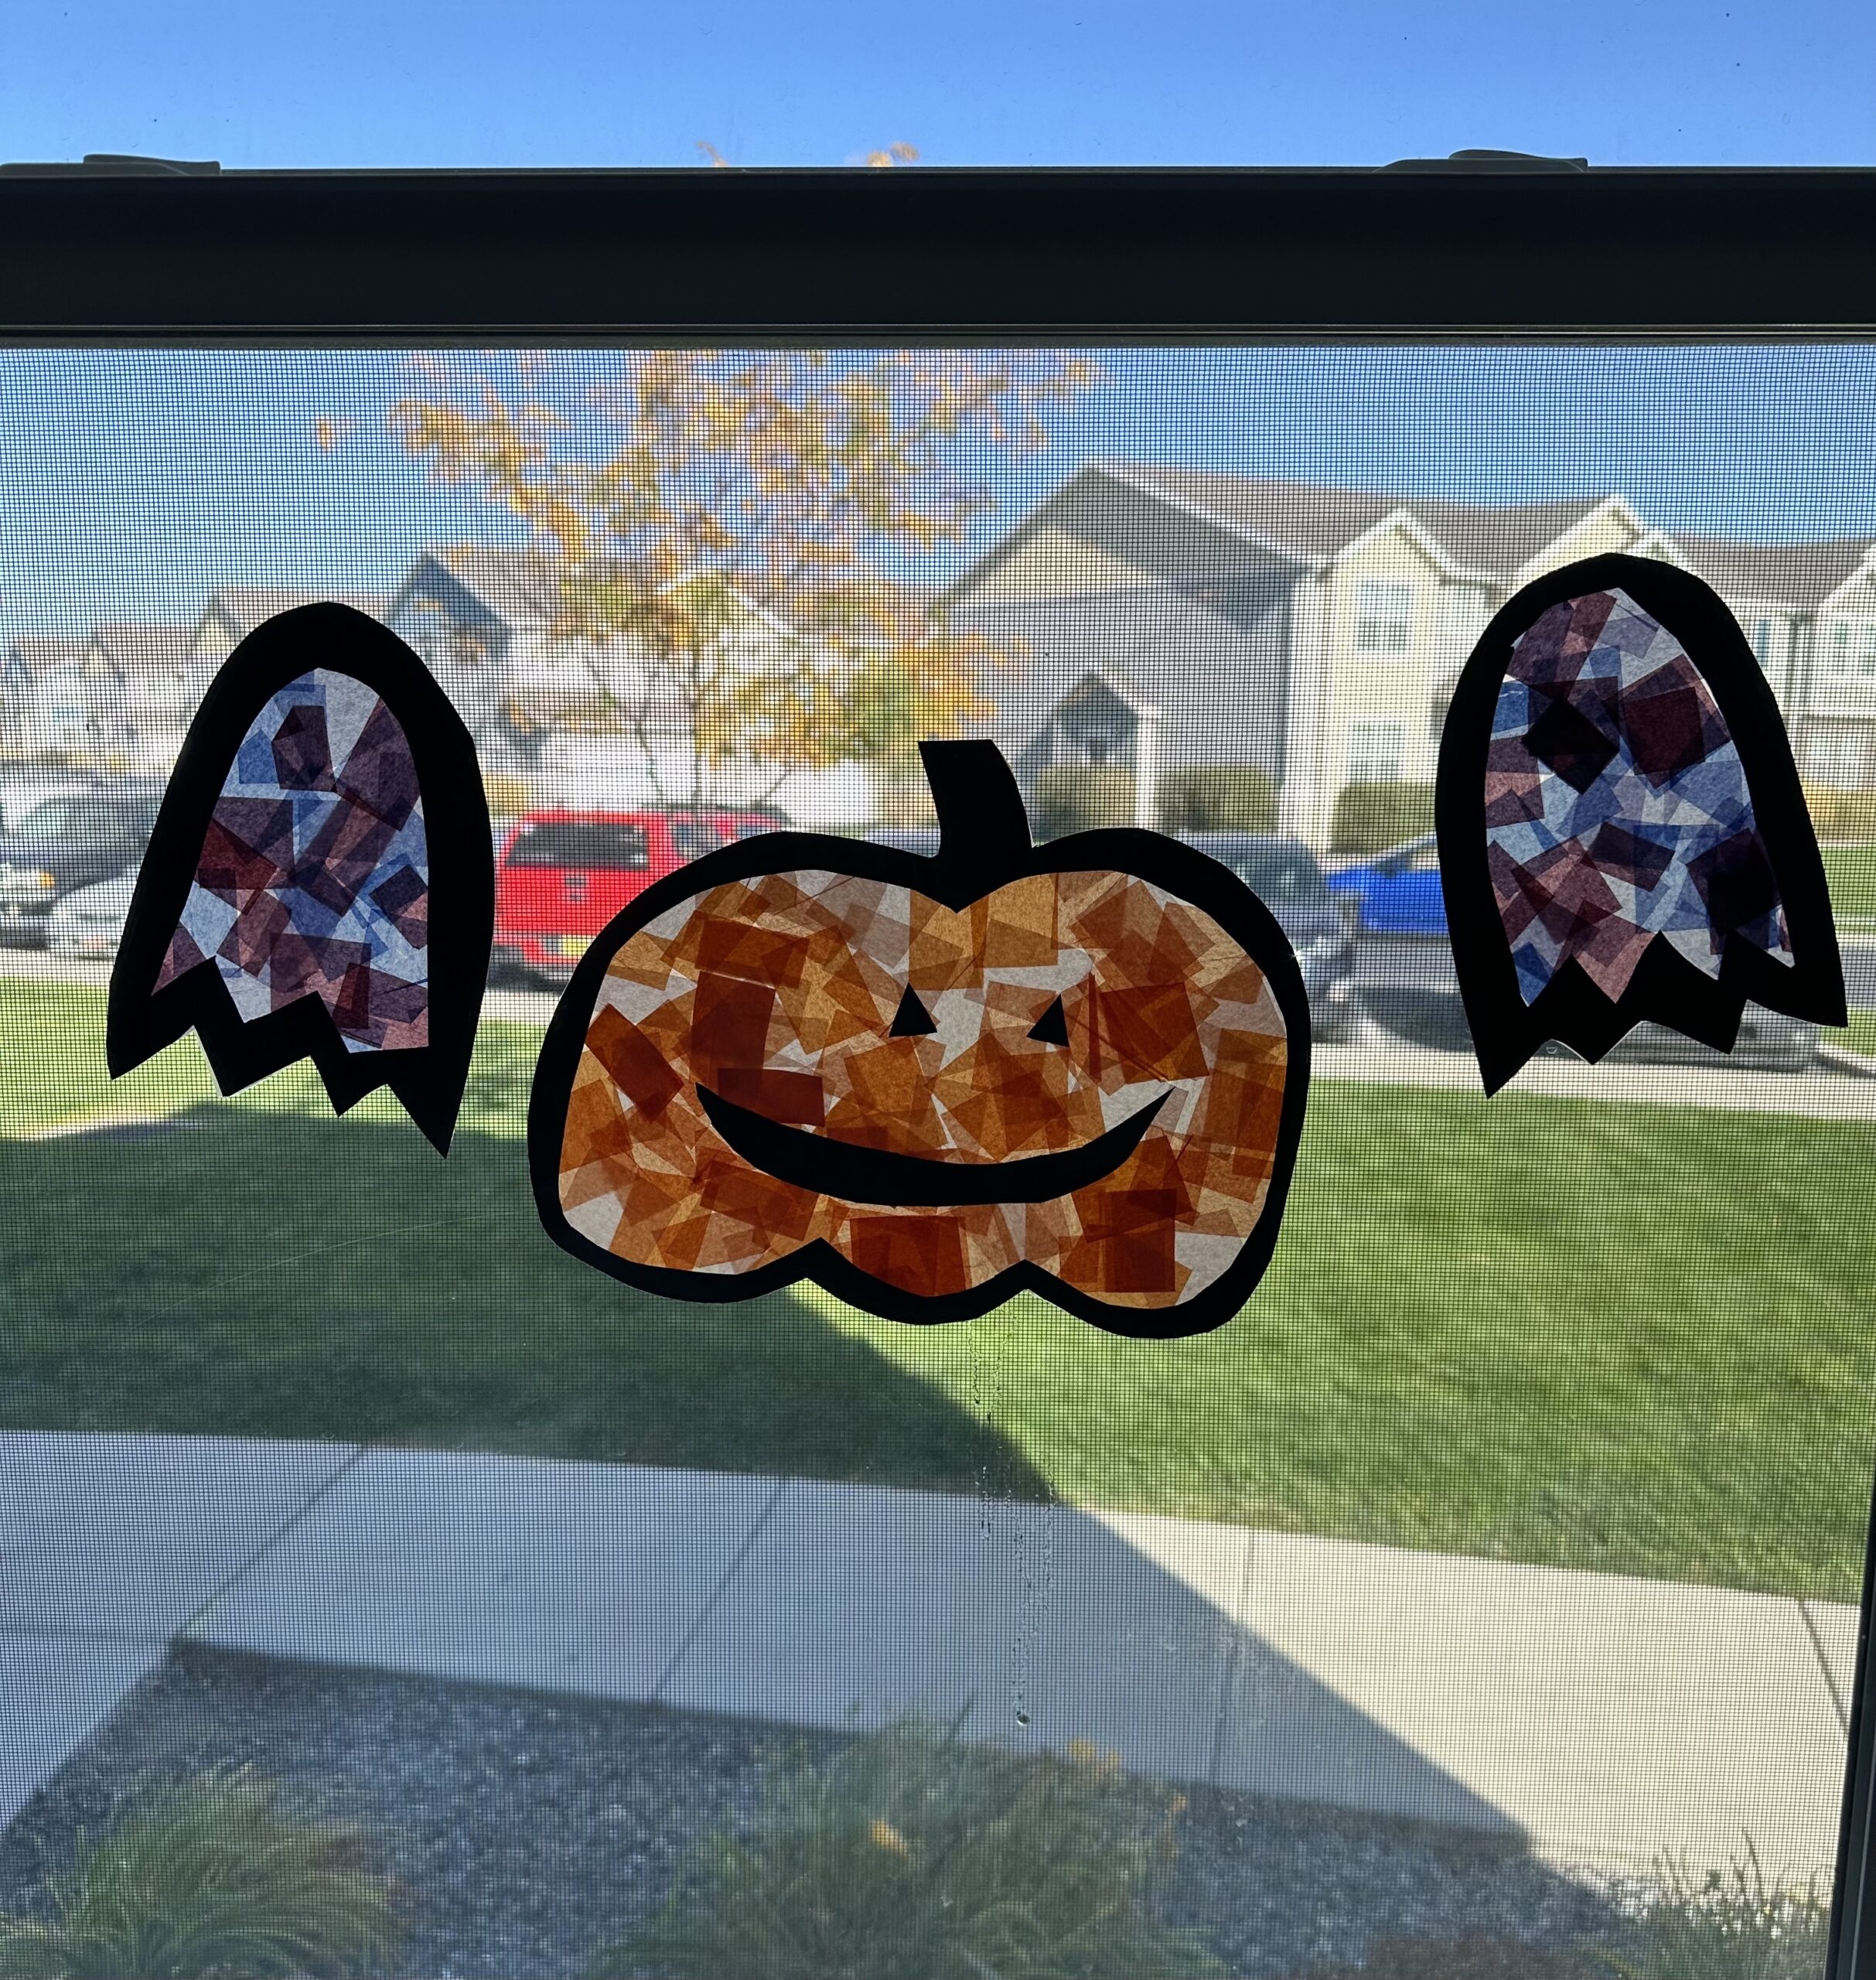
Stick to the window!
Use a bit of water or even a spritz of window cleaner to help the cling stick to a clean window — and let your toddler proudly display their masterpiece!
Why We Love This Low-Mess Halloween Activity:
- Great for ages 18 months and up — toddlers love sticking the tissue paper, and preschoolers get really into layering and designing.
- Low-mess and low-prep — cleanup takes seconds and the whole setup is contained on one sheet of contact paper.
- Great for fine motor skills — peeling, sticking, and pressing are all fantastic ways to build those little hand muscles.
- Holiday-themed fun without the overwhelm — perfect for low-energy days or a quick afternoon craft.
- Safe for windows — they peel right off without leaving sticky residue. We usually keep ours up for the whole month!
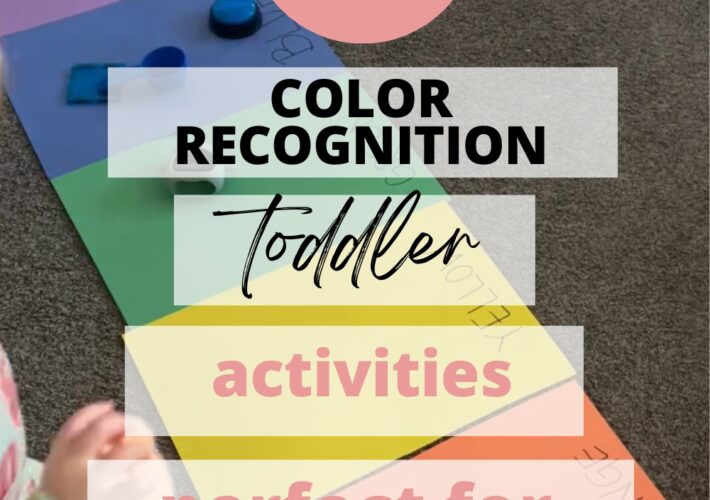
- Adaptable year-round — we’ve done pumpkins, trees, hearts, rainbows… the possibilities are endless.
If your toddler enjoys this one, be sure to check out my 13 Halloween Activities for Toddlers, or browse the blog for even more easy, low-prep ideas. Or grab my free activity ebook for 52 simple toddler activities all in one spot.
You’re doing an amazing job, mama.
xx, Ciara