This post may contain affiliate links. A small commission may be earned if you make a purchase through my links. Thank you for supporting my blog!
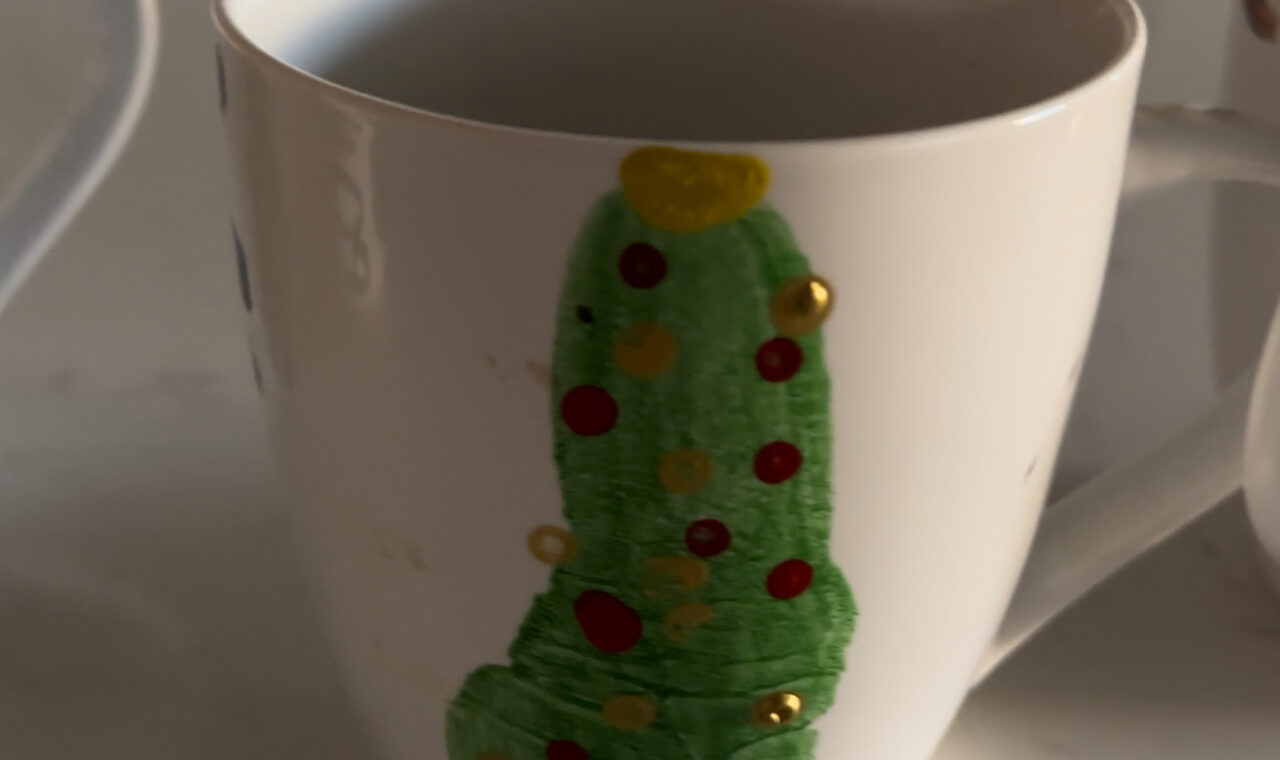
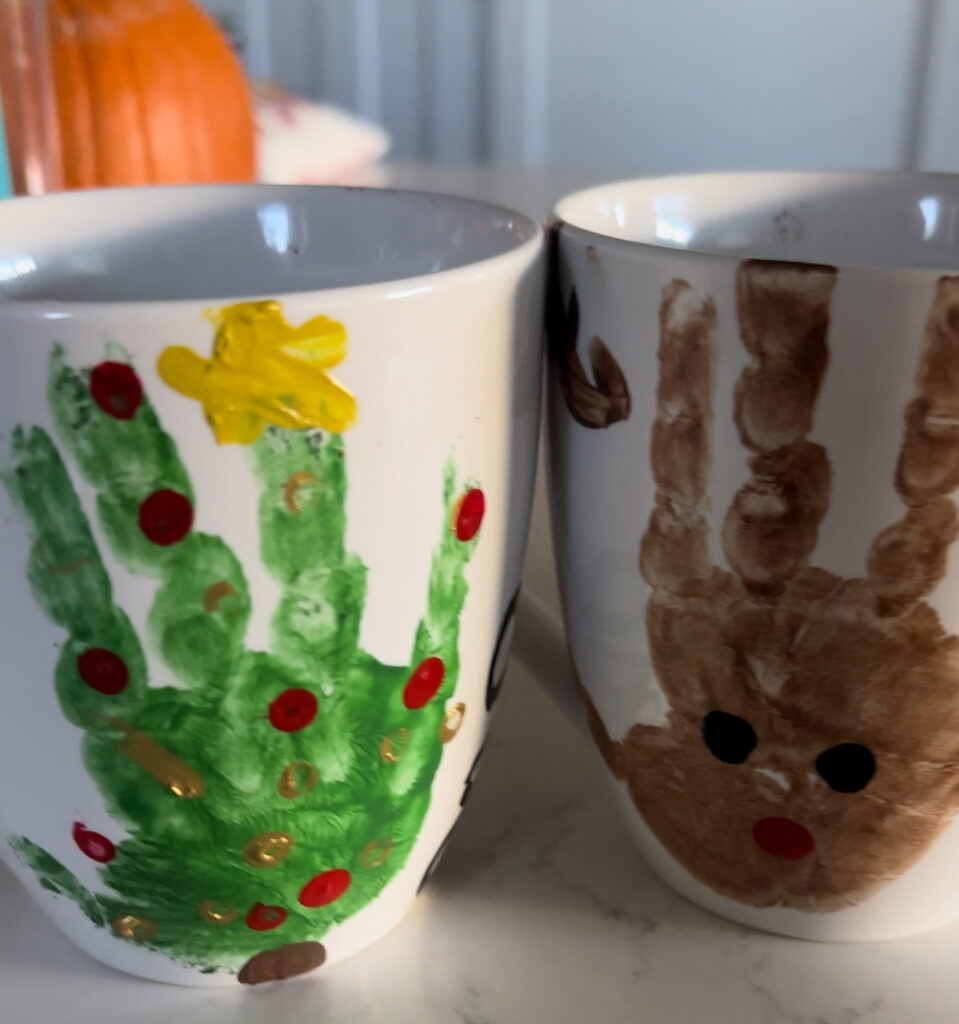
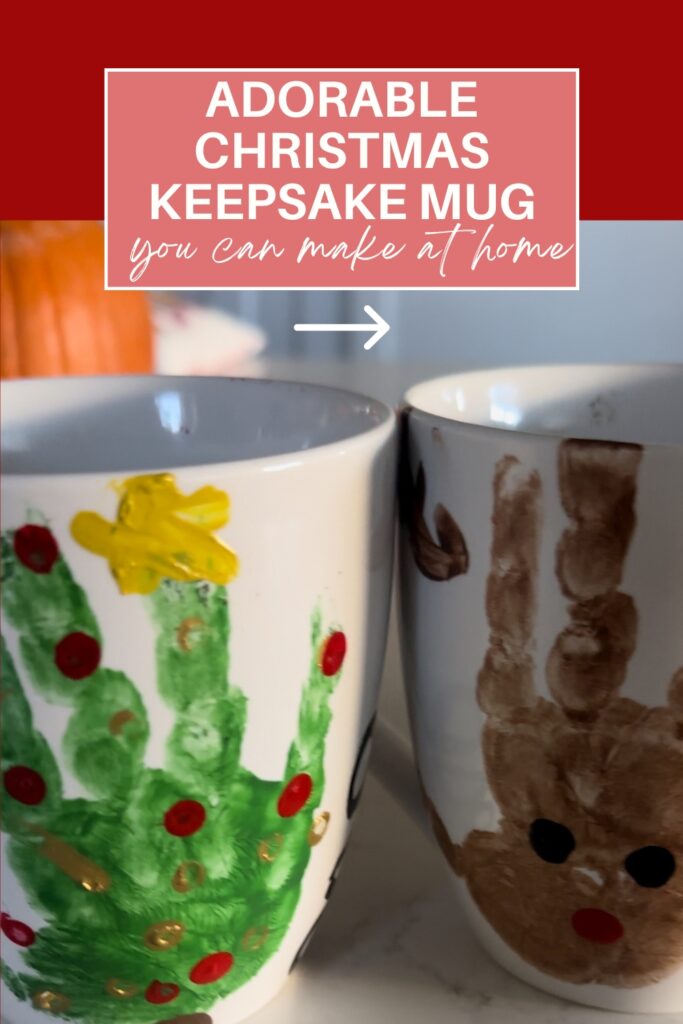
Whether you want to make this for yourself or to gift to the grandparents, these keepsake mugs are such a sweet way to capture your little one’s handprints or footprints. And the best part? They’re way easier to make than they look, plus I’ll show you how to make them dishwasher safe.
A Quick Note Before We Start
You are a great mom whether you do a Christmas keepsake or not. When my first baby was 6 months old (her first Christmas), I didn’t have the patience or bandwidth to do anything like this. We attempted a plaster handprint and it was… stressful.
This year, now that she’s 3.5, is the first time I’m doing any kind of actual Christmas keepsake with her. And that’s okay. If you’re reading this and thinking, “Not this season”, you’re still a great mom.
Why This Keepsake Makes the Perfect Gift
These handprint and footprint mugs are such a thoughtful, handmade Christmas gift for grandparents, aunts and uncles, or even as a “first Christmas” keepsake for yourself. If you need other ideas, check out my Christmas Gift Guides I’ve got options for everyone in the family, plus gift ideas for hobbies, teachers, and White Elephant exchanges.
My Experience Making These
Honestly, they were easier than I expected. The hardest part was getting my daughter’s handprint and my son’s footprint. But here’s the magic, if you mess up, you can wipe it right off with a damp paper towel and try again.
Pro tip: I did all my daughter’s handprints while my 18-month-old was napping, then got his footprints while he was in the high chair eating. A well-timed snack is the secret to toddler crafting success.
What You’ll Need
- Ceramic mugs
- Acrylic paints (I used Evergreen for trees, Coffee Bean for reindeer, Lipstick Red, Licorice, and Gold for details)
- Paint brushes
- Damp paper towels or baby wipes (for mistakes)
- Mod Podge Spray for Sealing
- An oven
Step-by-Step Instructions
- Clean the mugs
Wash and dry your mugs to make sure the surface is clean and free of dust or fingerprints. - Plan your design
Decide what you’re turning each handprint or footprint into (tree, reindeer, Santa, etc.). This helps you know whether to place them right side up or upside down. - Paint the hand or foot
Brush a thin layer of paint onto your child’s hand or foot and gently press it onto the mug.
Tip: For toddlers, have them sit in a high chair with a snack while you work. - Fix any mistakes
If you mess up, just wipe the paint off with a damp paper towel or baby wipe and try again. - Let it dry
Allow the prints to dry for at least 2–3 hours. - Add details
Use smaller brushes to decorate around the prints, add antlers, ornaments, scarves, etc. Let dry fully.
Pro Tip: I used a qtip for the ornaments and let my daughter help! - Add names or messages
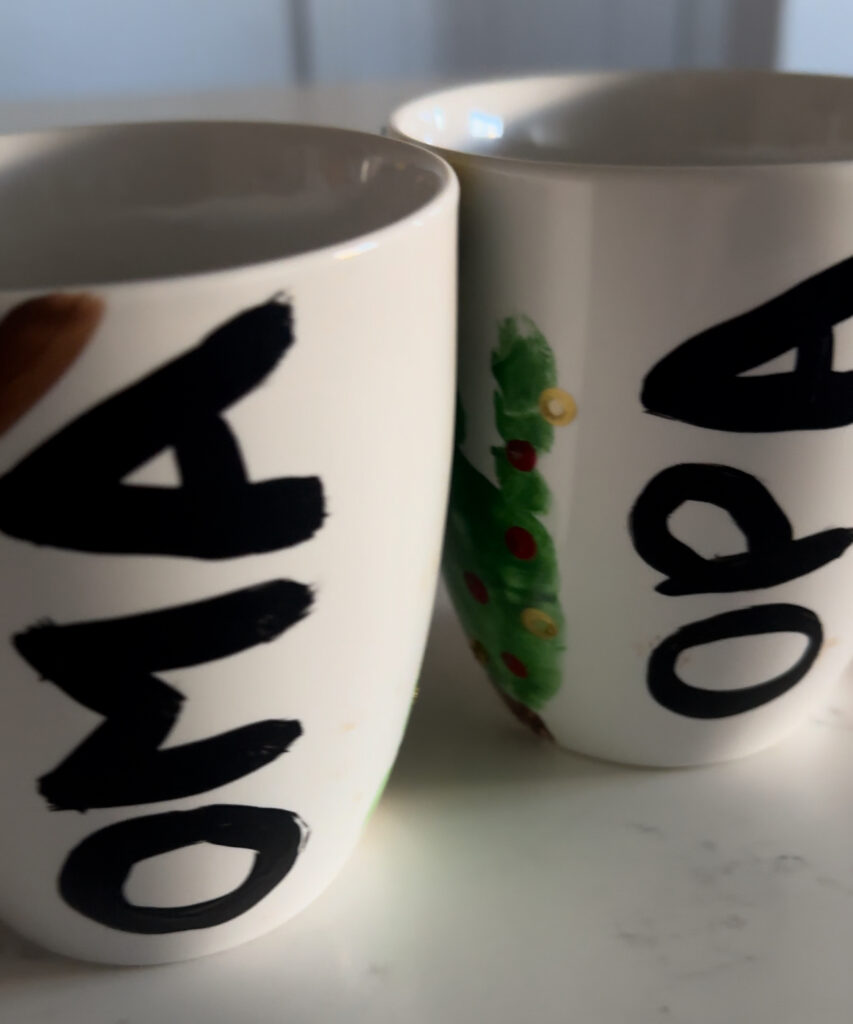
Paint on your child’s name, the year, or a holiday message. You can also write on the bottom with a Sharpie. - Seal with Mod Podge
Brush on a thin coat of Mod Podge Spray over the design. Let it dry completely (follow the drying time on the bottle). - Bake the mugs
Place the mugs in a cool oven. Set the temperature to 350°F and let them heat up with the oven. Bake for 30 minutes, then turn the oven off and let the mugs cool inside.
This gradual heating and cooling prevents cracking. - Cure before use
Allow the mugs to sit for 28 days before washing to let the Mod Podge fully cure.
Tips & Variations
- These steps also work for ceramic plates if you want to make a Santa cookie plate or serving platter.
- Handwash for best longevity, but once cured, they can handle the dishwasher.
- Use fine-tipped paint brushes for lettering to keep things neat.
We’ll be making more Christmas keepsakes this year like Floral Mistletoes and a Cookie Cutting Board for Santa. And don’t miss my 25 Christmas Activities for Toddlers!
Happy crafting, mama. You’ve got this.
xx Ciara

.

Pingback: Mistletoes Christmas Keepsake - Ciara Deanne on November 5, 2024
1 COMMENT