This post may contain affiliate links. A small commission may be earned if you make a purchase through my links. Thank you for supporting my blog!
You already know I love doing crafts and activities with my toddler and preschooler (and honestly, I love crafting for myself too!). My favorite projects are the ones that don’t just get tossed aside. I love when they turn into something you actually want to display in your home. Bonus points if it’s a craft your preschooler or elementary schooler can work on mostly by themselves.
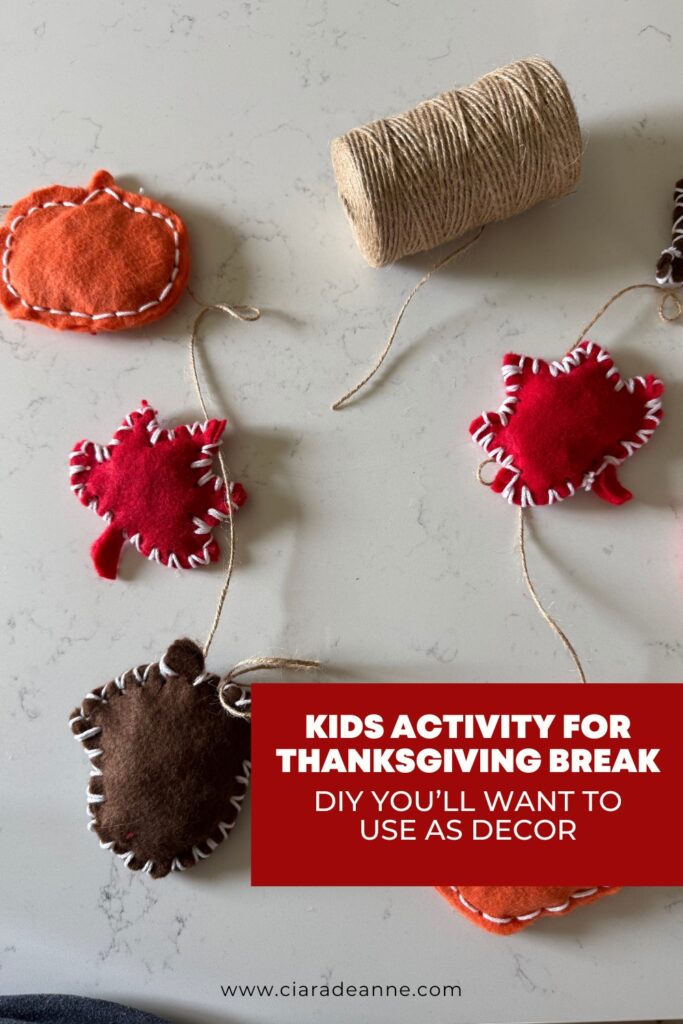
Every fall, I see the cute seasonal garlands in stores and think, “I bet I could make that.” This year, I finally tried it, and now we have our own handmade Thanksgiving garland that looks like it came from a boutique. The best part? It was such a fun activity to work on with my daughter.
This DIY felt garland makes the perfect:
- Kids’ craft for fall break (it kept my preschooler busy and proud of her work!)
- Girls’ night activity (picture sipping cider or wine while crafting together)
- Budget-friendly home décor project (a fraction of the price of store garlands)
And don’t worry, while you do need to sew, these are super simple stitches. I didn’t even learn how to sew until my 20s (and I’m still no pro), so if I can do it, you can too.
Why DIY?
Of course, you could just grab a garland from the store, but there’s something special about making it yourself. As a mom, these projects are about more than just home décor, they’re about memories. My daughter sat next to me, carefully stitching her little pumpkin, and I know every time I pull this garland out in the future, I’ll think of that moment.
Handmade crafts like this often turn into family traditions. Imagine bringing out the Thanksgiving garland year after year and remembering the season your preschooler was first learning to sew. Or a tradition of creating a new one each year as the kids get older, maybe one day with your grandkids. These pieces don’t just decorate your home, they tell your family’s story.
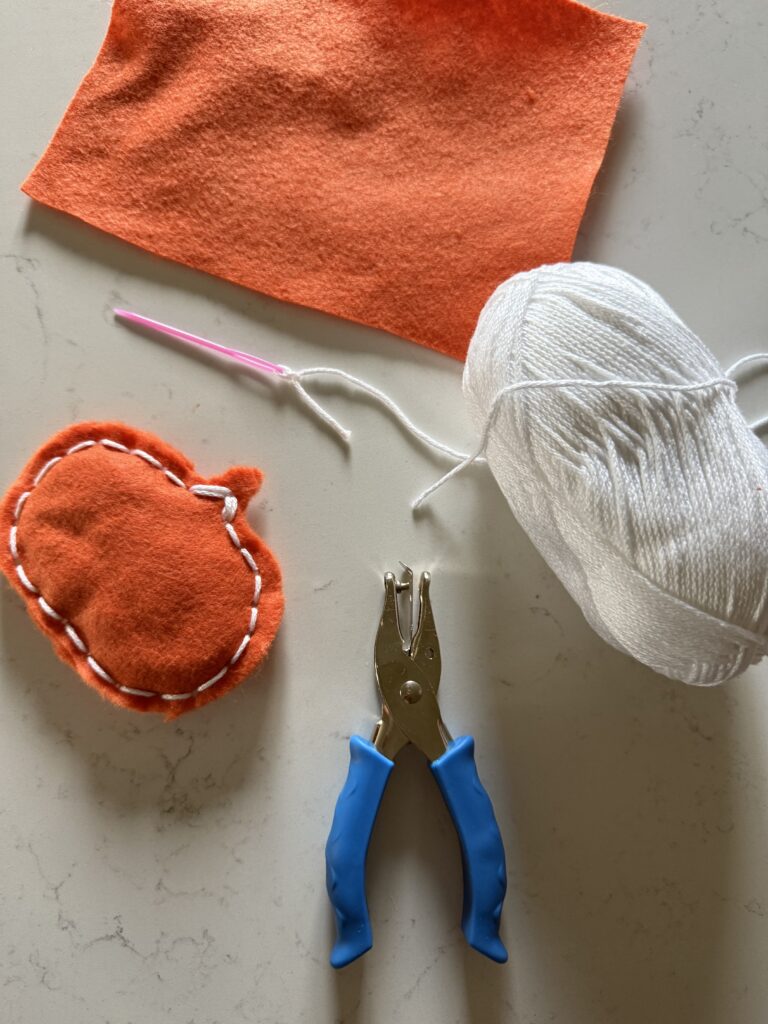
What You’ll Need
Here are the supplies we used (I’ve linked my favorites so you can grab everything in one place):
- Felt sheets (I love this fall-colored felt set for pumpkins, leaves, and acorns)
- Yarn (like this one works great)
- Sharp scissors (these fabric scissors are worth it)
- Yarn needle (this set is a kid-friendly option too)
- Hole punch (this heavy-duty punch worked perfectly on felt, I used the small one)
- Twine or more yarn (classic jute twine gives it a rustic look)
- Cricut Joy Xtra (optional, but so helpful for perfect shapes — here’s mine)
- Cardstock + marker (if you’re not using a Cricut, to make your shape templates)
- Essential oils (optional — this fall blend smells amazing when added to the garland!)
How to Make a DIY Felt Garland
Step 1: Pick Your Shapes
I chose maple leaves, pumpkins, and acorns. Each shape was about 4×4 inches. We cut out 8 of each design (this gives you 4 stuffed shapes for every design). If you’re using a Cricut, here’s my Design Space mockup.
My Cricut wasn’t able to fully cut the felt, but I just used my scissors to trim from the outline.
Step 2: Trim + Pair
Clean up your edges and pair each shape together. Save the felt scraps: we’ll use them later as stuffing.
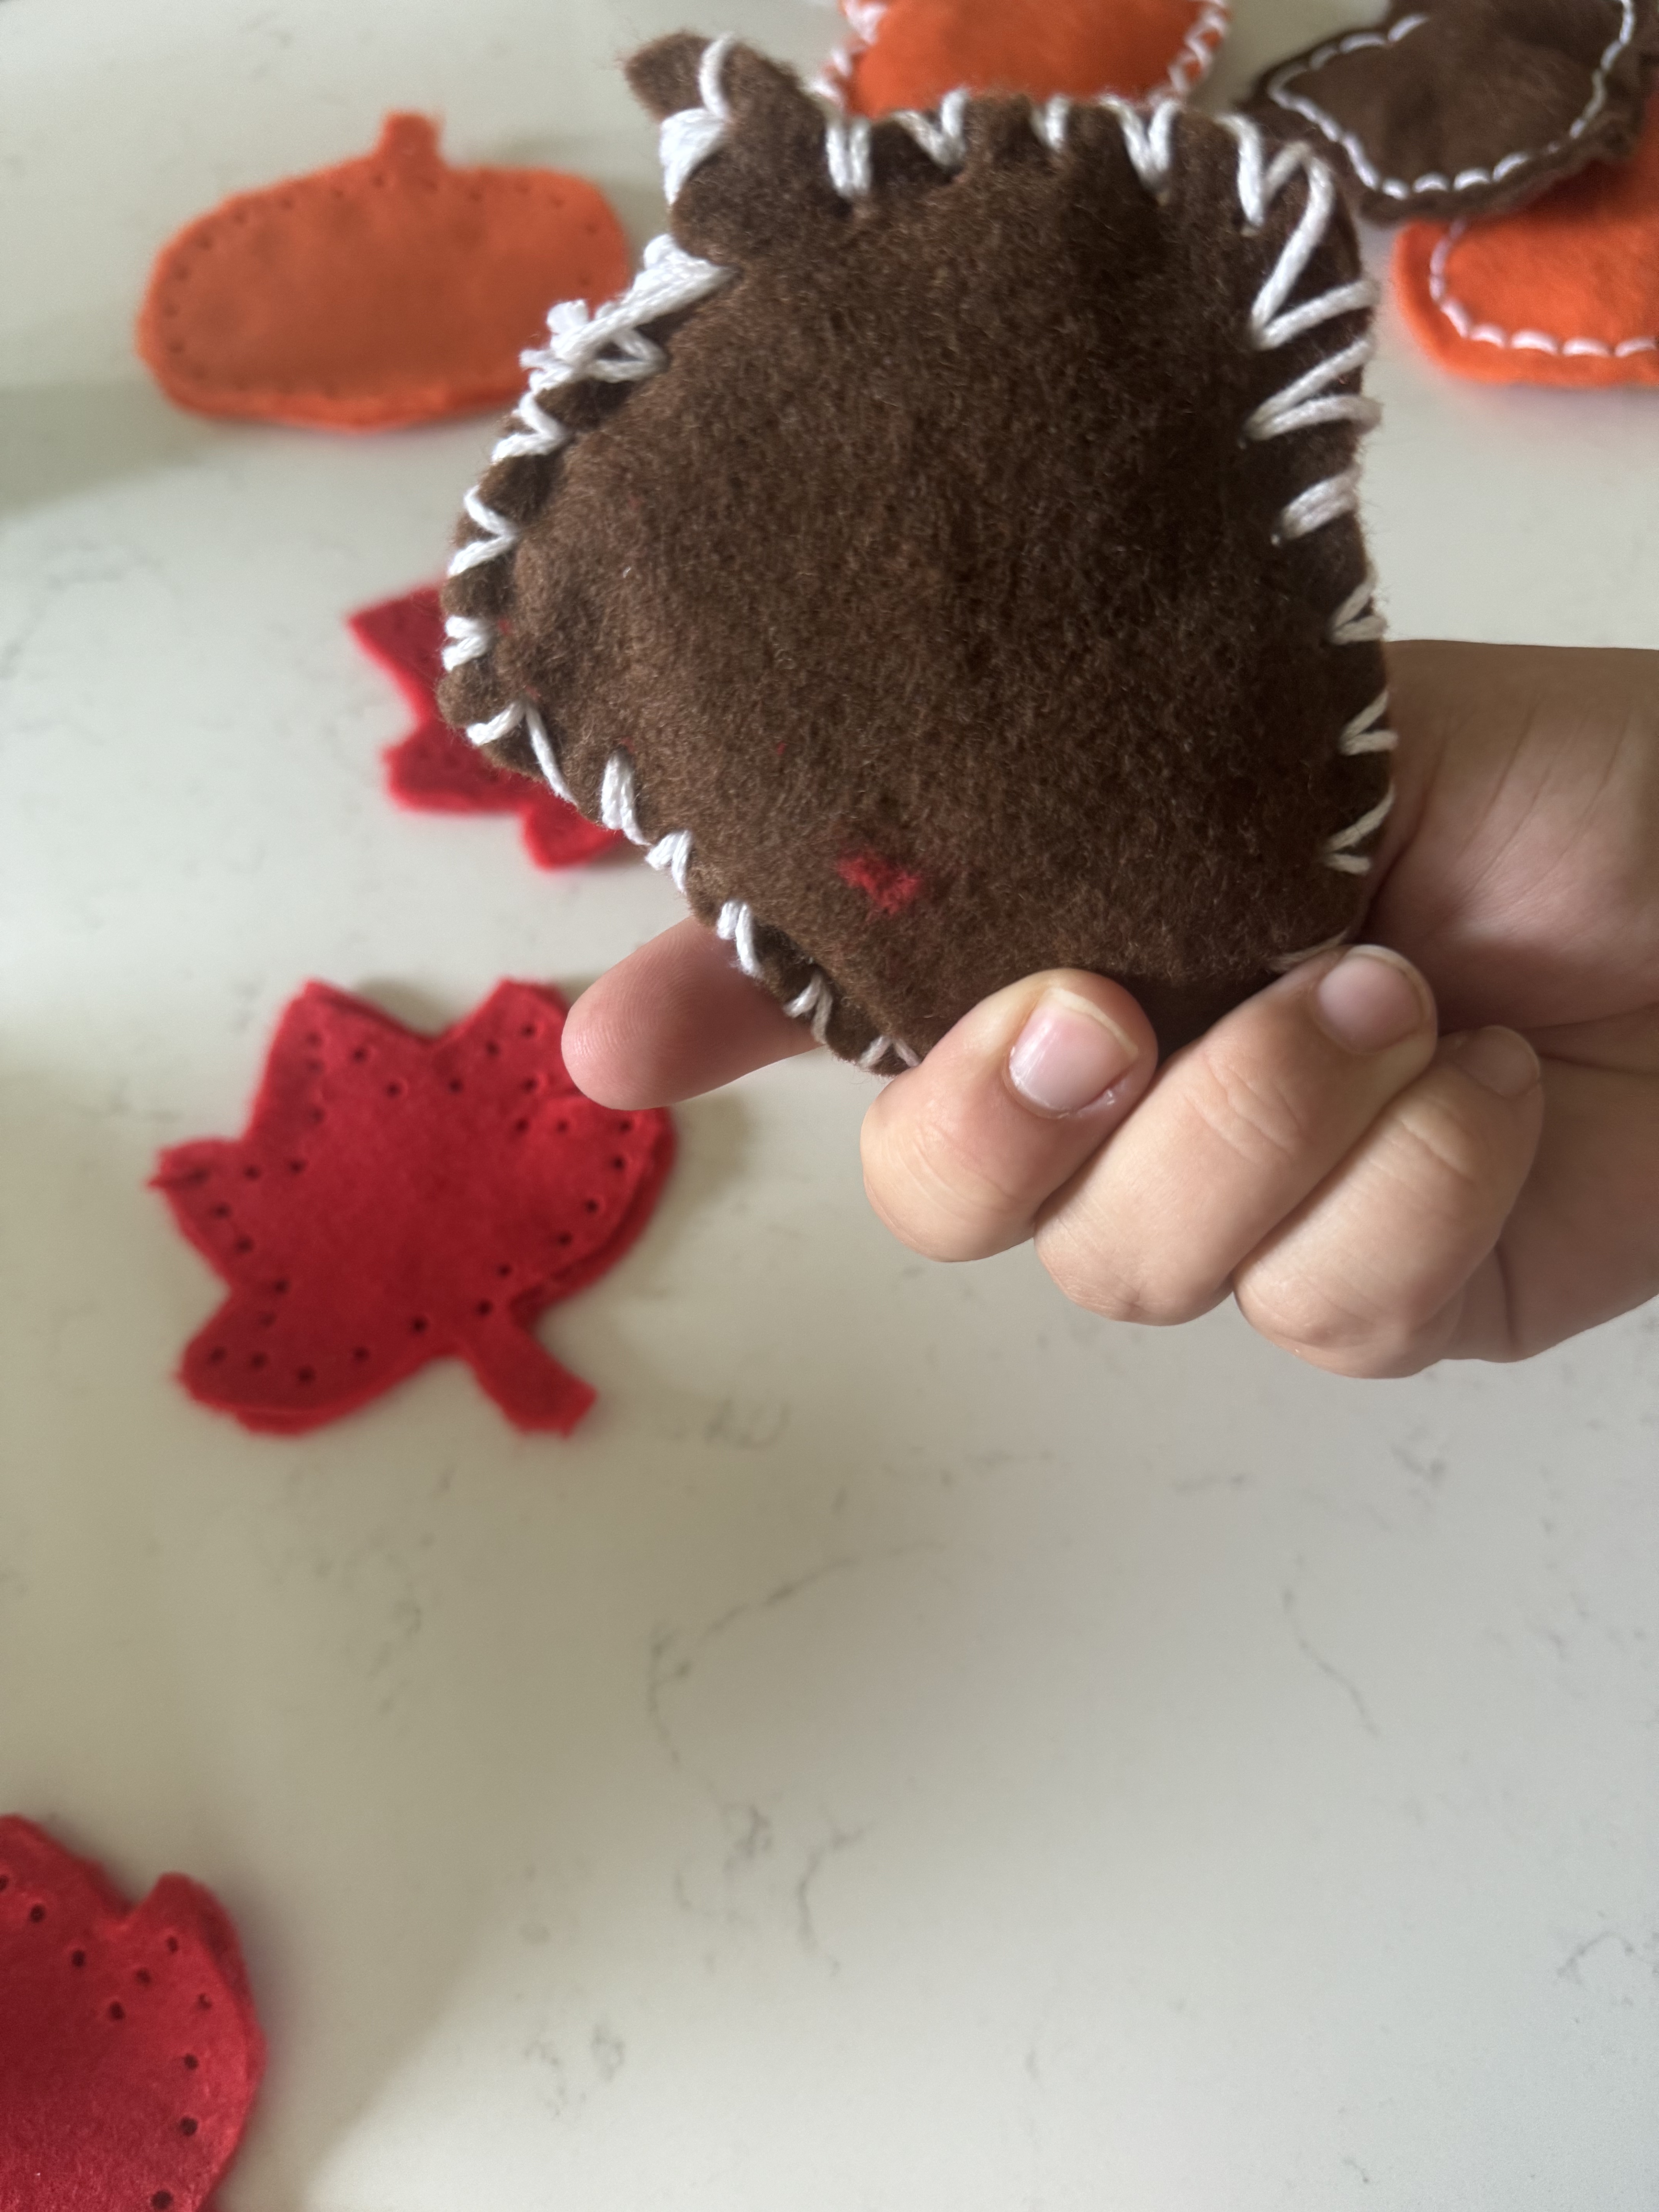
Step 3: Punch Holes
While the felt pieces are paired, punch holes along the border of the shape. Be careful not to go too close to the edge (especially if little hands are helping).
Step 4: Stitch
Cut a 3-foot piece (4 feet if you’re doing the criss cross pattern) of yarn and thread it through your yarn needle. Choose your stitch (I tried three different ones — see pictures below — but any simple stitch works). Leave a small gap before finishing so you can stuff.
Straight Stitch
To start go from the back then from the front on the next hole and tie a knot. Go to the next open hole and from the back bring the yarn through. Now from the front go back through the previous hole. Repeat until all holes are stiched.

Over and Around
For this one I just do every stitch coming from the back and twice through every loop. So your yarn is always going over the edge of the felt.
My 4 year old was able to do this one, but she preferred the straight stitch.
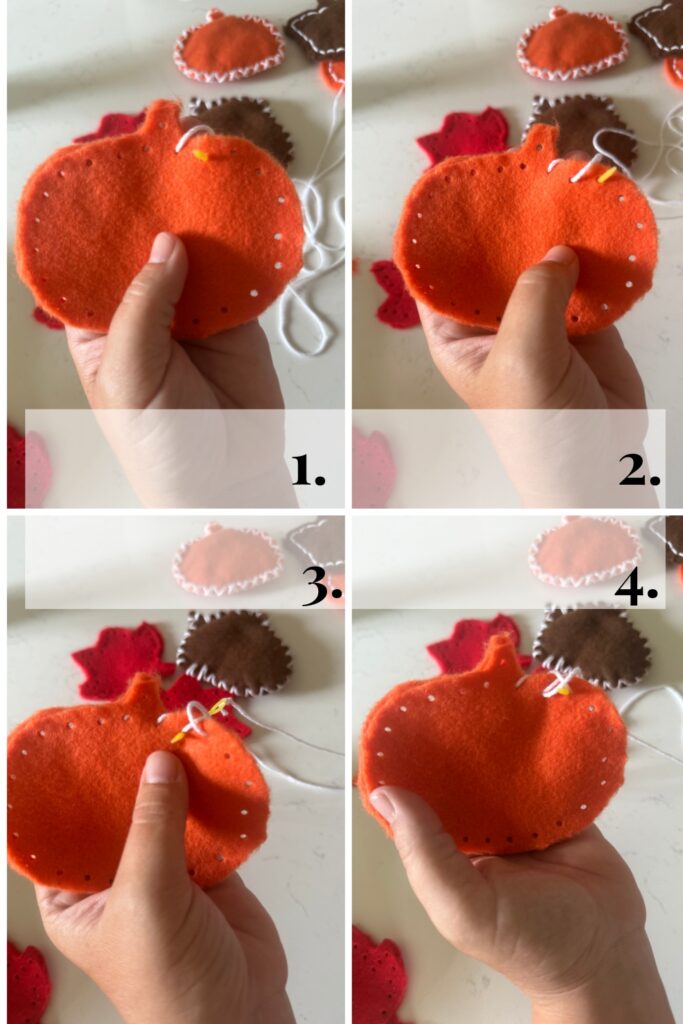
Criss Cross Stitch
This is definitely the most complicated, but I love how it looks. I have a step by step with images below to help give a visual. Just like the Over and Around, every stitch comes from the back.
For the stitch you will start going through the first open hole from the back. Next go through the next open hole from the back. Then go back to through the first hole, and then back through the second hole. Now move onto the next open hole and repeat this as if it was the “second hole” in the previous steps!

Step 5: Stuff + Finish
Use your leftover felt scraps as stuffing, then complete your stitching.
Step 6: Add Optional Oils
If you want a cozy holiday vibe, add a drop of essential oil to the back of each shape. It makes the garland double as natural fall décor.
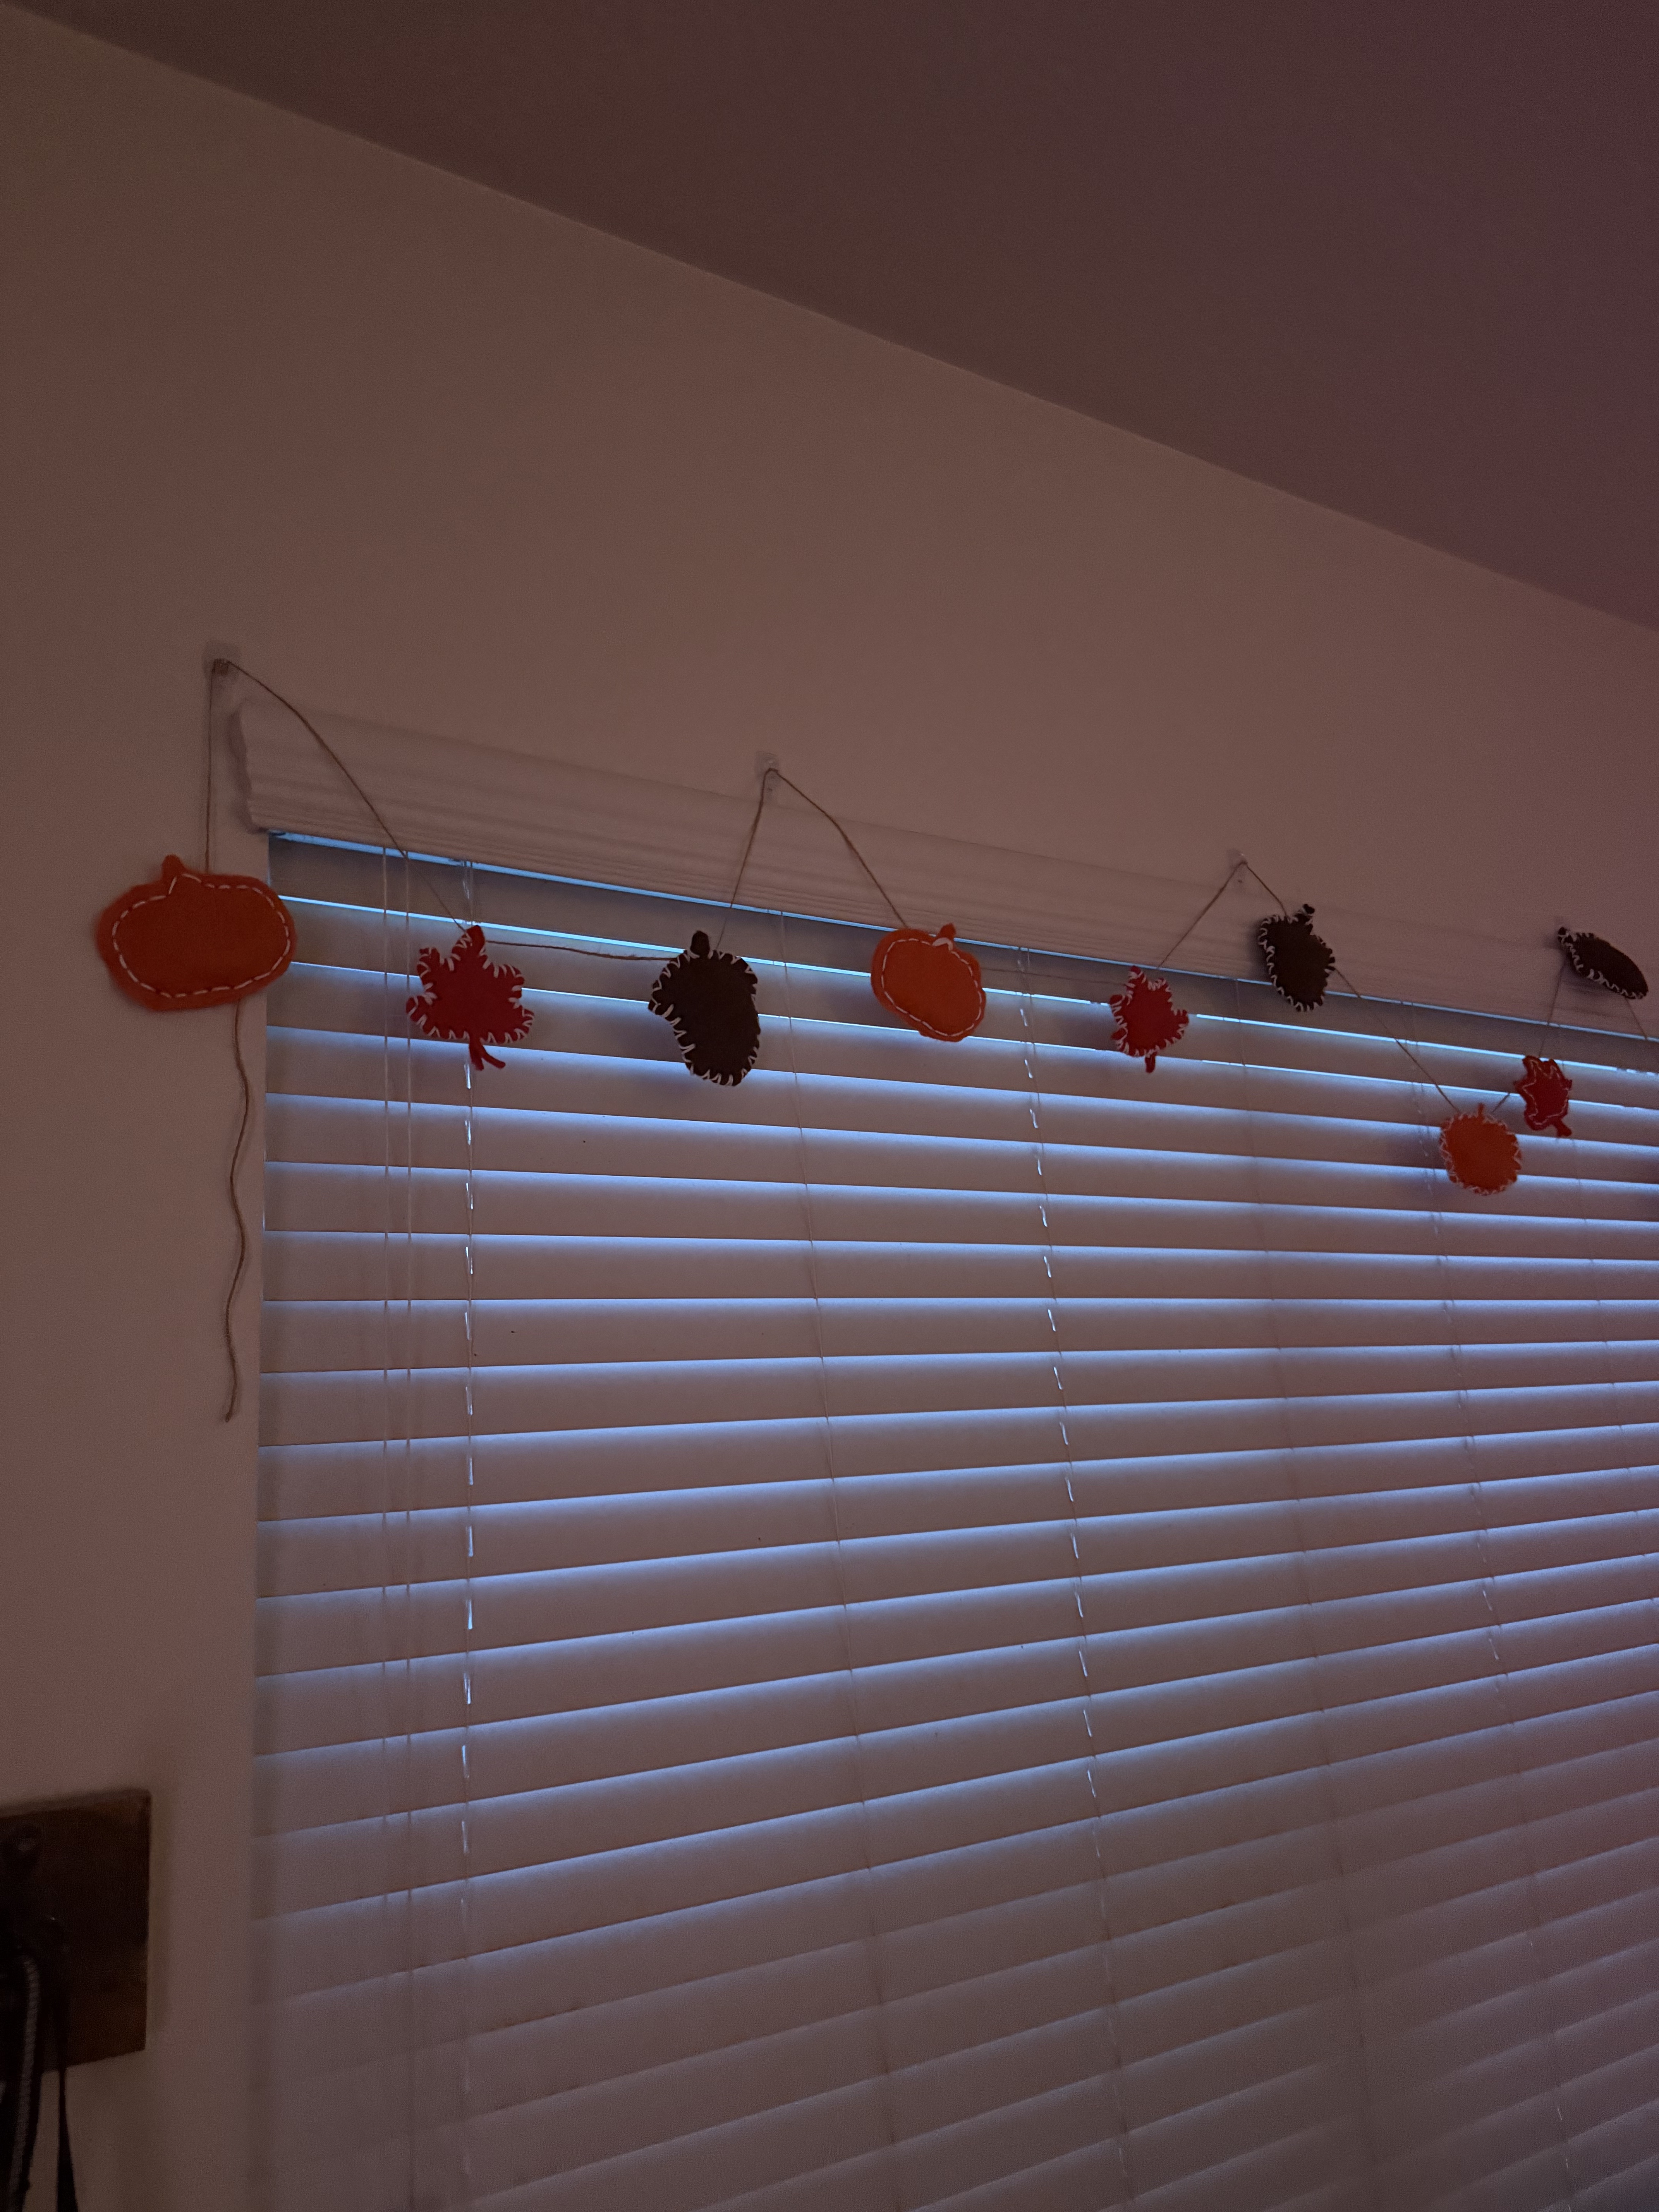
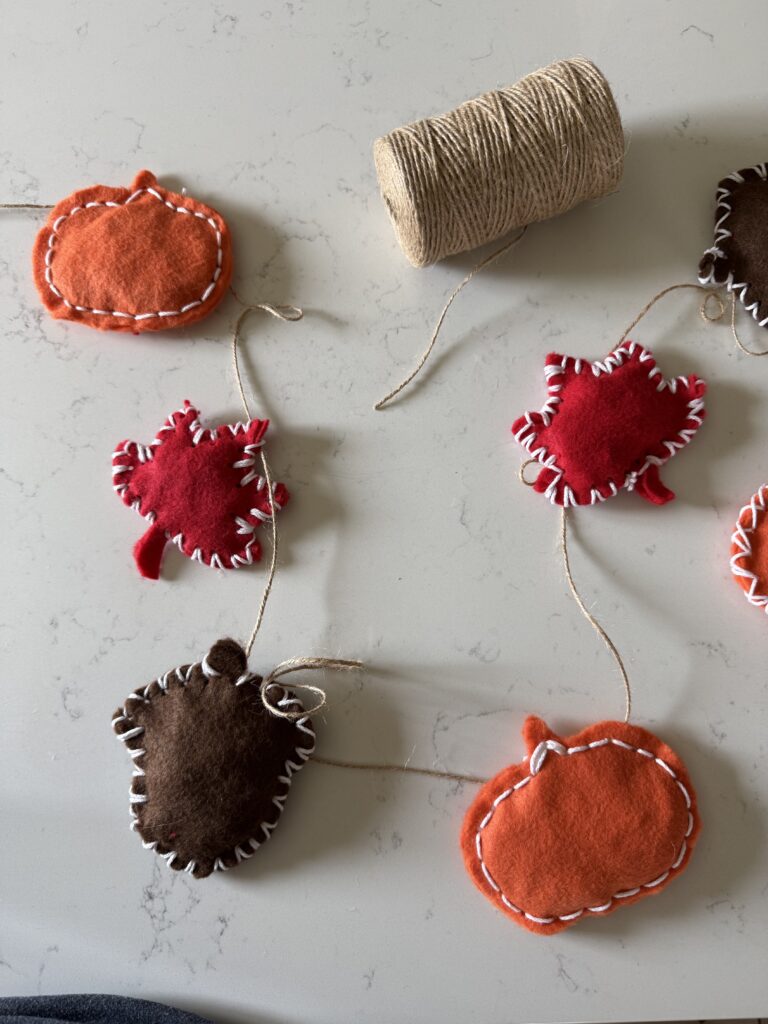
Step 7: String + Hang
Thread your shapes onto twine (or more yarn) and tie each one in place so they don’t slide around. Hang up your garland and enjoy your handmade holiday craft!
Benefits for Kids
This project is more than just busy work, it’s actually a great way to help your child grow.
- Fine motor skills: Stitching, cutting, and threading build hand strength.
- Patience & focus: Kids practice slowing down and finishing a project.
- Creativity & confidence: They see their work displayed as “real décor,” which is huge for self-esteem.
My 4-year-old loved this project! To help her practice stitching, we first worked with some plain felt squares. Once she got the hang of it, she dove right into the leaf and pumpkin shapes and stitched her own pieces almost completely by herself.
Troubleshooting & Tips
What if felt rips?
I actually had this happen when my daughter was practicing, and it was a surprisingly easy fix. I just paused, put a little Elmer’s white glue on the tear, and once it dried, it was good as new. The glue didn’t leave a residue.
How to fix uneven stitches?
Honestly, this DIY has that rustic, handmade look anyway so I embraced it. A few uneven stitches just make it feel like your grandma made it.
Best way to hang garland without damaging walls?
I’m a big command hook girly! I use them for everything, especially around the holidays. Since this is also a craft I plan to do for other seasons, I’ll just leave the hooks up year-round and swap the garlands.
Seasonal Variations
The fun thing about this craft is that it’s not just for Thanksgiving. You can make a new garland for each season or holiday:
- Christmas: Felt ornaments, stockings, or stitched light bulbs
- Valentine’s Day: Felt hearts in pinks and reds
- Spring: Flowers, bunnies, eggs, or raindrops
- Summer: Suns, watermelon slices, stars for the 4th of July
- Birthdays: Balloons, cupcakes, or banners with initials
- Graduations: Year, future college mascot
These variations could easily become a family tradition, swapping out garlands as the seasons change.
Tutorials and Design Space Mockups for these variations are coming soon, stay tuned!
This DIY felt garland turned out to be one of my favorite seasonal crafts. It was simple, budget-friendly, and something I’ll keep and use again. Whether you’re crafting with your kids, gathering with friends, or just want to add some handmade charm to your home for Thanksgiving, this is the perfect project.
Check out more Thanksgiving Activities and Crafts, or if you’re ready for Christmas check out the 25 Activities for Christmas (filled with crafts, activities, and keepsakes).
You’re doing a great job,
xx Ciara