This post may contain affiliate links. A small commission may be earned if you make a purchase through my links. Thank you for supporting my blog!
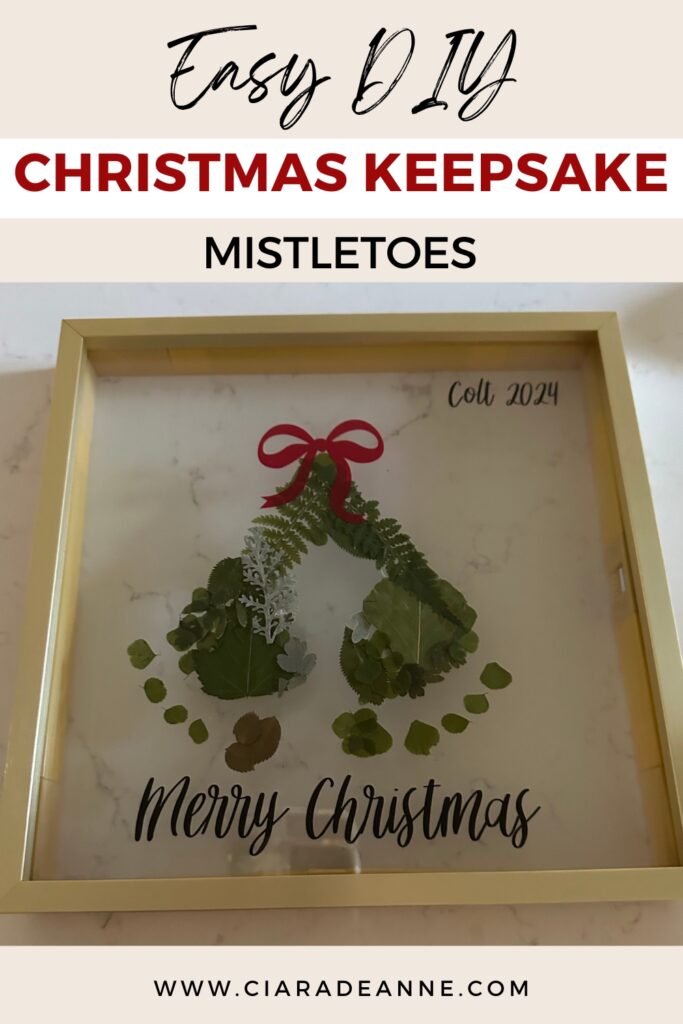
If you’re looking for a meaningful keepsake that adds a personal touch to your Christmas decor and captures the tiny details of your babies’ early years, this is it.
This Mistletoes Floral Keepsake is one of those projects that makes you stop, smile, and remember just how little those feet once were. I imagine you’re a mom reading this (hi, friend!), but if not, this would be the sweetest DIY gift for a new mama.
I’ll be honest… during my first year postpartum, crafting wasn’t even on my radar. I was barely keeping up with the essentials. But if someone had made this for me? Cue the tears. It’s such a sentimental and thoughtful way to preserve a fleeting moment.
Why I Made This Version of the Classic Mistletoes Keepsake
You may have seen the adorable painted “Mistletoes” footprints floating around Pinterest, and those are so cute. But I wanted something a little more elevated, something that would fit with my holiday decor and be beautiful enough to hang up every December.
Last spring, I made a Mother’s Day keepsake using pressed flowers, and I loved it so much I knew I had to recreate a Christmas version. Instead of paint, I used pressed florals and greenery to bring the footprints to life and the result is something I’ll treasure forever.
I wish I had done this for each baby’s first Christmas, but I’m making them now anyway (I actually found her footprints from the hospital and I might redo it)! My kids are 3, 1, and I’ve got another on the way this holiday season. It’s never too late and it’s still incredibly special.
Tip: If you still have your baby’s hospital footprints, you can use those to create this keepsake too!
What You’ll Need
Here’s everything I used (linked in this Amazon List for convenience):
- Floating frame
- Black ink pad
- Dried and pressed greenery (and optional red/white florals)
- Mod Podge
- Red and black vinyl (or ribbon + Sharpie alternative)
- Cricut Joy Xtra or Maker 3 [here’s my comparison post if you’re deciding between them]
Optional Alternative: If you don’t have a Cricut… Instead of vinyl, you can use a ½ inch red ribbon for the bow and a black Sharpie to handwrite the words.
Step-by-Step: How to Make the Mistletoes Floral Keepsake
1. Stamp the feet on cardstock
This is a game changer. Instead of trying to stamp directly on the plastic insert (so stressful), I stamped my kids’ feet on plain white cardstock. You can take your time and get a clean print without smudges.
2. Plan your layout
Find the center of your frame and plan where the footprints will go. Leave space above the feet for the bow and below for the wording (like “Merry Christmas” or your child’s name/year). I added the name and year in the top right corner.
3. Position the first footprint
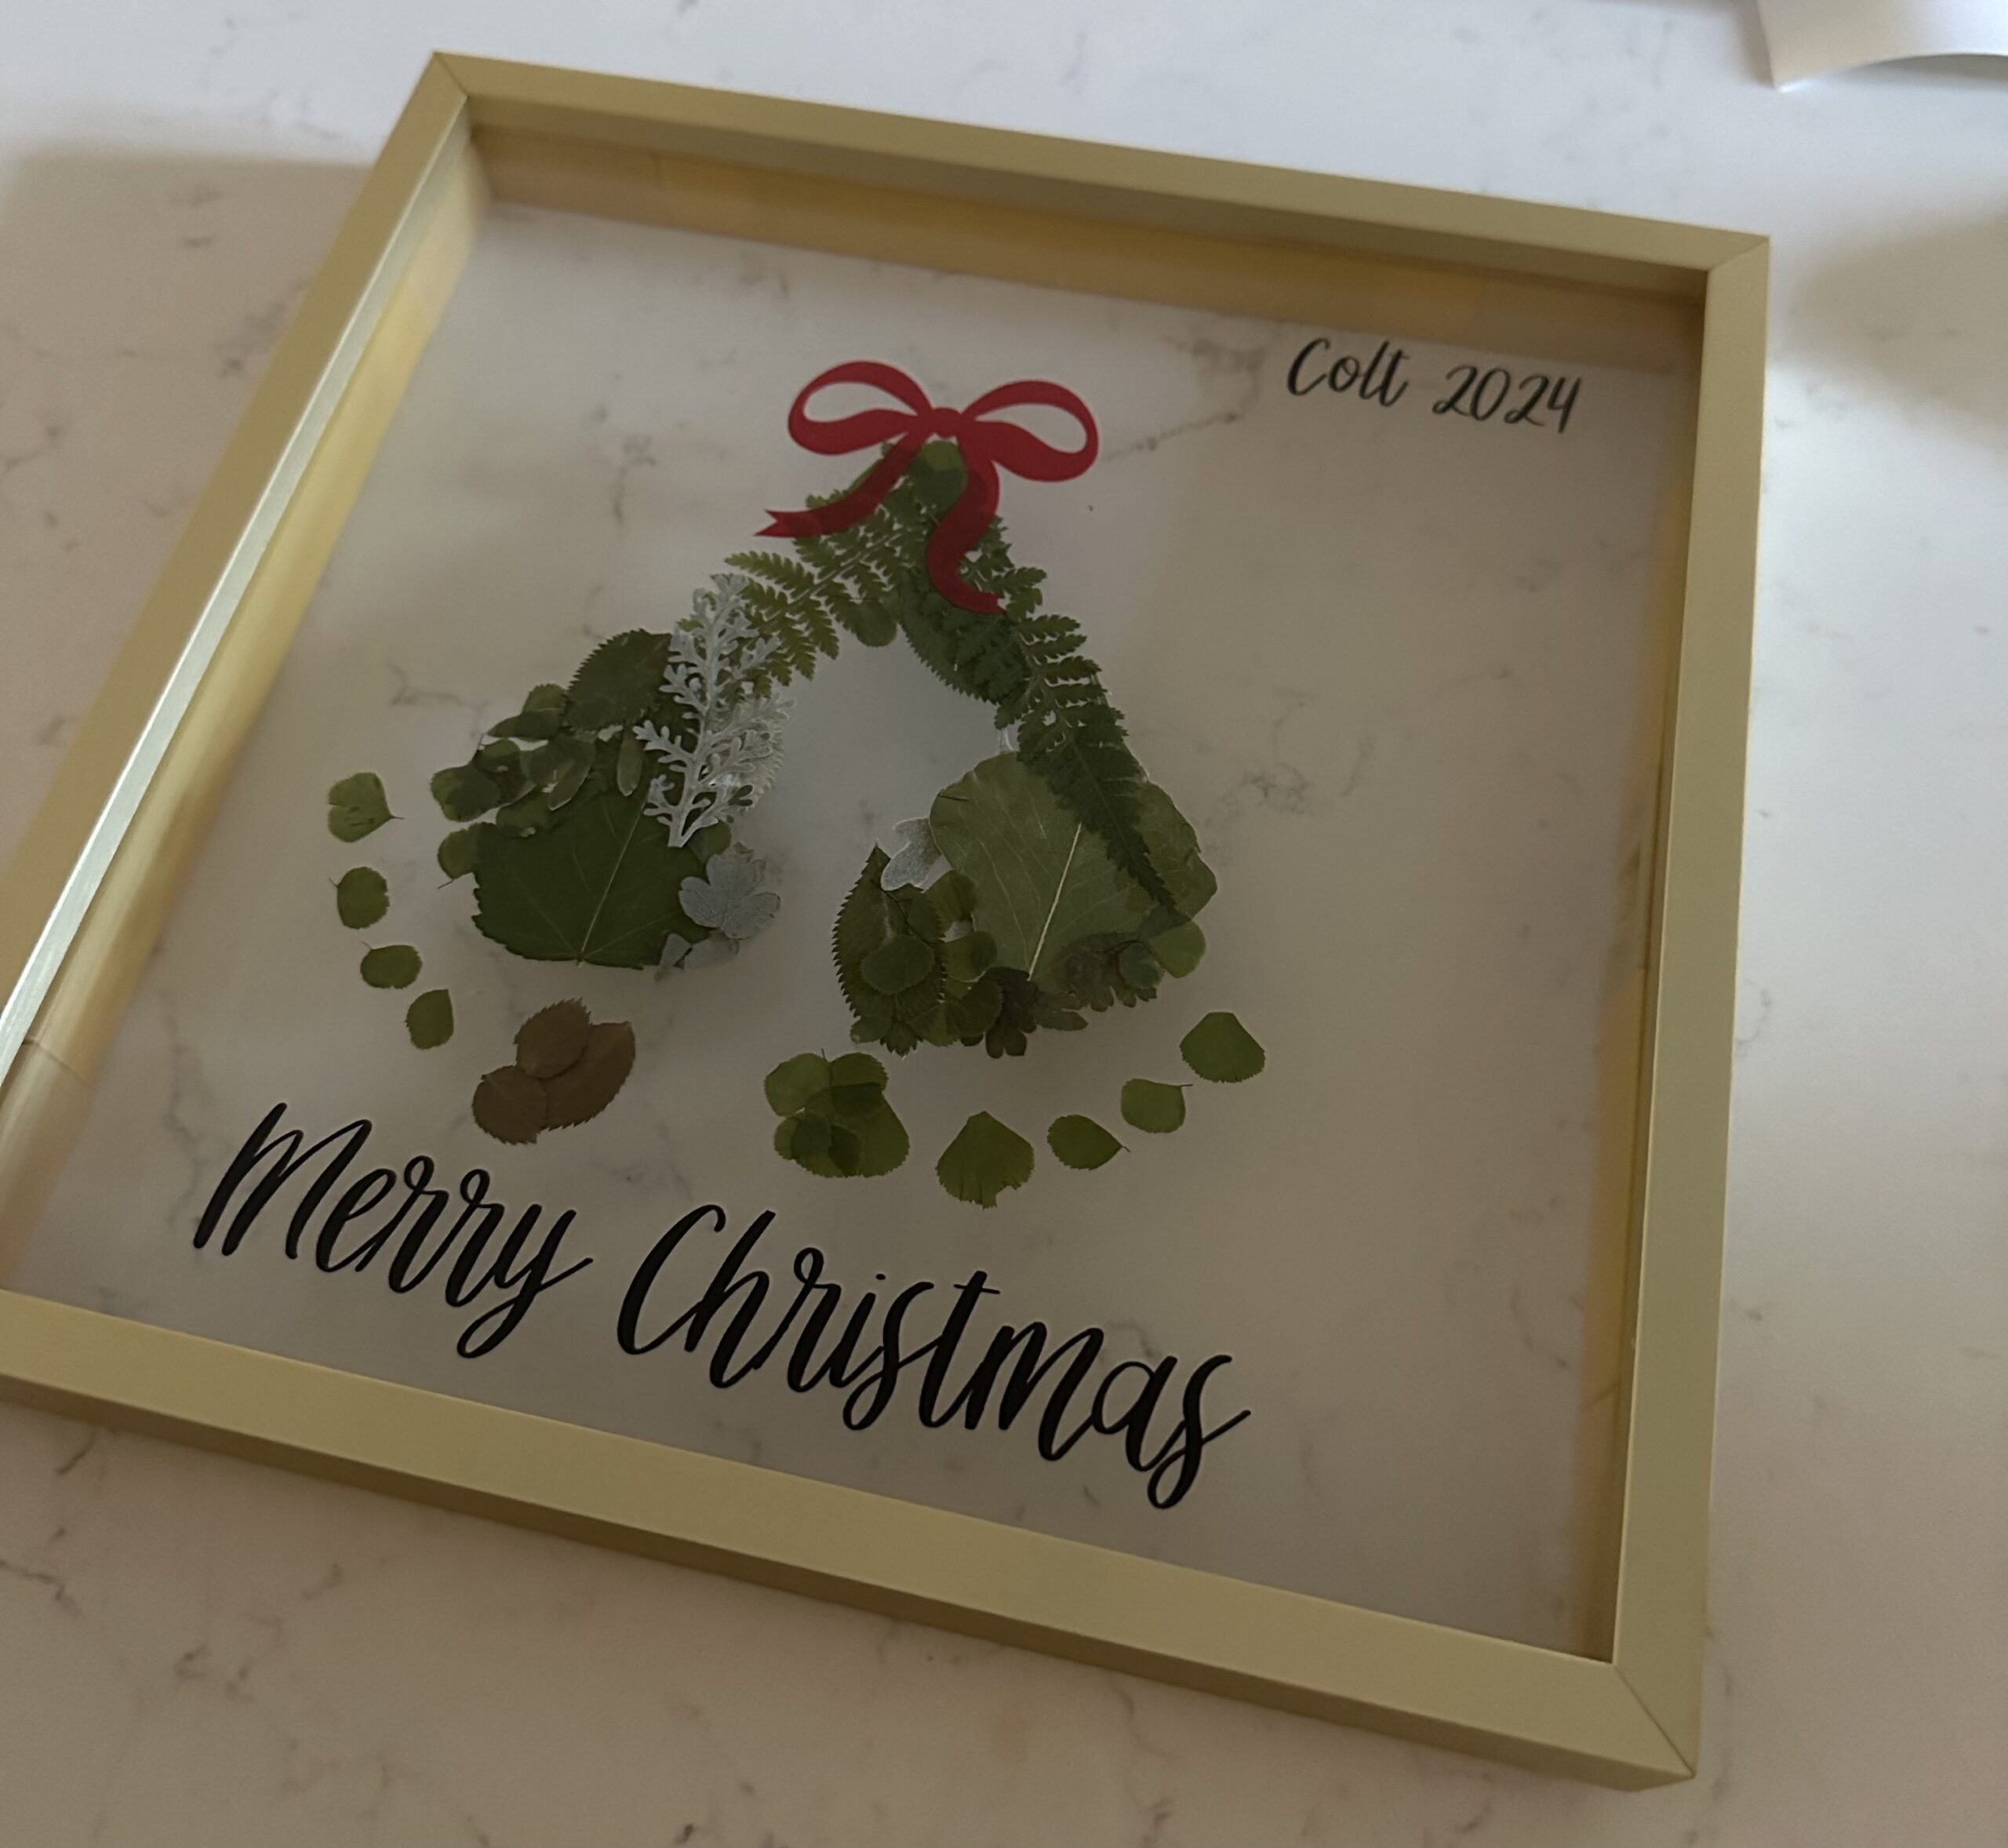
Place the frame insert on top of the stamped footprint and angle it so the toes will meet in the middle (they should look like they’re hanging mistletoe).
4. Add pressed greenery
One footprint at a time, brush Mod Podge over the inked print and lay pressed greenery over it. You can keep it simple with just greenery or add red and white flowers for a more festive look.
5. Repeat with the second foot
Angle the second footprint so the balls of the feet overlap slightly, but the rest does not. Repeat the glue and greenery step.
6. Let it dry
Let everything dry for at least an hour. It doesn’t need to be fully dry to continue, but it should be dry enough that the greenery stays put.
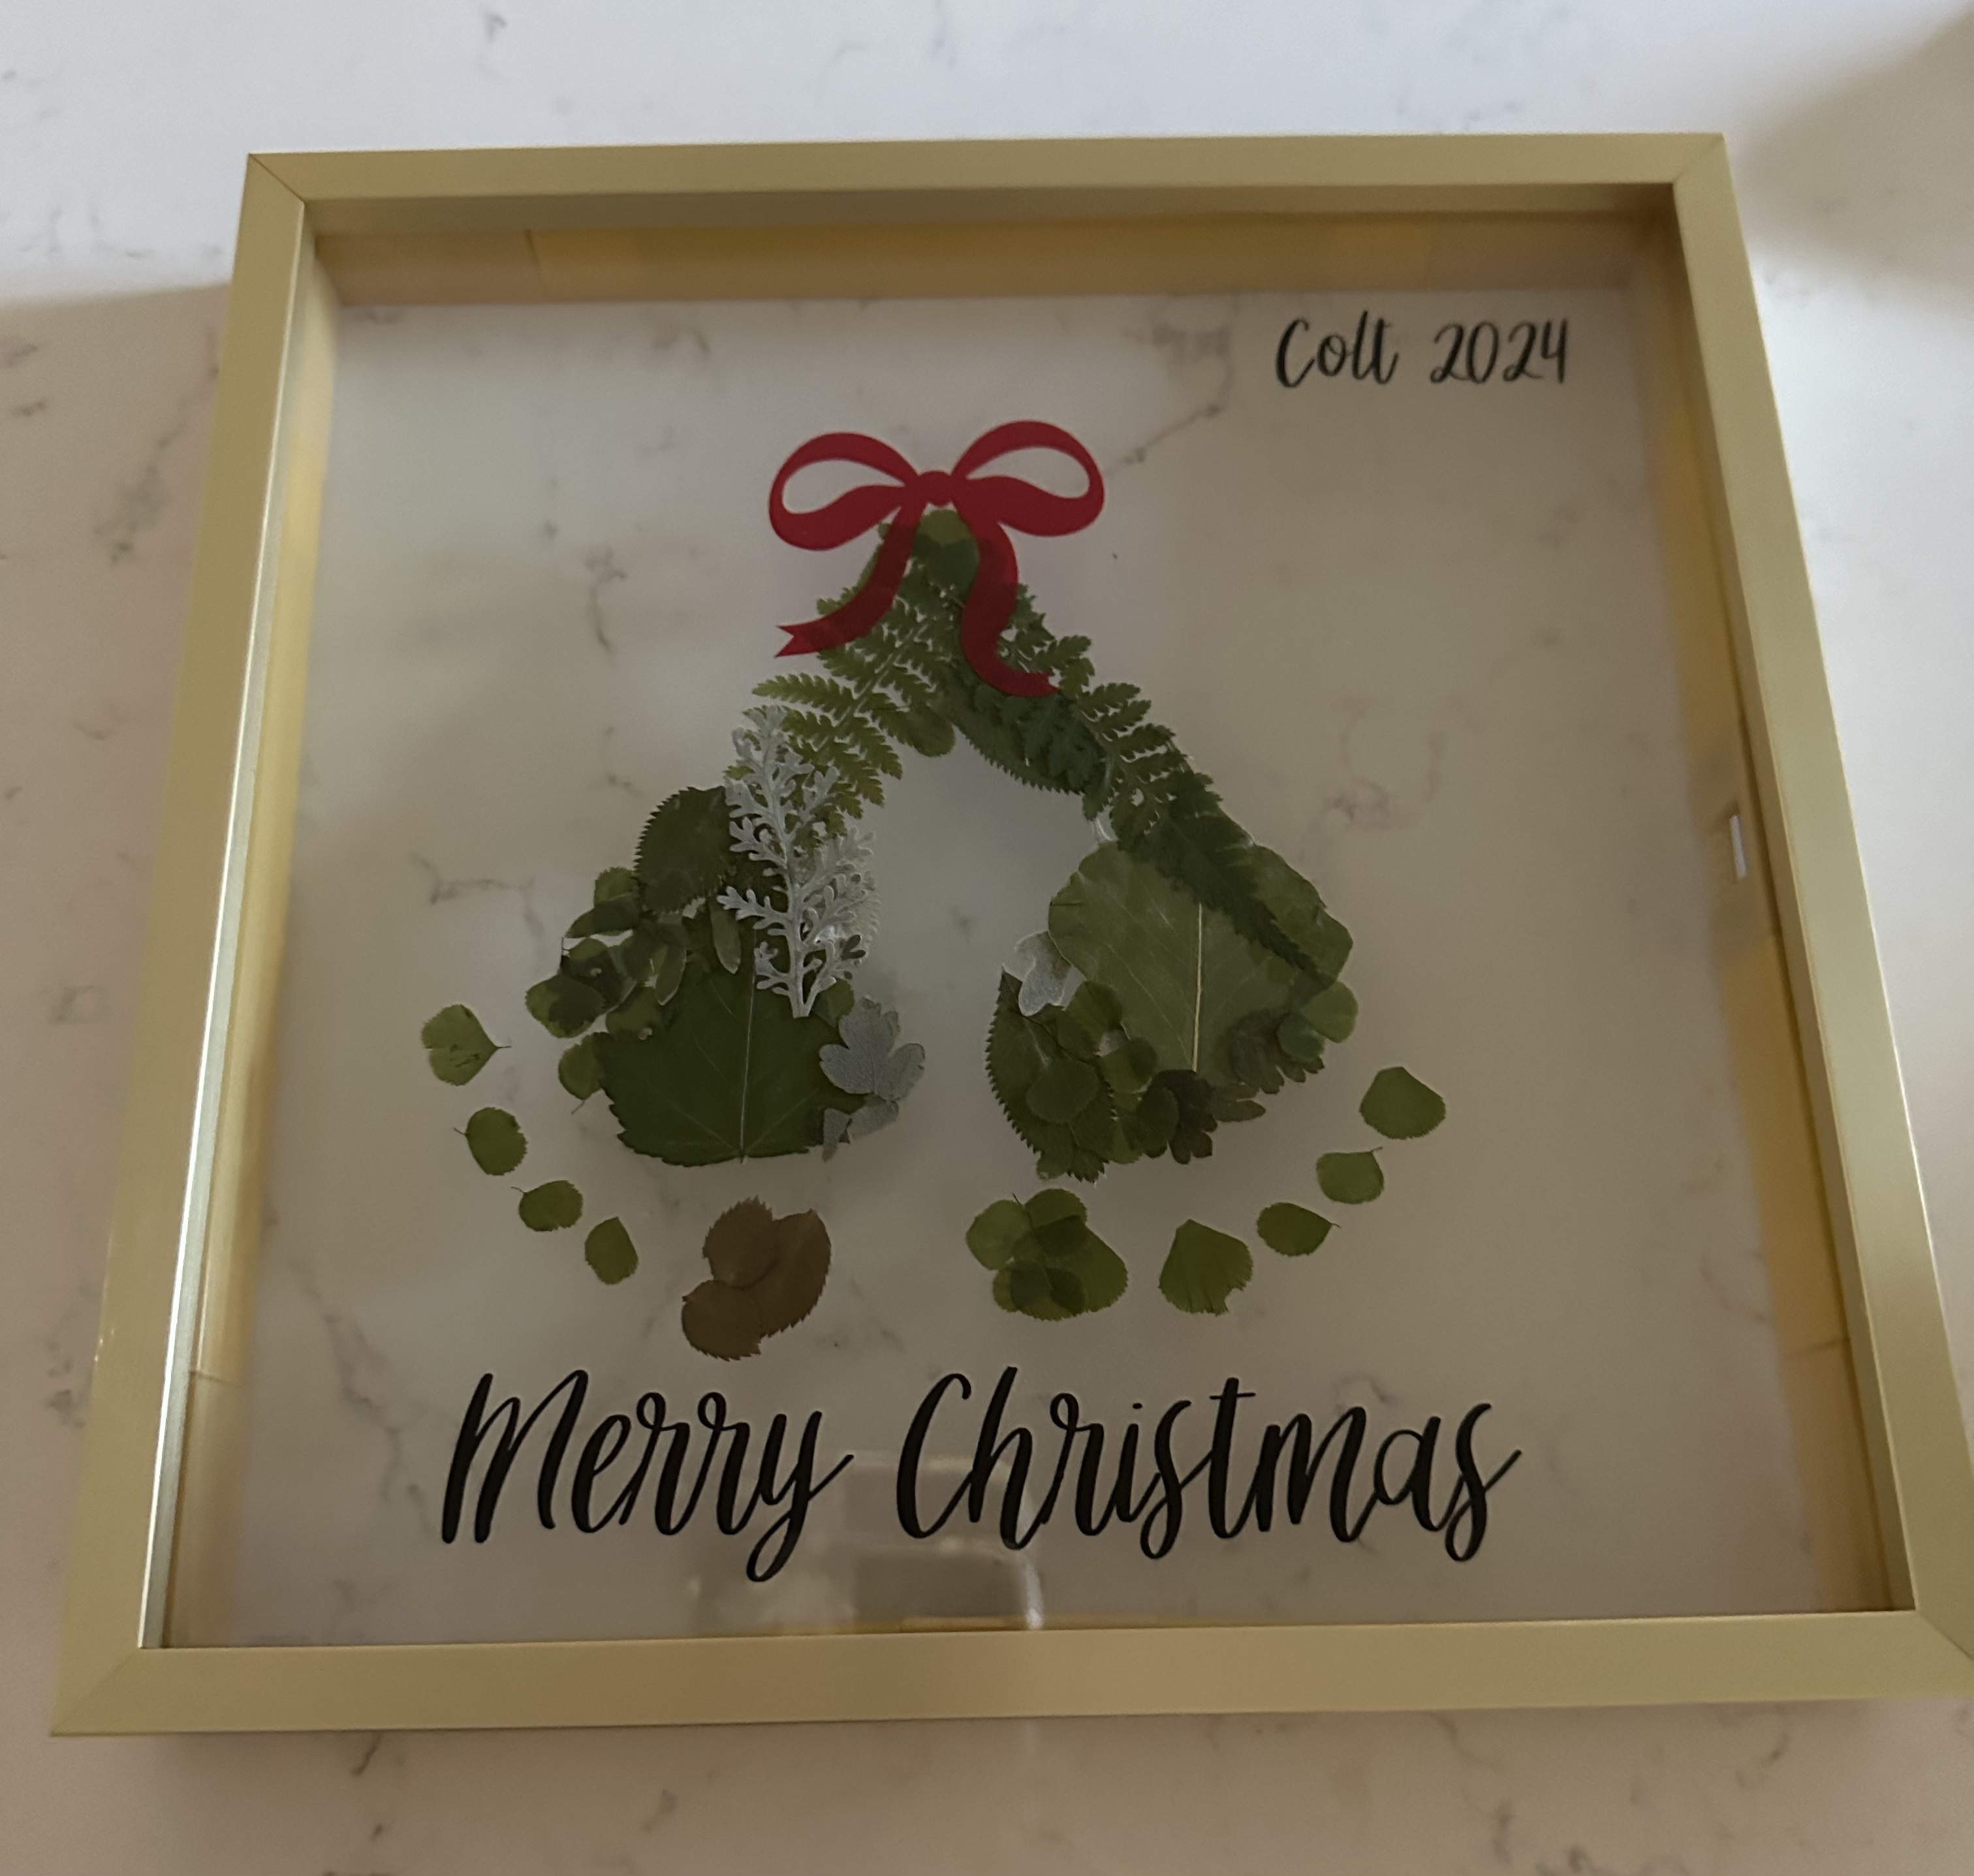
7. Add the bow
Use red vinyl to cut a bow shape with your Cricut and gently place it above the footprints. Important: Do not let the transfer tape touch the greenery — it will peel it right off. I applied mine by hand without transfer tape.
Using ribbon instead? Lay it flat and glue it down.
8. Add your message
Use black vinyl or a Sharpie to write your Christmas message — “Merry Christmas,” your child’s name, the year, or “Mistletoes” — whatever feels right to you! Again, be careful with vinyl placement so it doesn’t disturb the greenery.
9. Let it fully dry
Let everything dry completely for at least 24 hours before placing it into the floating frame.
10. Display or gift it
Hang it with your holiday decor or wrap it up as a heartfelt gift for grandparents, godparents, or anyone special.
A Few Lessons I Learned the First Time Around
- Skip the fresh flowers in winter. I learned this the hard way with my Mother’s Day version. If the greenery isn’t fully dry, it can mold under the glass. Buying pre-dried florals saves you a ton of time (and heartbreak).
- Cardstock makes the process way easier. Trust me. Trying to stamp directly onto the frame insert = frustration and smudges. Cardstock gives you room for error, and it’s easier to work with.
- Choose frames based on foot size. For Mother’s Day, I used an 8×10 frame for each child. This time I went with square floating frames so I could make one for each kid and hang them as a trio.
Want More Christmas DIYs?
If you’re feeling crafty this holiday season, here are a few more keepsake ideas and projects your family will love:
- Santa Cookie Board DIY
- Handprint & Footprint Mugs
- 25+ Christmas Activities for Kids – includes printables and low-prep activities
Thanks so much for stopping by my blog! I hope this keepsake brings you as much joy as it brought me. And just in case no one’s told you today, you’re doing an amazing job.
xo,
Ciara