This post may contain affiliate links. A small commission may be earned if you make a purchase through my links. Thank you for supporting my blog!
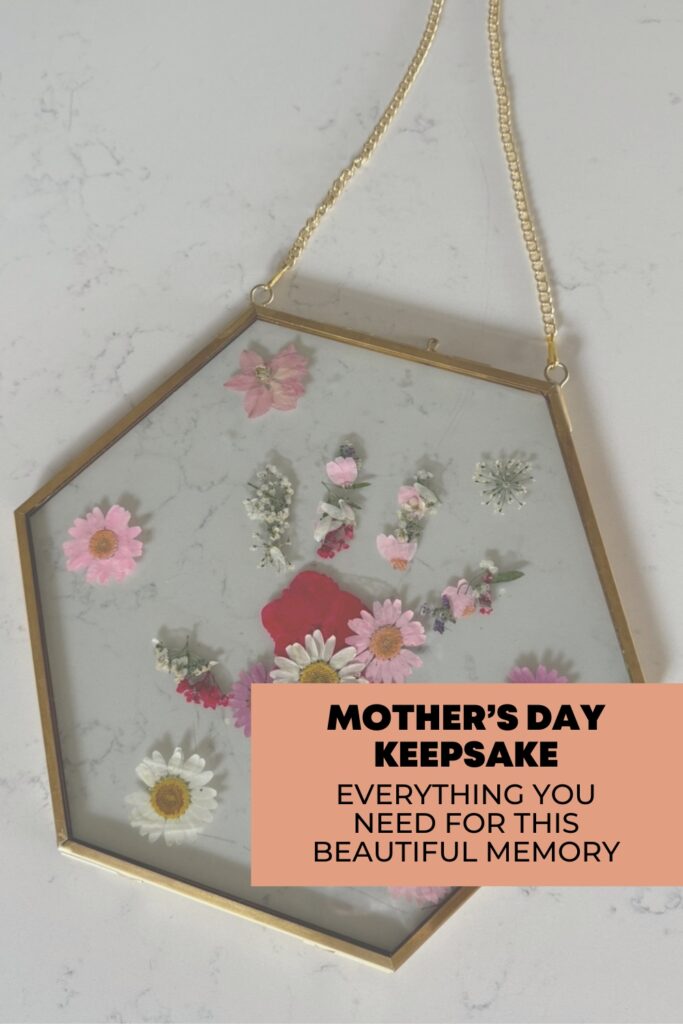
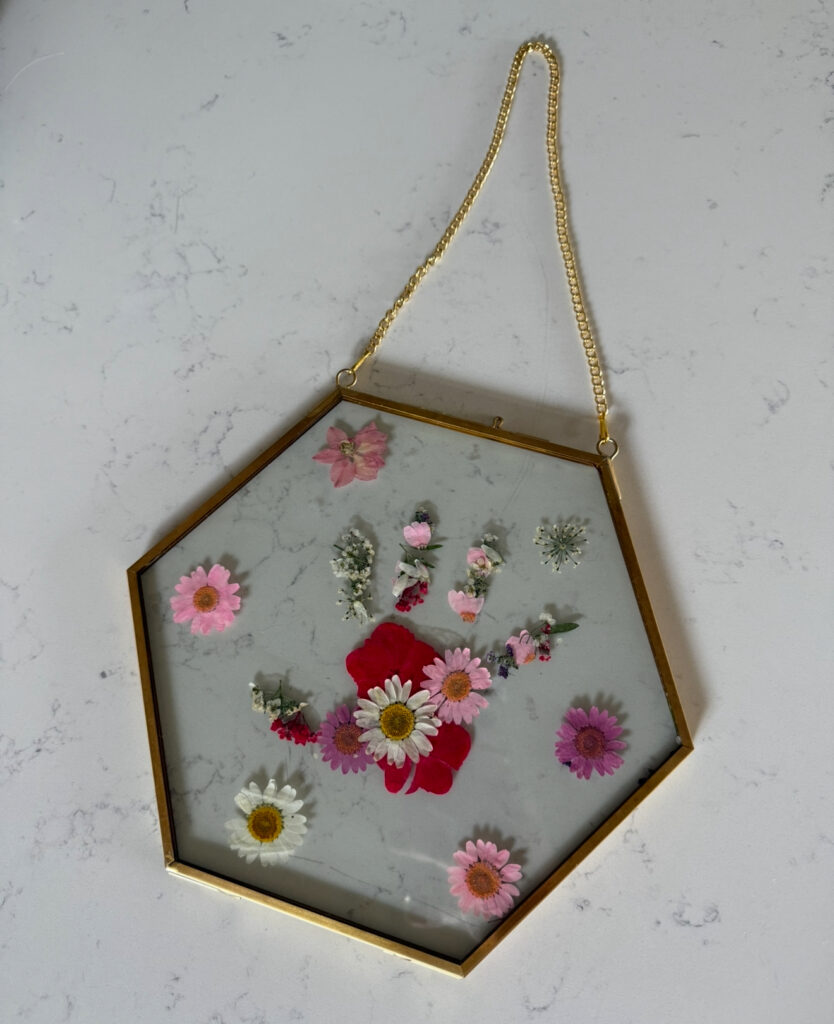
Looking for a meaningful Mother’s Day craft to make with your kids or for a new mom in your life? This floral handprint or footprint keepsake is one of my all-time favorites. It’s simple, sentimental, and so beautiful you’ll want to hang it on your wall or display it on your desk all year long.
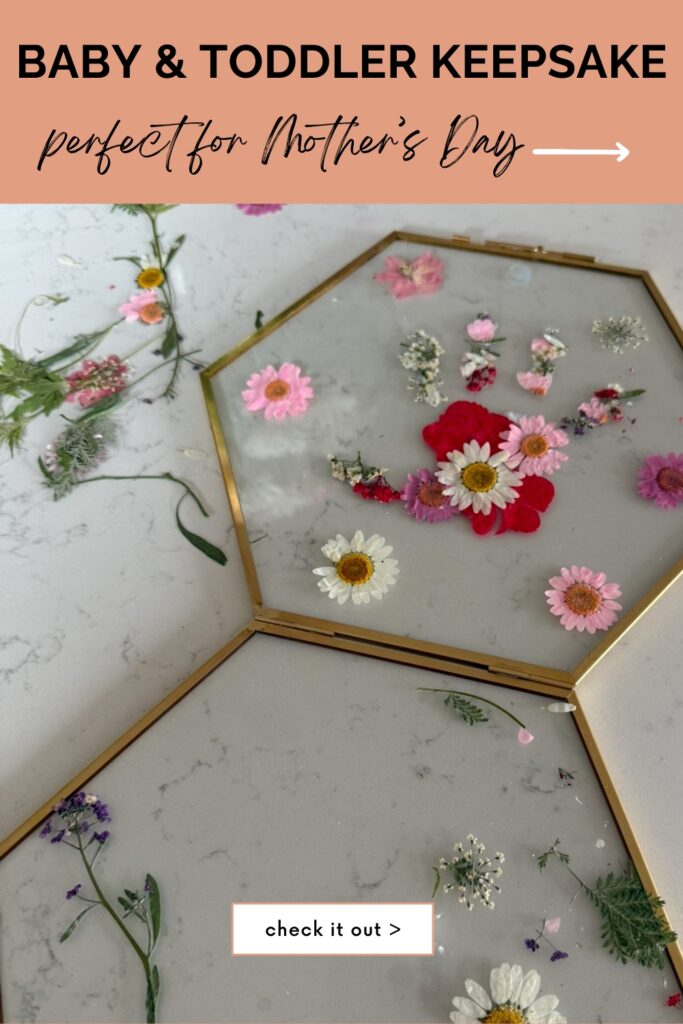
This is actually my second year making these and I love them just as much (if not more) this time around. Last year, I used a single 8×10 frame. This year, I made three separate frames, one for each of my kids, and they turned out so sweet.
These keepsakes are especially perfect in spring around Mother’s Day, but truthfully, they’re lovely to make any time of year. Think nursery decor, playroom art, or a gift for Grandma. There are so many ways to enjoy them.
A Quick Note from One Mom to Another
When I had my first baby, I didn’t do many keepsakes. I was tired, overwhelmed, and didn’t want to deal with paint or salt dough. But now, with three kids, I’ve learned: the mess is worth it.
Those tiny handprints and footprints? They become treasures. You don’t need to do them perfectly or do them on day one, just do them when you can. Here’s what I’ve learned:
1. It’s never too late for keepsakes.
If you missed the newborn stage, that’s okay. A toddler’s handprint at 2, 3, or 4 years old is still incredibly precious. Start now, you’ll be so glad you did.
2. Take the prints once and reuse them.
Use an ink pad to stamp their hands or feet onto cardstock. Once you’ve got a clear print, you can use it again and again for different crafts and keepsakes.
3. Do it when you have help.
If grandparents are in town, take advantage! Let them help with the setup, cleanup, or even just wrangling the kids while you do the stamping. They’ll love being part of the memory, too.

A Few Tips Before You Start
Use dried, pressed flowers
Fresh flowers will hold moisture and cause mold inside the frame — not what we want. Make sure your flowers are fully dried before using them.
Stamp the prints on paper, not the frame
Instead of stamping directly onto glass (which can be tricky with wiggly kids), use paper or cardstock. It’s easier, cleaner, and lets you reuse the prints for other projects.
No baby at home anymore?
If you have hospital prints or ink pads from when your baby was born, those can work beautifully for this project too!
What You’ll Need:
- Dried & pressed flowers
- Floating frame (I used an 8×10 and these hexagon frames)
- Ink pad
- Cardstock or paper
- ModPodge
- Sponge paint brush
- Cricut + black vinyl (I use the Joy Xtra – see my full review here)
How to Make Your Floral Keepsake Frame:
- Stamp their hand or foot
Use the ink pad to make a print on cardstock or paper. This will be your base. - Prep your frame
If your floating frame has an insert, use that as your workspace. You’ll sandwich the final design between the glass pieces. - Add name + year
Before placing flowers, use your Cricut to cut out your child’s name and the year. Apply the vinyl directly to the glass (first, so you don’t damage the flowers with transfer tape later). - Add the flowers
Place your cardstock under the frame insert. Paint a thin layer of ModPodge in the shape of the print, then carefully arrange your dried flowers on top. - Let it dry
Let your design dry for at least 24 hours before closing the frame. - Display and admire
Hang it in your home or wrap it up as a heartfelt gift. It’s a beautiful reminder of how tiny they once were.
Want More Seasonal Keepsake Ideas?
If you loved this project, you’ll definitely want to check out:
They’re just as sweet and make perfect holiday decor or gifts for grandparents.
You’re doing a great job, mama. Thanks for being here. I hope you love this project as much as I do.
xx,
Ciara